

Note: These instructions are very general, and you should have a service manual for your particular vehicle to get a better understanding of your particular setup and have factory recommended torque levels and specifications on hand.
Check out the Additional Service Information Resources for more information on finding service information for your specific vehicle.
Prep
Thoroughly clean the vehicle to make the job easier and prevent contamination of the new components during installation.
Get your carrier bearing upgrade/rebuild kit from ALL BALLS RACING.
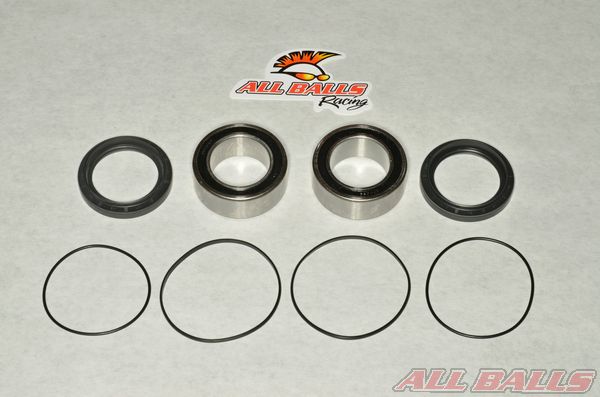
Remove the contents of your ALL BALLS RACING carrier kit. Layout the components in an organized manner for easy installation. Place the new bearings in the freezer for about an hour before installing them.
Removal
Support the vehicle with a suitable stand or jack.
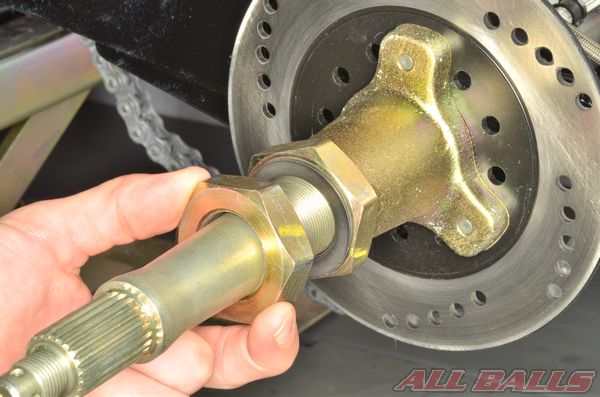
Follow the the instructions in the service manual for the axle removal procedures.
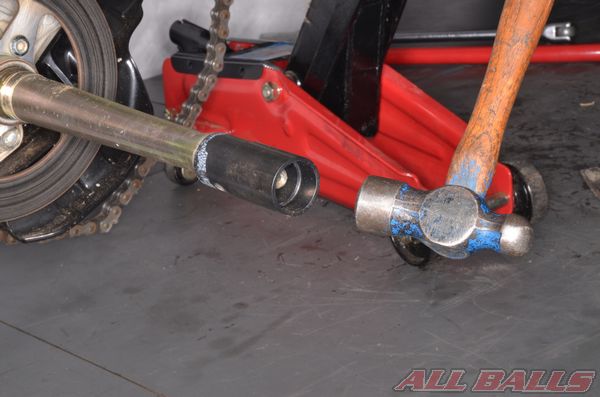
Place a socket or other type of suitable spacer over the end of the axle to protect the axle hub threads when the axle is tapped out.
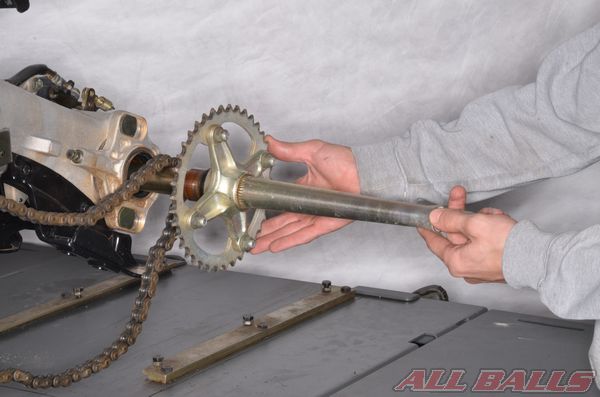
Remove the rear axle from the carrier.
Remove the rear axle carrier from the swingarm.
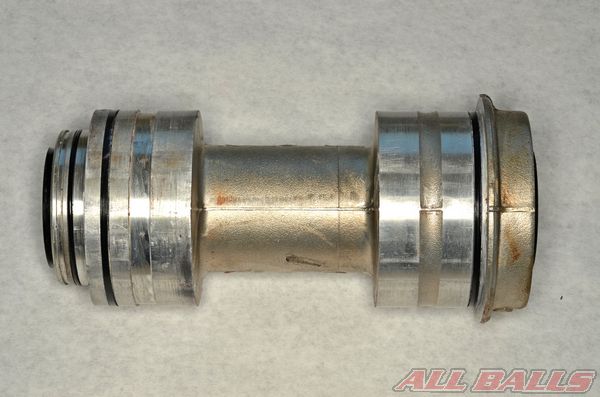
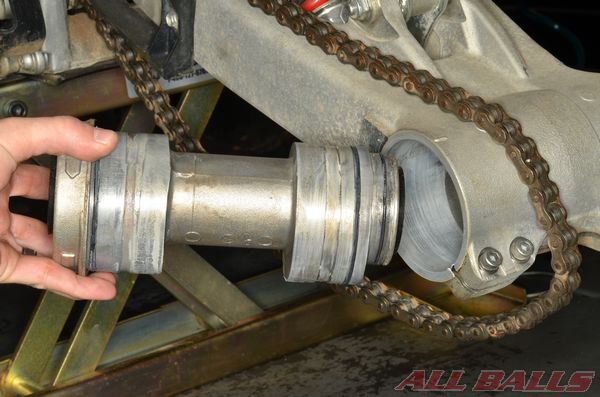
Remove the O-rings from the axle carrier.
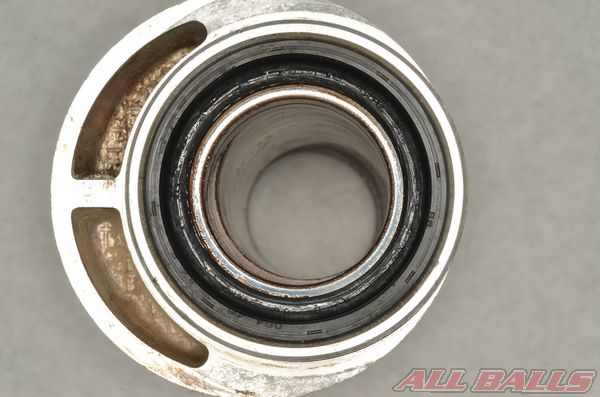
Remove the carrier bearing dust seals.
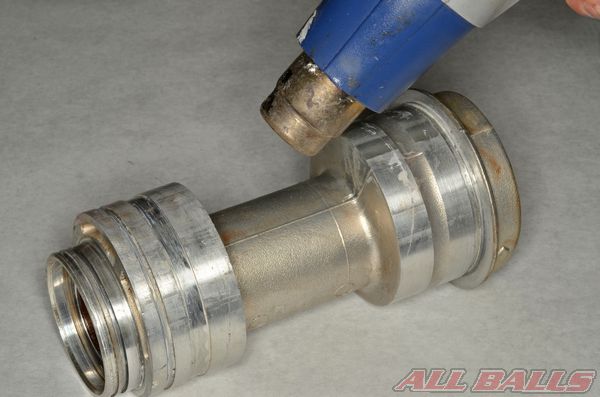
Heating the carrier around the bearing bores will expand the metal and make removal and installation easier.
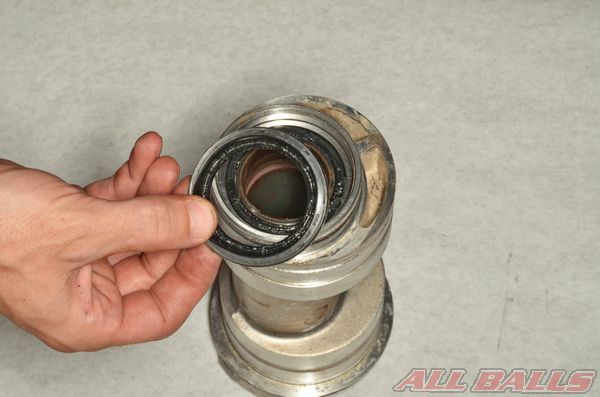
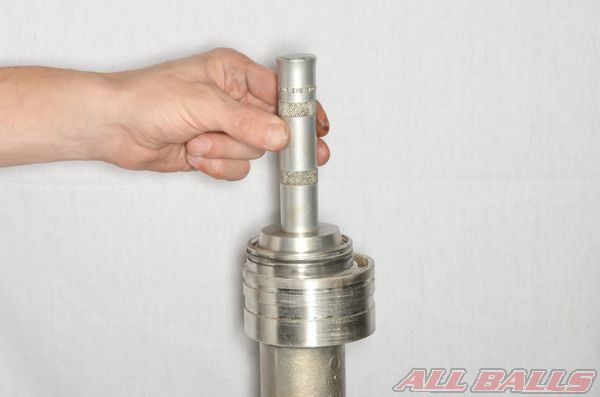
Remove the carrier bearings with an appropriate bearing puller. There are usually two bearings per side.
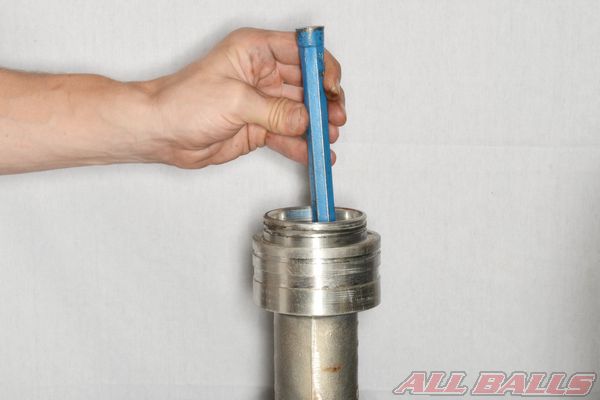
If a puller is not available use a long flat face punch and hammer. Work around the bearings evenly to drive them out.
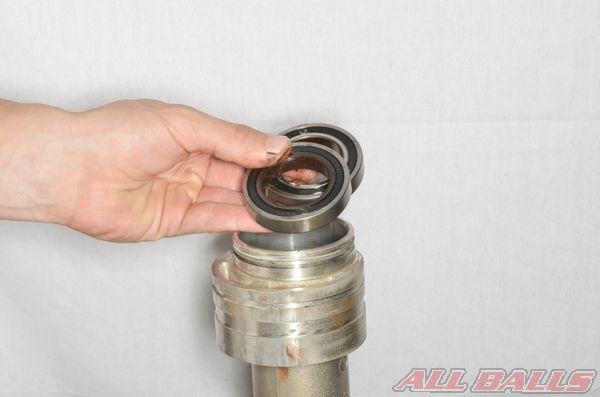
Remove the bearings from each side.

Remove the distance collar. Check the distance collar for wear and damage.
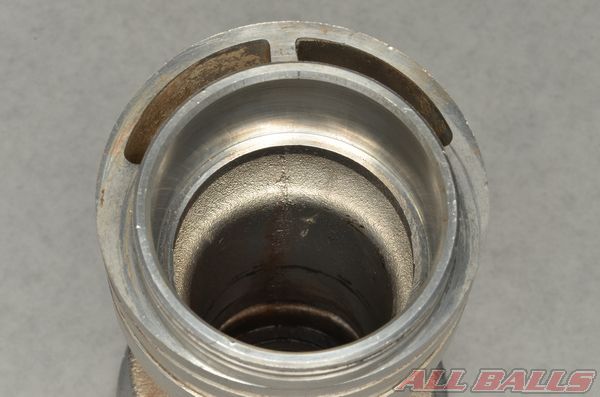
Clean away all of the old grease, grime, and rust from the bearing bores.
Inspect the bearing bores for wear and damage. Make sure the bores are free of damage or burrs that may cause the new bearings to hang during installation.
Installing new bearings into a worn or damaged hub can cause premature bearing failure.
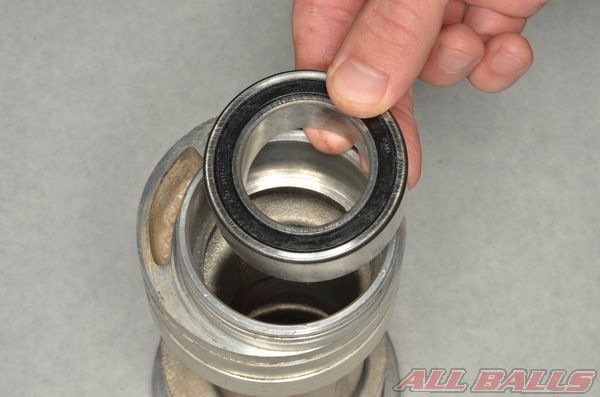
Heat the bearing area of the carrier with a heat gun, take one of the bearings out of the freezer and install it into the carrier.
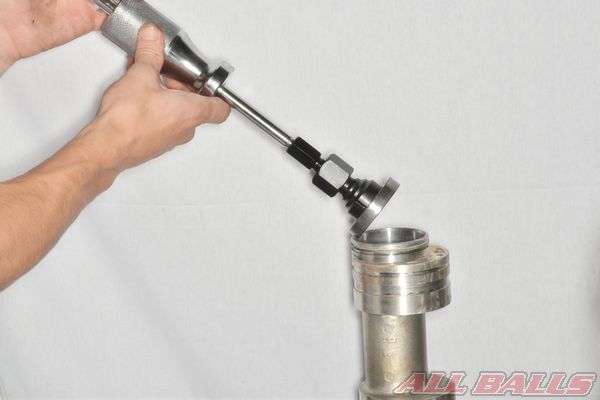
You can use a bearing installer tool or a socket with the same outside diameter as the OD of the bearing.
Only press on the outer race of the bearing. Make sure the bearing is fully seated.
Do not continue to strike a bearing after it has seated. Hitting a bearing driver again and again with extreme force after it is already seated can cause a side load and lead to premature bearing failure.
Install both bearings for one side and then the distance collar. Install the opposite side bearings.
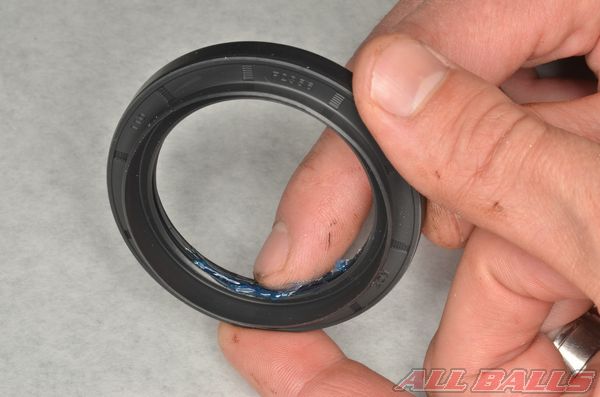
Apply grease to the lips of the dust deals.
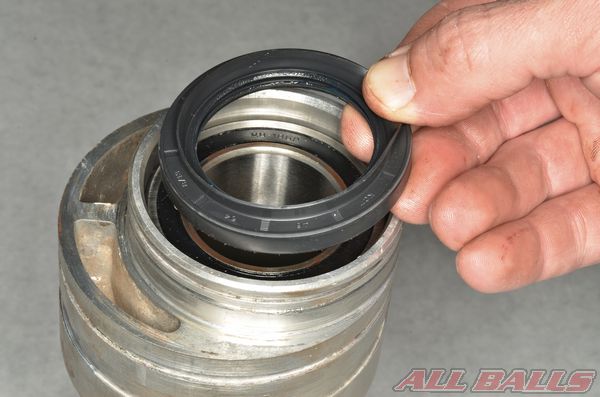
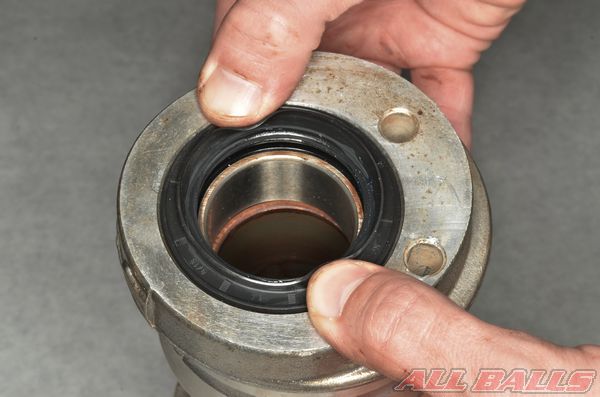
Press in the seals by hand or use a suitable driver that matches up with the outside diameter as the dust seal if needed.
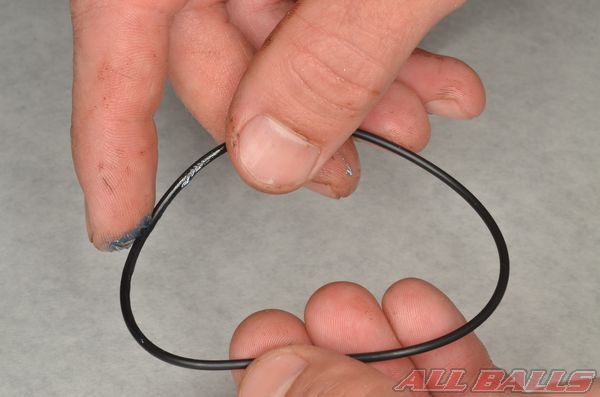
Apply grease to the carrier O-rings.
Install the O-rings onto the carrier.
Install the carrier into the swingarm.
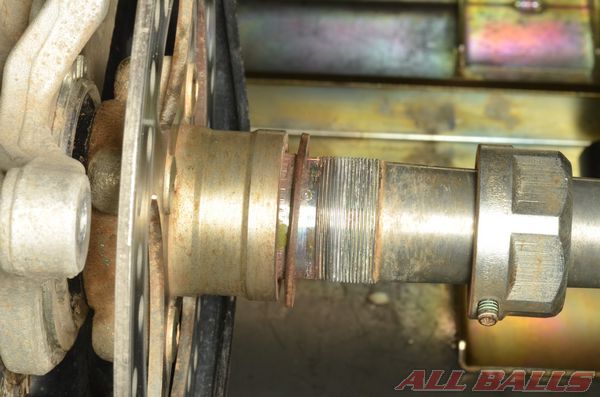
Install the rear axle into the carrier.
Follow the the instructions in the service manual for the axle installation procedures. Tighten the axle fasteners to specification. Only torque the axle nut to the manufacturers spec – guessing or over tightening can cause an improper side load and premature bearing failure.
Install the rear wheels, and adjust the drive chain slack to specification.

INSTALL ALL BALLS RACING STICKER!