

Note: These instructions are very general, and you should have a service manual for your particular vehicle to get a better understanding of your particular setup and have factory recommended torque levels and specifications on hand.
Check out the Additional Service Information Resources for more information on finding service information for your specific vehicle.
Prep
Thoroughly clean the vehicle to make the job easier and prevent contamination of the new components during installation.

Get your CV boot kit from ALL BALLS RACING.
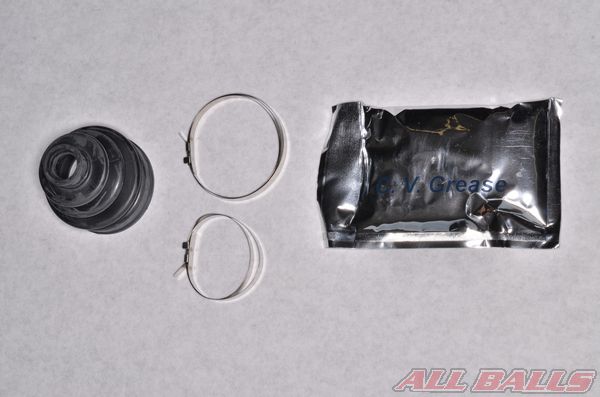
Remove the contents of your ALL BALLS RACING CV Axle Boot kit. Layout the components in an organized manner for easy installation.
Removal
Support the vehicle with a suitable stand or jack.
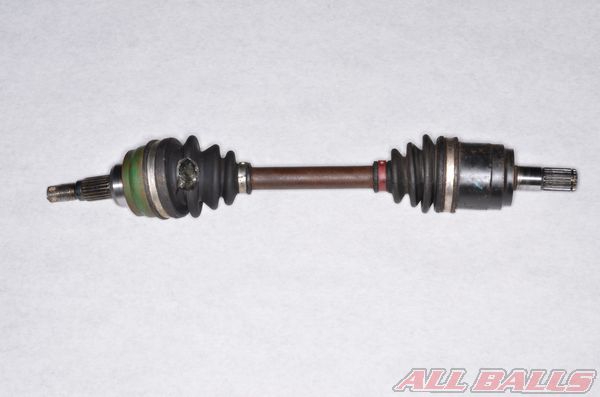
Remove the CV axle.
The inboard end of the axle is fitted into the differential or final drive unit with a circlip.
A firm swift pull will be needed to free the inboard end of the axle.
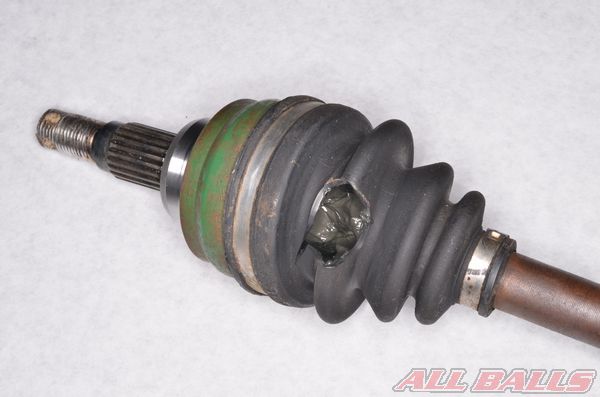
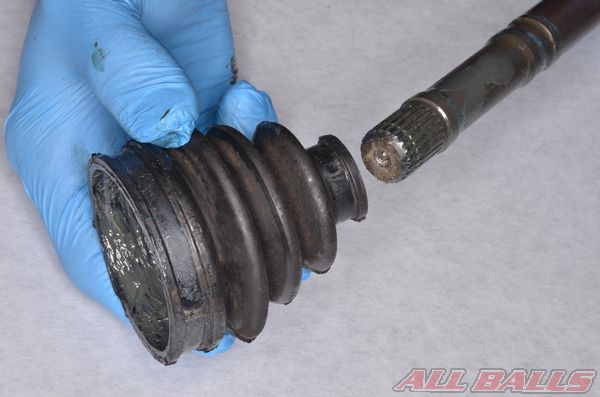
Inspect the CV joint boots and replace them as needed.
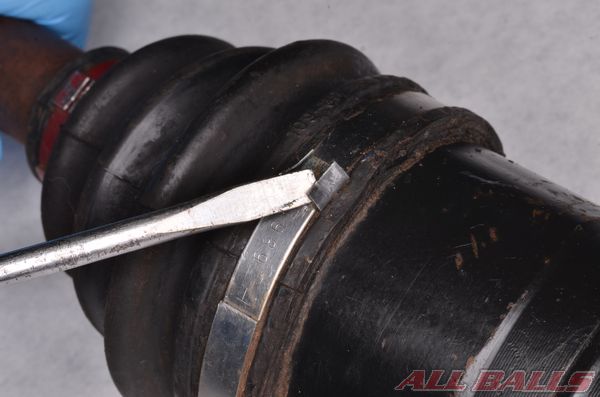
Open the old CV boot clamps.
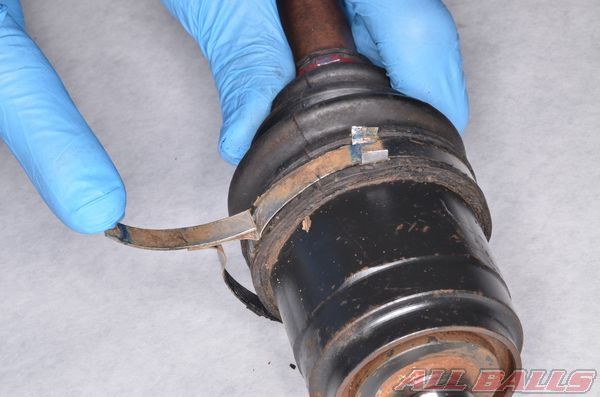
Free the old clamps from the boots.
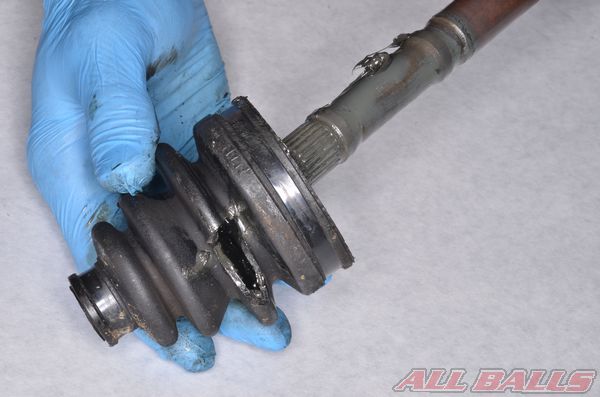
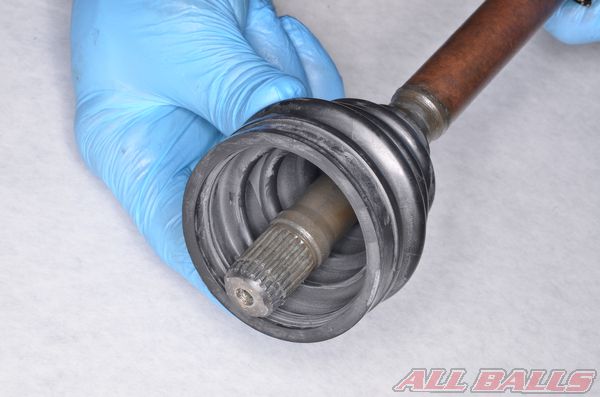
Slide back the plunge joint (inner) boot.
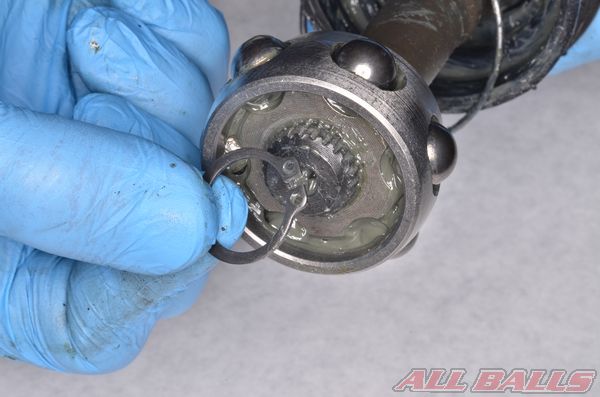
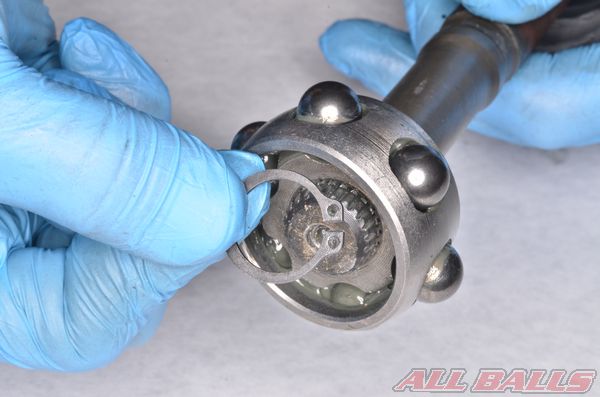
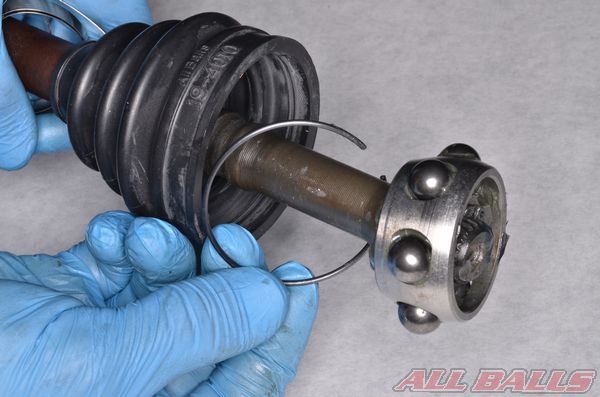
Free the plunge joint retaining ring from its groove with a small flat blade screwdriver.
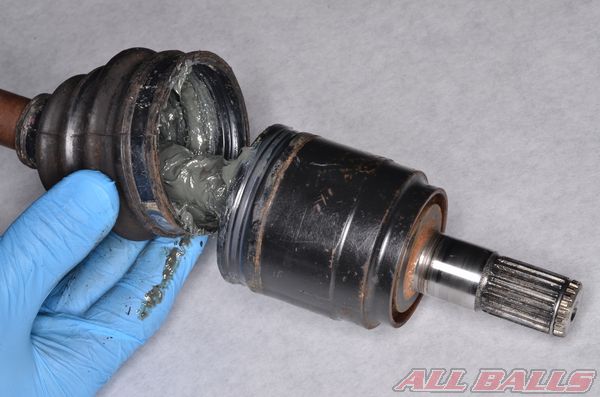
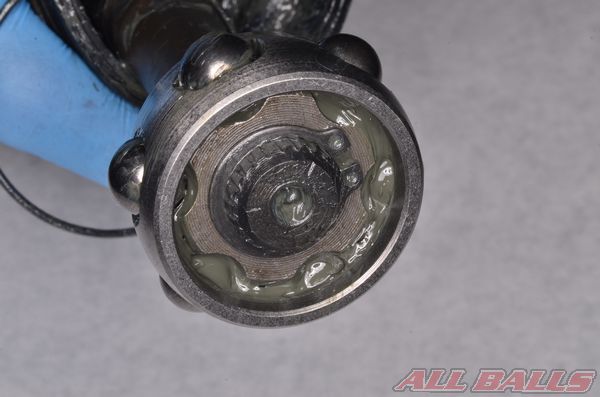
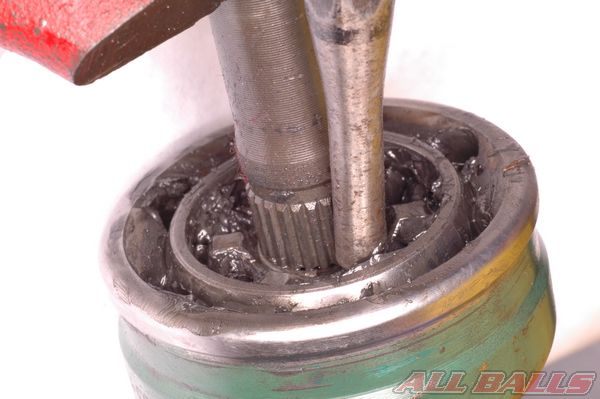
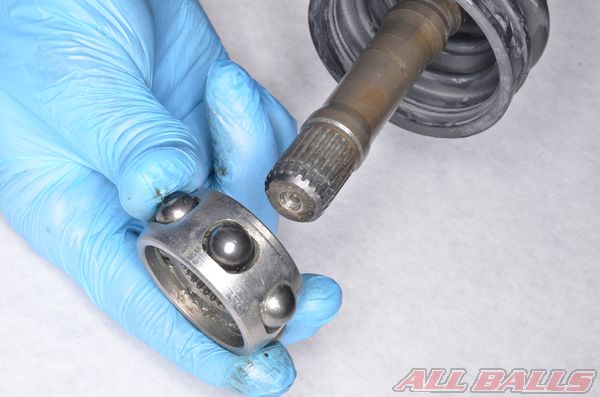
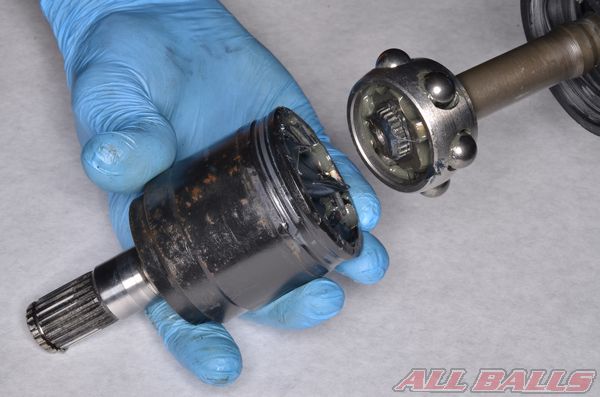
Remove the plunge joint housing.
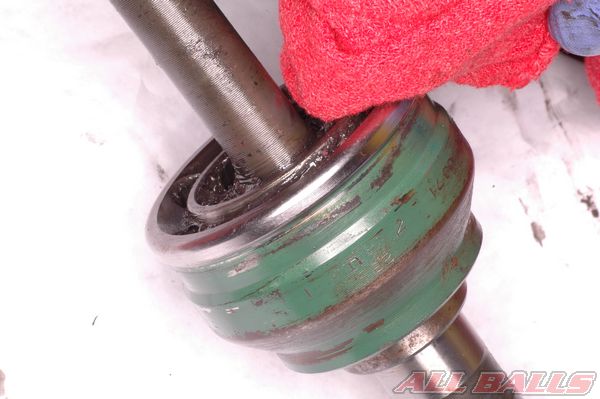
Clean away all of the old grease from the bearing and joint housing. Inspect the bearing and housing for damage and wear.
Remove the bearing snap ring with snap ring pliers.
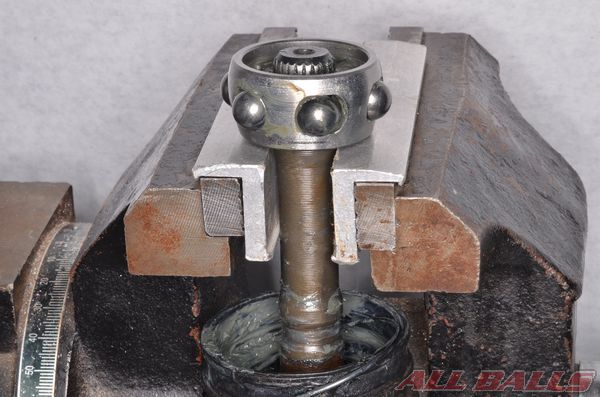
Support the bearing and drive the axle shaft out of the bearing.
Remove the bearing from the axle shaft.

Remove the plunge joint retaining ring.
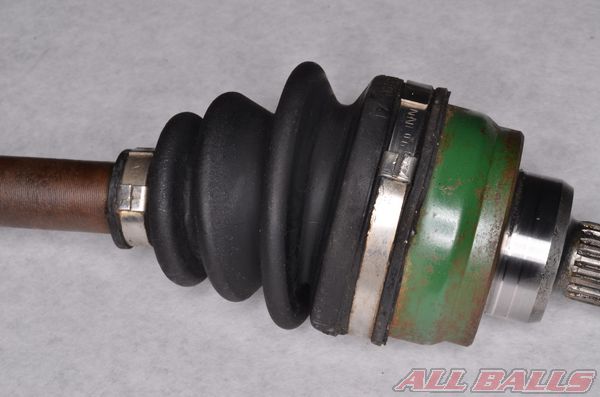
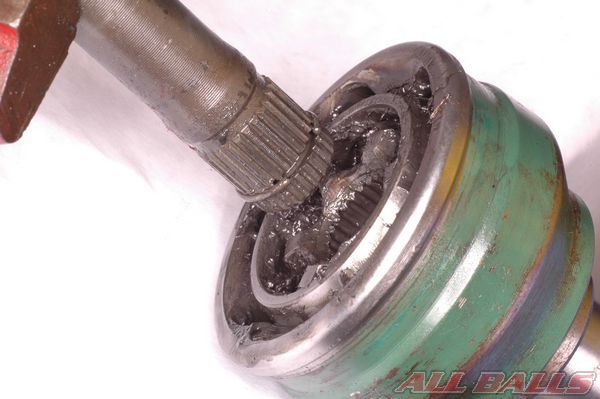
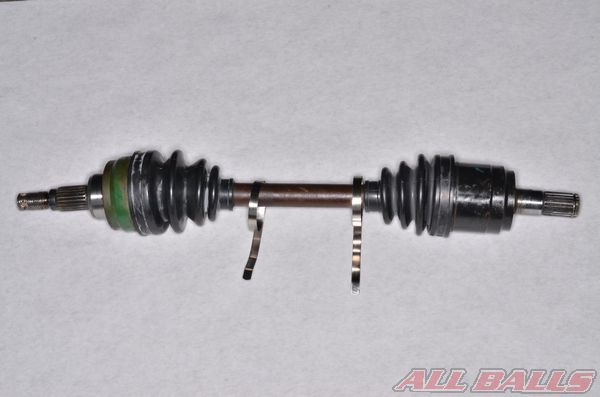
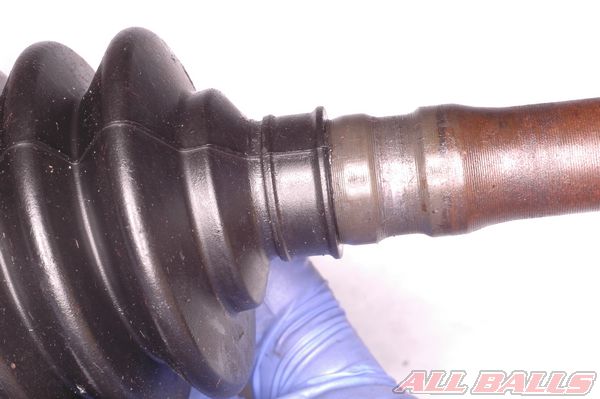
Remove the CV Boots.
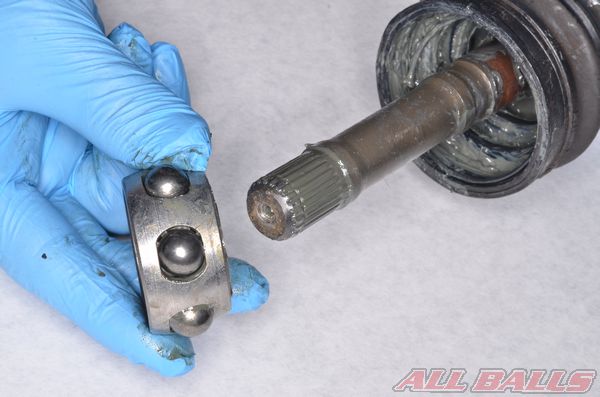
The outboard joints are not serviceable on all models. Clean up the joint as much a possible and inspect it for wear and damage.
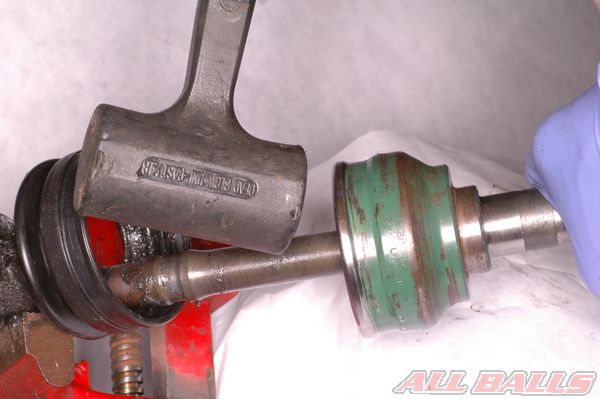
If the outboard joint is removable, remove it with a rubber mallet or drive it off with a punch. Only contact the inner bearing race with the punch.
Remove the outboard joint from the axle.
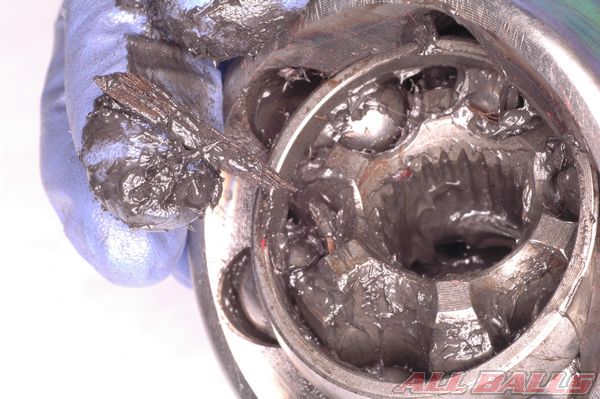
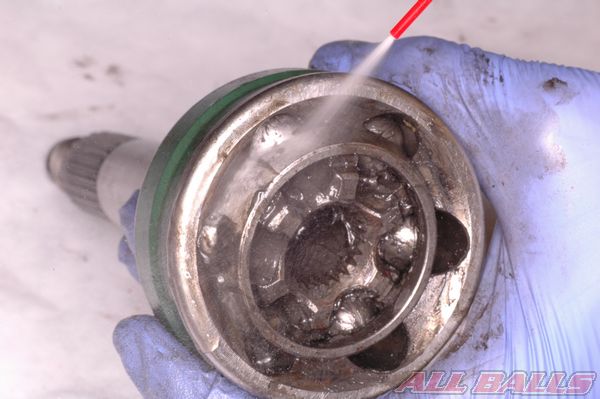
Clean out the joint to remove all of the old grease and debris.
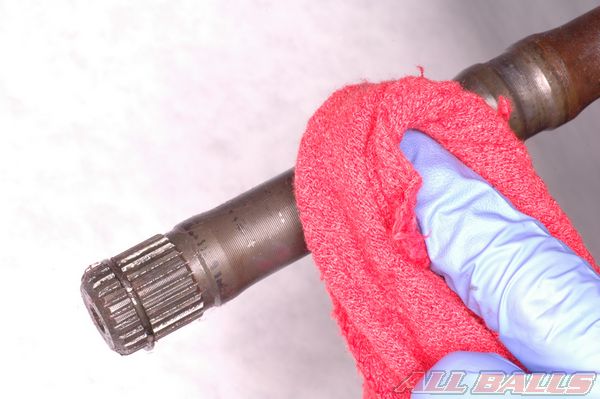
Clean the axle and inspect it for wear and damage.
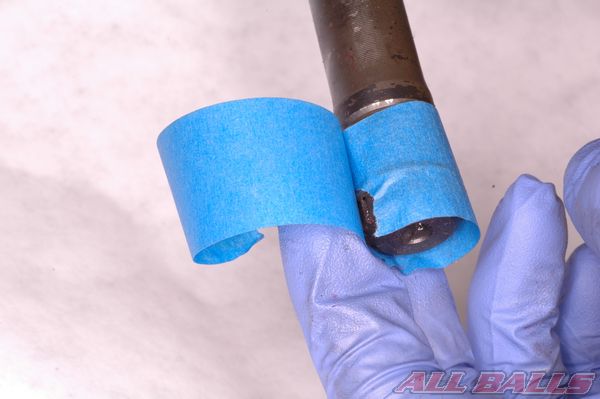
Wrap the axle splines with tape to prevent damage to the boots as they are installed if needed.
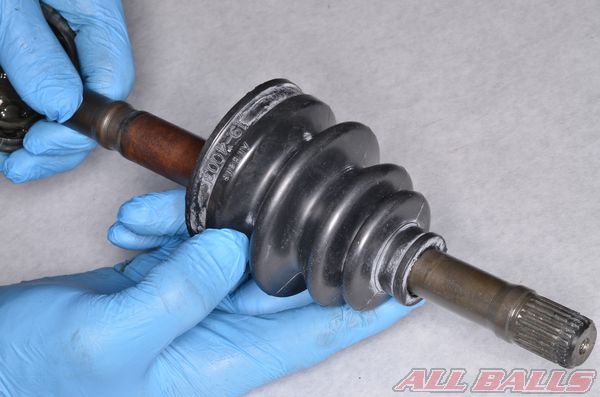
Install the outboard boot kit and joint onto the axle if it is a removable type. Lubricated the joint with grease before assembly.
If the outboard joint was not a removable type, slide the outboard boot into place from the inboard end of the axle.
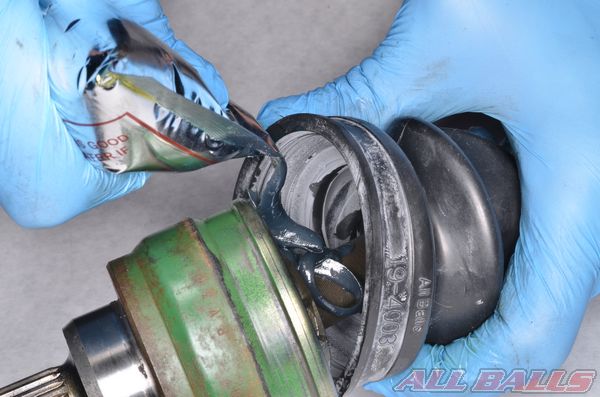
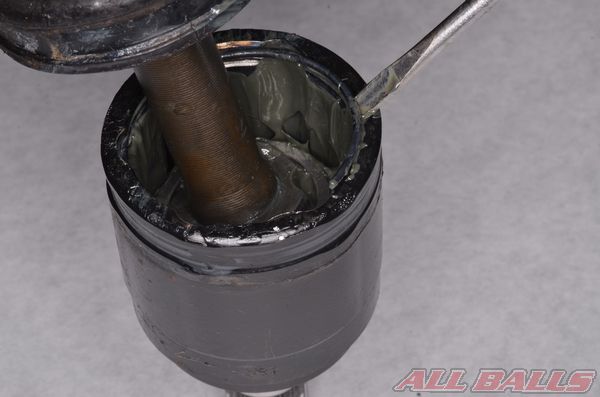
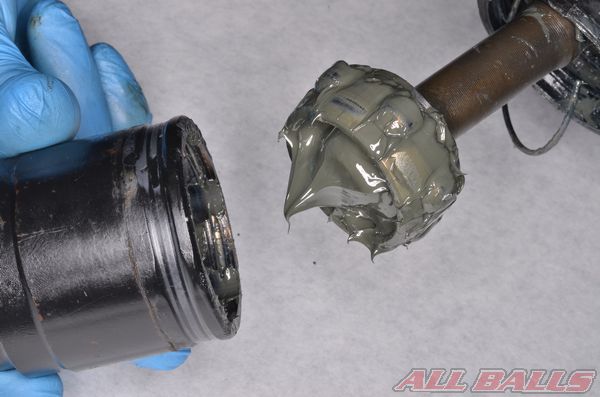
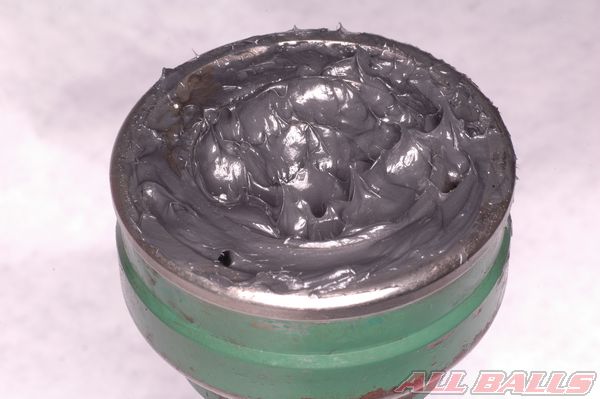
Pack the joint with grease according to the OEM specifications.
Install the inner clamps for both boots. See below for more information on tightening and securing the clamps.
Install the bands so that when the ends are pulled back they face the opposite direction of normal axle rotation.
Slide the inboard boot and clamps onto the axle shaft.
Install the bearing onto the inboard end of the axle shaft.
Install the snap ring into its groove to secure the bearing to the shaft.
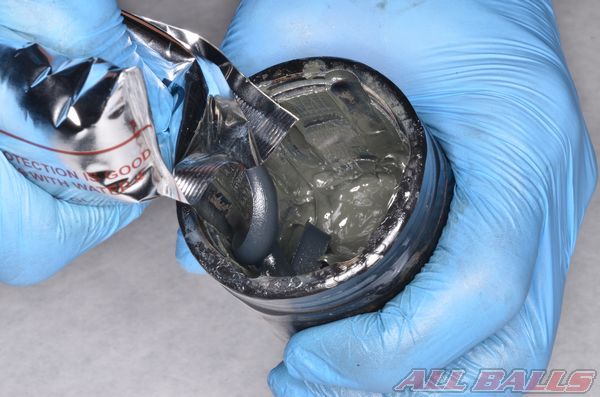
Lubricate the plunge joint housing with grease according to the OEM specifications.
Install the plunge joint retaining ring onto the axle.
Install the plunge joint housing onto the bearing.
Install the retaining ring to secure the bearing in its housing.

Fit the small end of the boot into the recessed area on the axle.
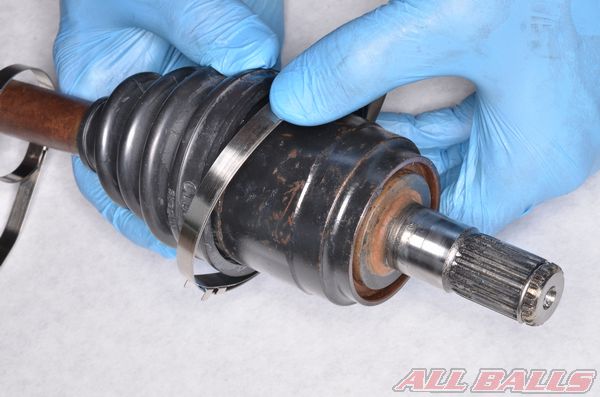
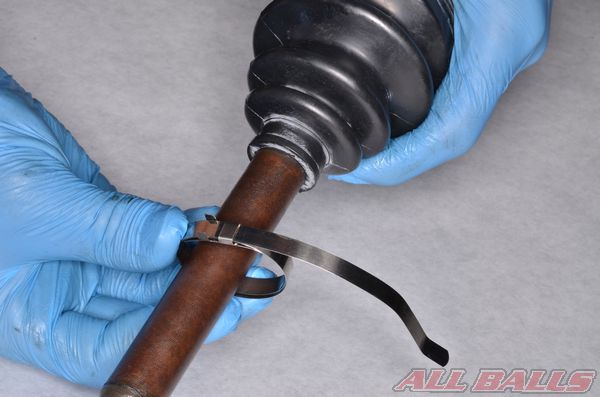
Fit the inner and outer boot clamps into place for both boots.
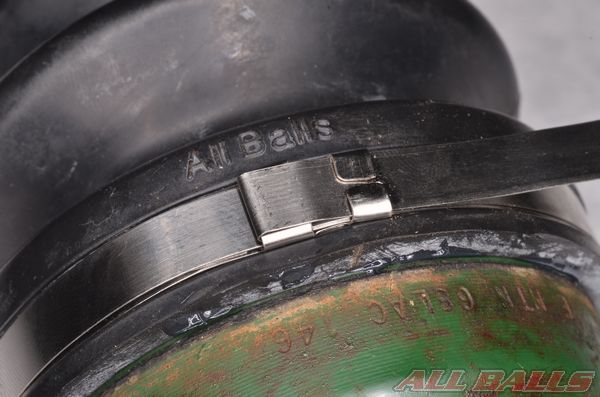
Tighten the boot clamps by pulling the ends. Do not over-tighten the clamps to the point where the boot becomes distorted or damaged.
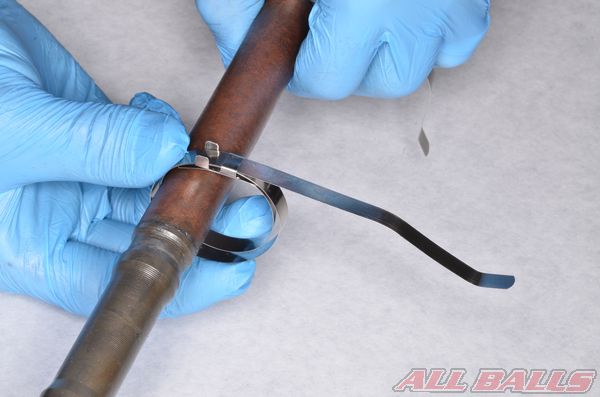
While holding the clamp tight, bend the tabs down to secure the end as shown. Trim away the excess clamp end.
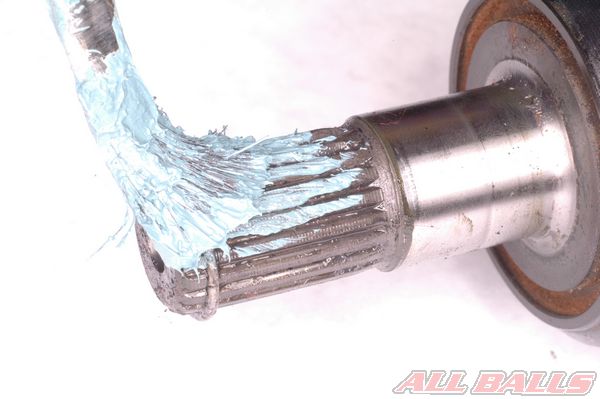
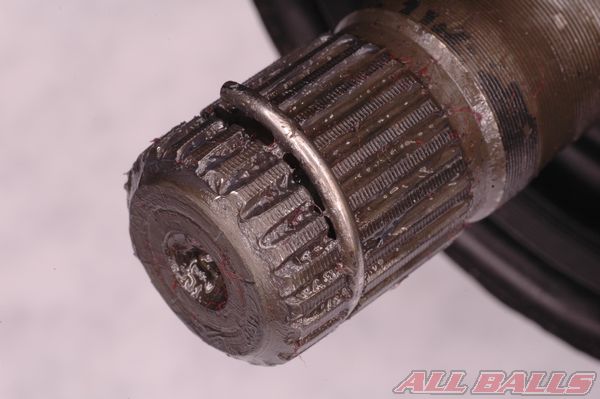
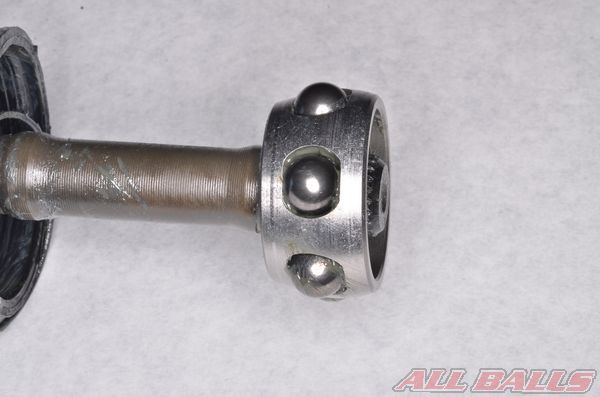
Insert a new stopper ring into the groove in the shaft splines. Lightly coat the drive shaft ends with grease.
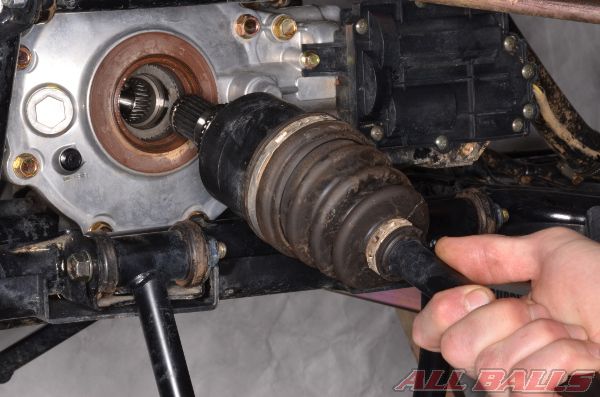
Lubricate the lips of the differential/final drive oil seal with grease. Insert the differential end of CV axle.
Note: Be careful not to damage the oil seal in the gear case. After installing, check the circlip is seated properly by pulling lightly on the inboard end of the CV axle.
Assemble the vehicle.
INSTALL ALL BALLS RACING STICKER!