

Note: These instructions are very general, and you should have a service manual for your particular vehicle to get a better understanding of your particular setup and have factory recommended torque levels and specifications on hand.
Check out the Additional Service Information Resources for more information on finding service information for your specific vehicle.
Prep
Thoroughly clean the vehicle to make the job easier and prevent contamination of the new components during installation.
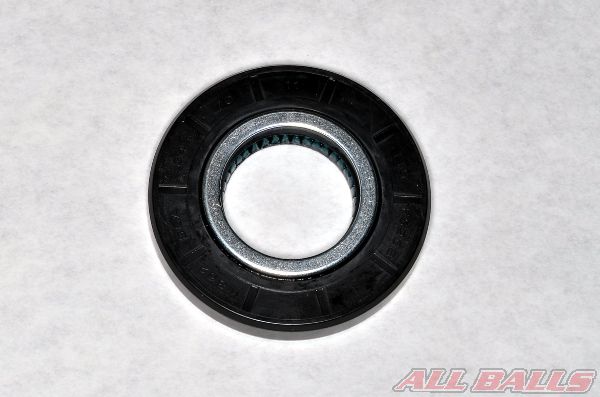
Get your final drive unit/differential bearing and seal kit from ALL BALLS RACING.
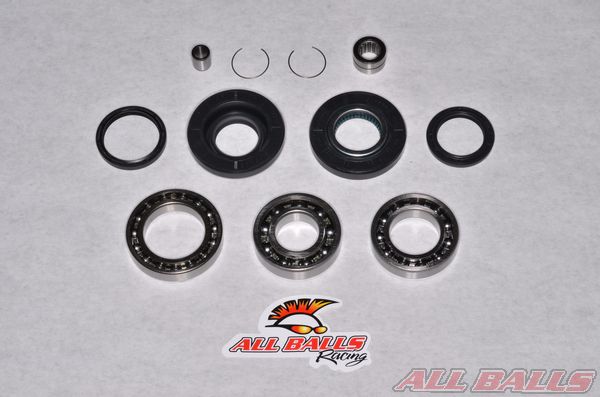
Remove the contents of your ALL BALLS RACING final drive unit/differential kit. Layout the components in an organized manner for easy installation. Place the new bearings in the freezer for about an hour before installing them.
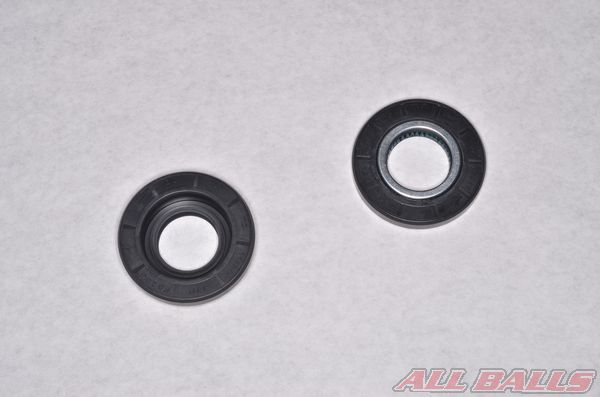
The kits are designed to fit multiple vehicles and there may be extras seals. Match up the new seals with the old old components.
Differentials and final drive gear units use shims with the ring and pinion gears to adjust gear tooth contact and backlash. Note the location, size and quantity of any shims with the ring and pinion gears.
Removal
Support the vehicle with a suitable stand or jack.
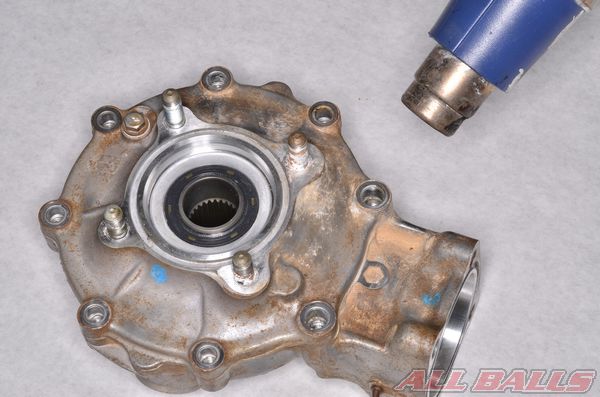
Drain the oil from the differential. Remove the rear axle/s.
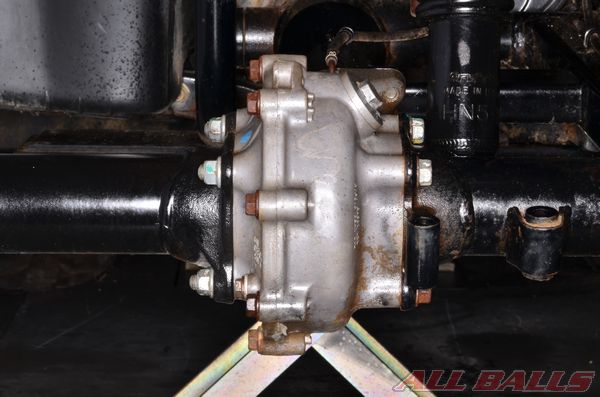
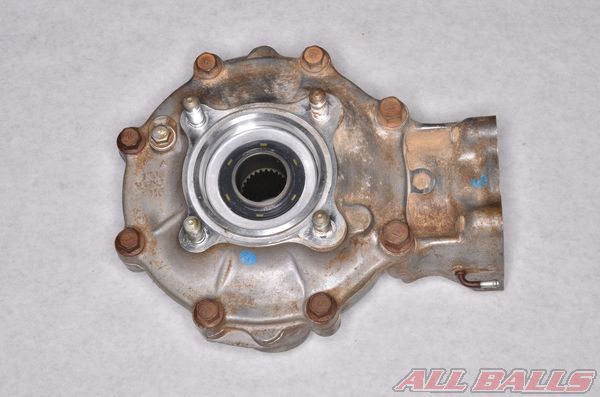
Remove the differential from the frame or swingarm.
Loosen the differential case bolts evenly and in a crisscross pattern.
Remove the differential case bolts. In some cases where silicone sealant is used, heating the differential case and cover with a heat gun is helpful when removing the cover.
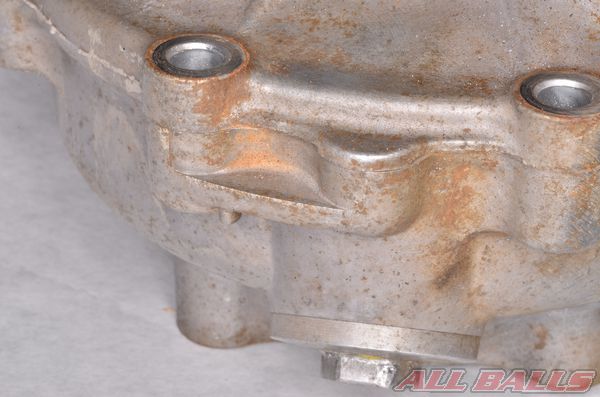
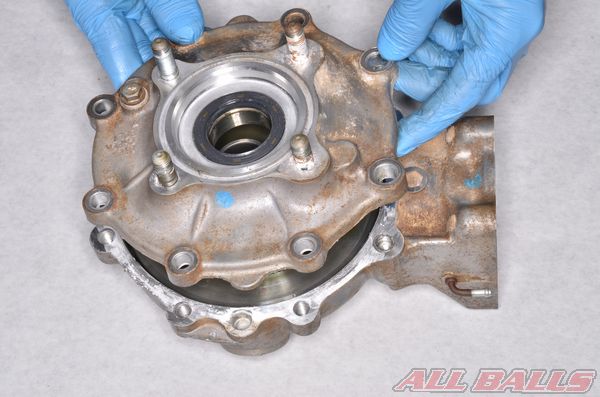
Utilize the pry points and remove the differential case cover.
Ring Gear Bearings
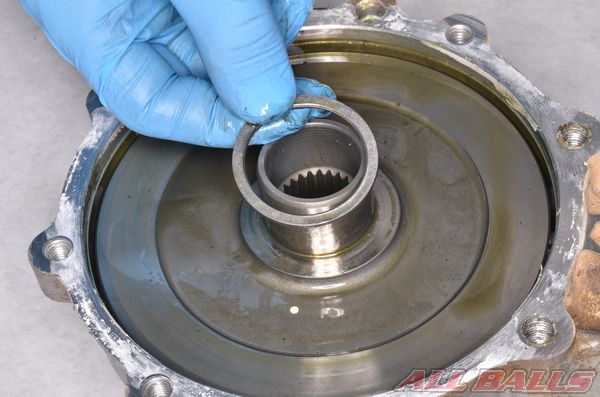
Note the location and quantity of the ring gear shims.
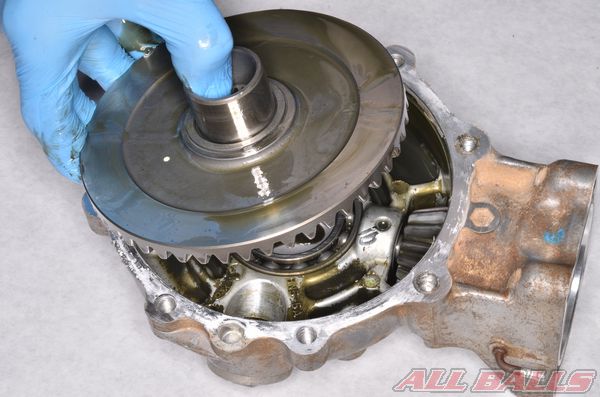
Remove the ring gear.
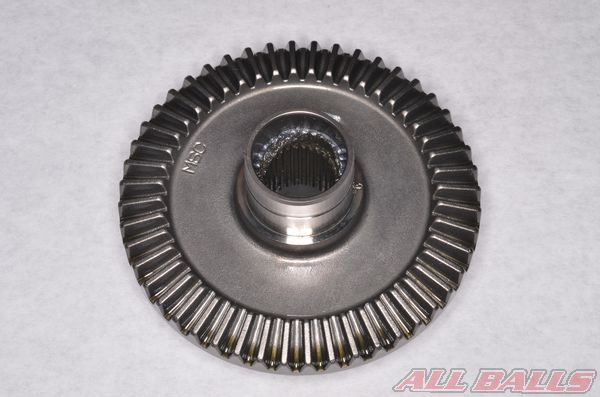
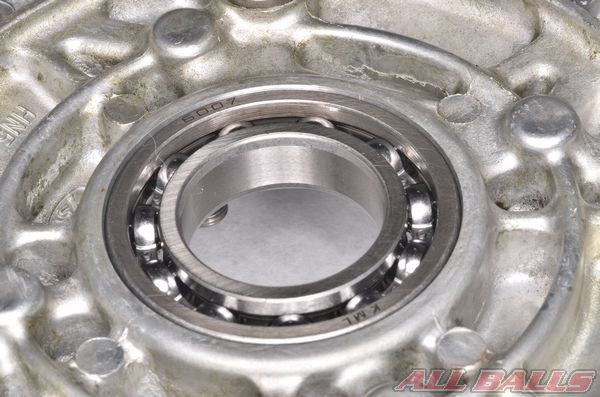
Inspect the ring gear for wear and damage.
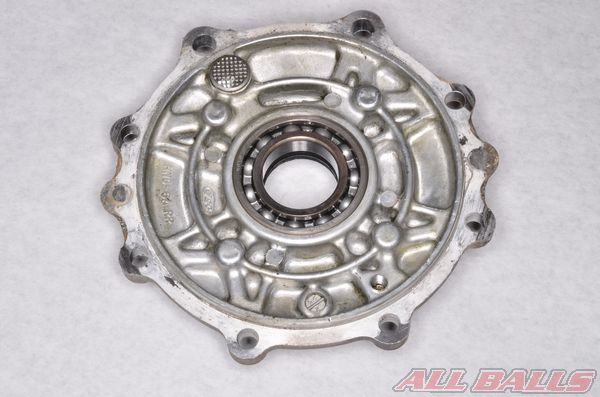
Inspect the ring gear bearings and seals.
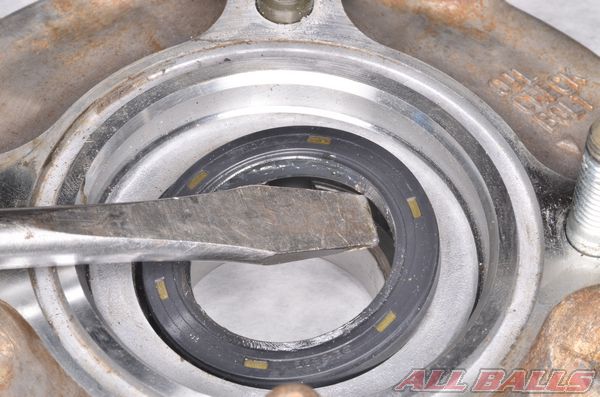
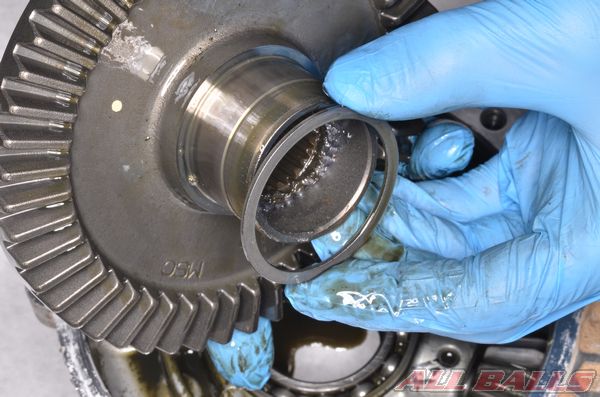
Remove the ring gear oil seals with a seal pick or flat blade screwdriver.
Drive the old bearings out of the case and cover from the outside in.
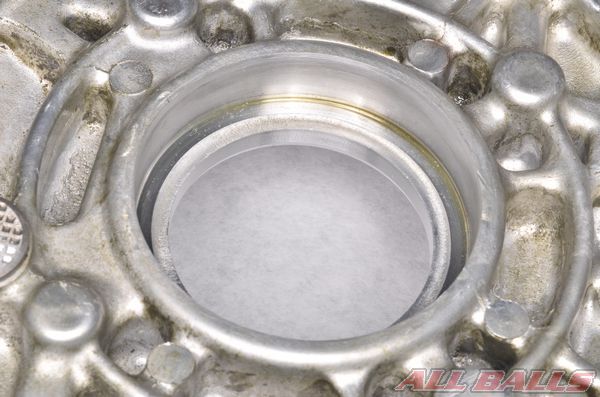
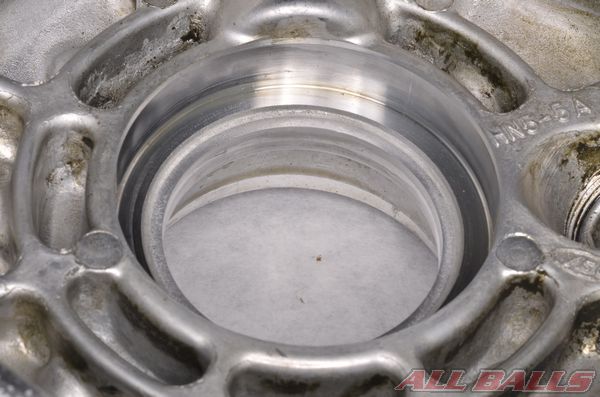
Clean away all of the old grease, grime, and rust from the bearing bore.
Inspect the bearing bore for wear and damage. Make sure the bore is free of damage or burrs that may cause the new bearings to hang during installation.
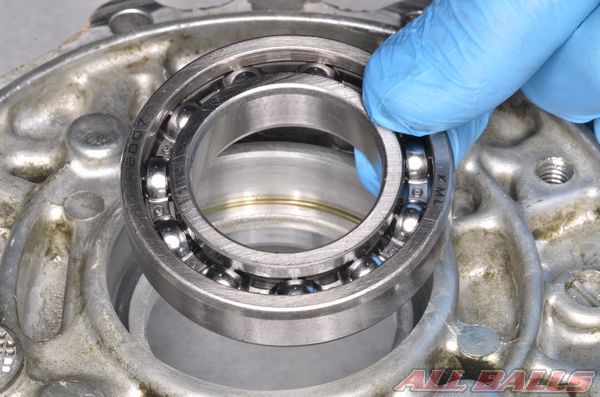
Heat the bearing bore area with a heat gun, take the bearing out of the freezer and install it.
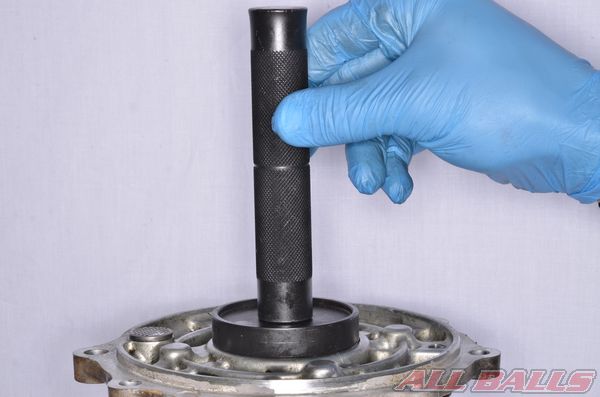
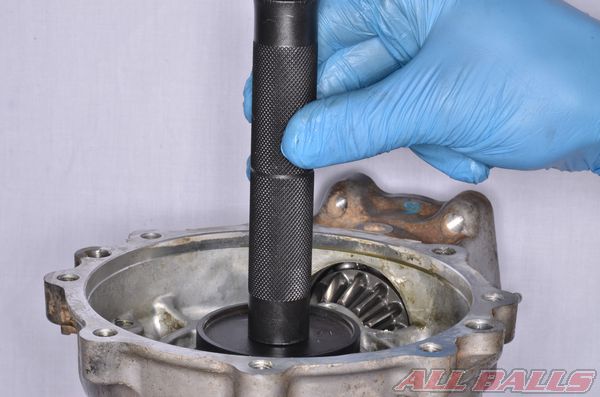
Drive the bearing into place with a bearing installer tool or a socket that matches up with the outer race of the bearing. Only press on the outer race of the bearing.
Make sure the bearing is fully seated.
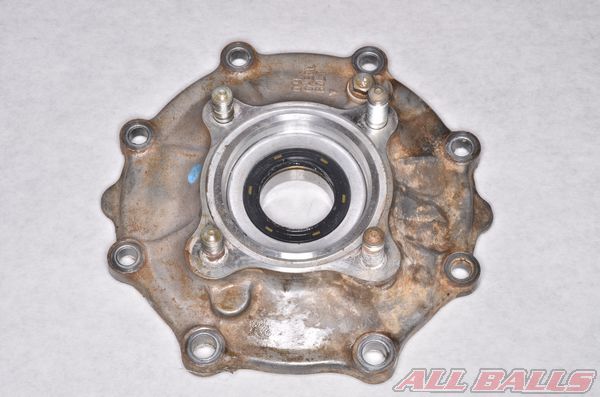
Pinion Gear Bearings
Ball Bearing
Remove the pinion gear seal with a seal pick.
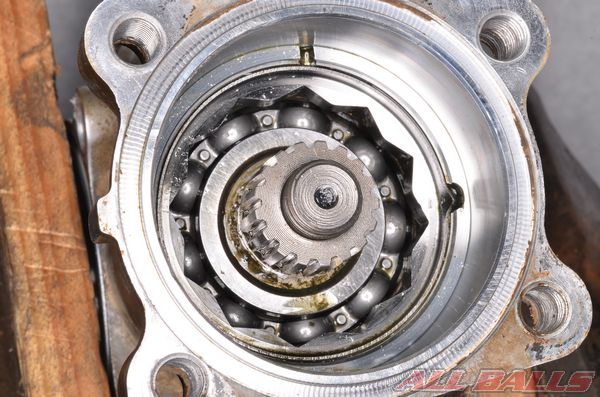
Pinion gear shafts are often held in place by an inner lock nut that requires a special lock nut wrench.
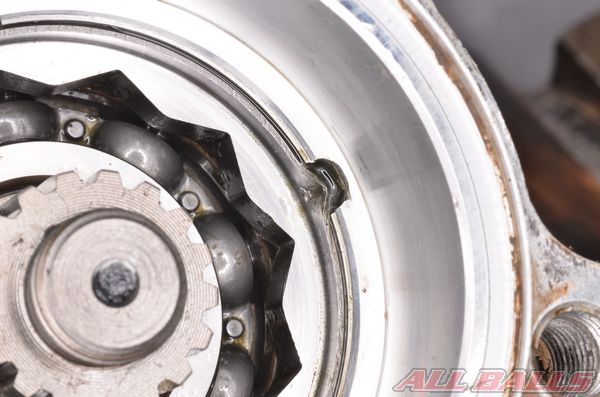
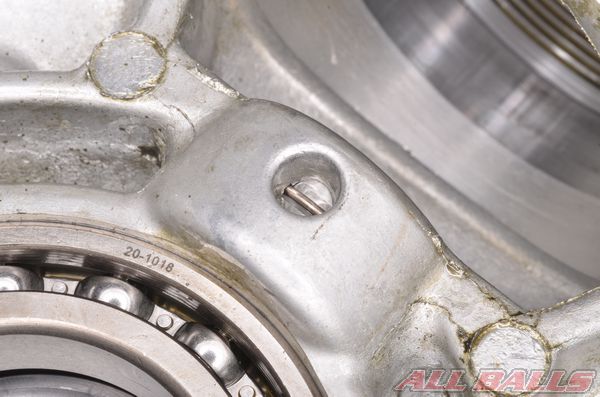
Drill out the stake in the inner lock nut. Do not damage the threads or case.
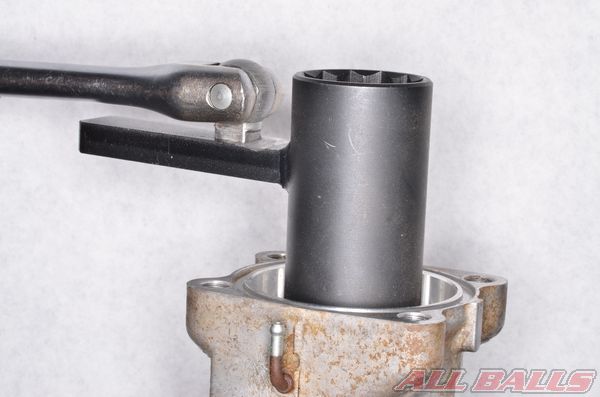
Loosen the inner lock nut with the special lock nut wrench.
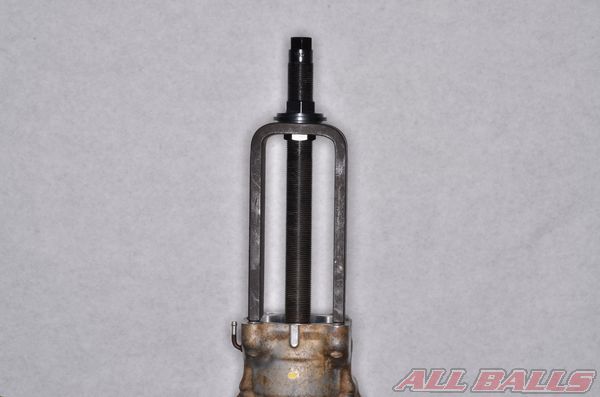
Use a special puller tool to remove the pinion gear.
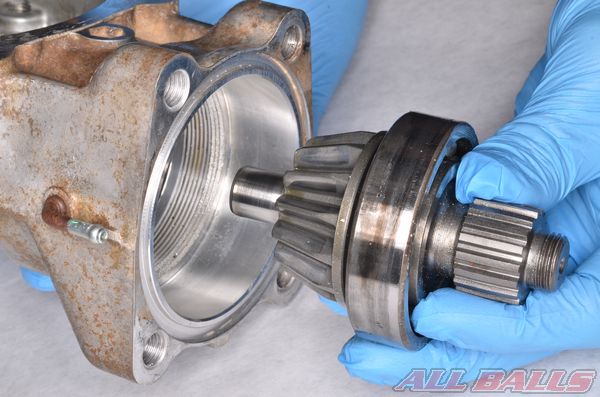
Remove the pinion gear from the case.
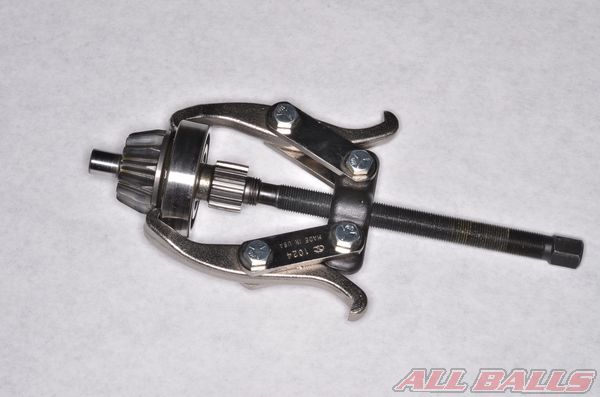
Use a bearing puller tool to remove the bearing from the pinion gear shaft.
Note the shims with the pinon gear.
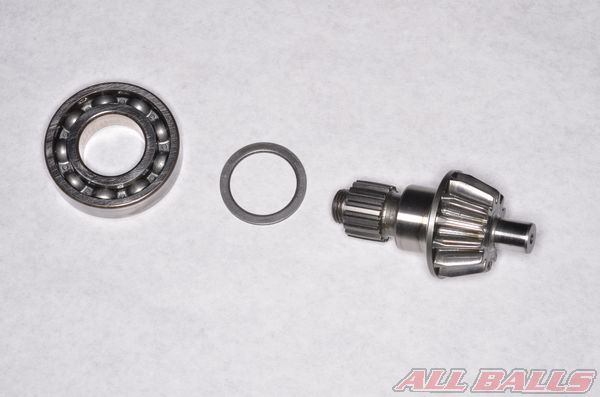
Install the bearing and shim onto the pinion shaft with a special bearing driver that only contacts the inner race of the bearing.
Needle Bearing
Remove the needle bearing retaining ring according to the OEM instructions.
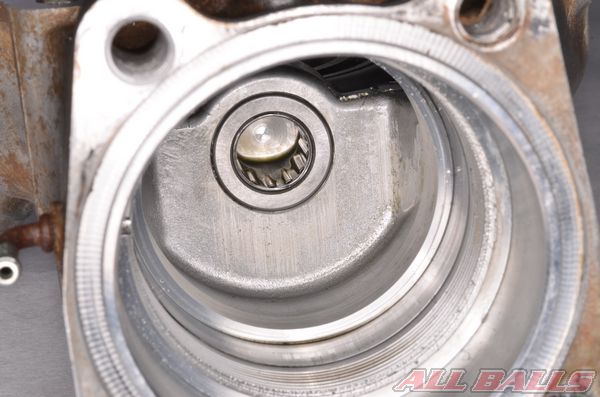
Remove the needle bearing with a suitable bearing puller.
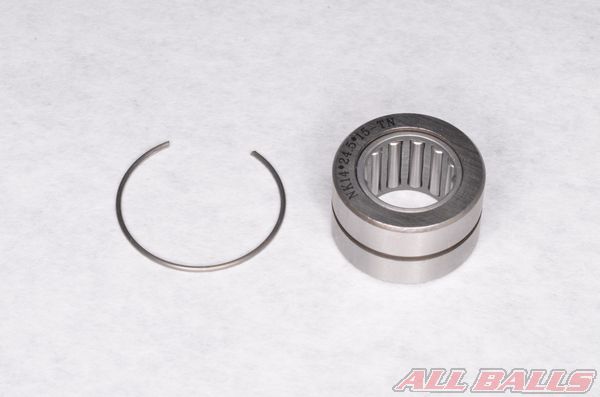
Remove the needle bearing from the freezer.
Install the retainer ring onto the needle bearing.
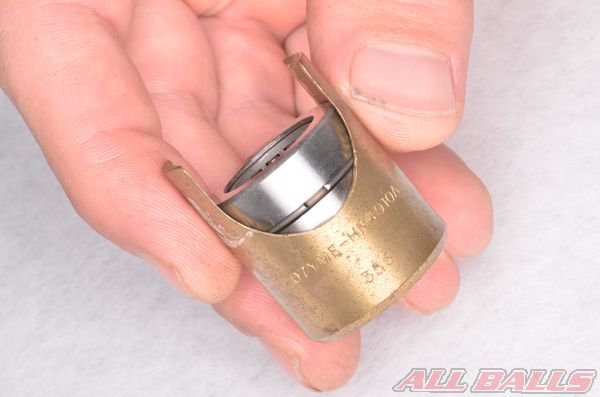
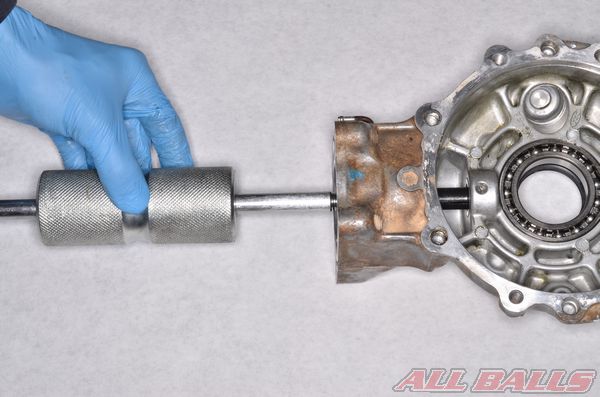
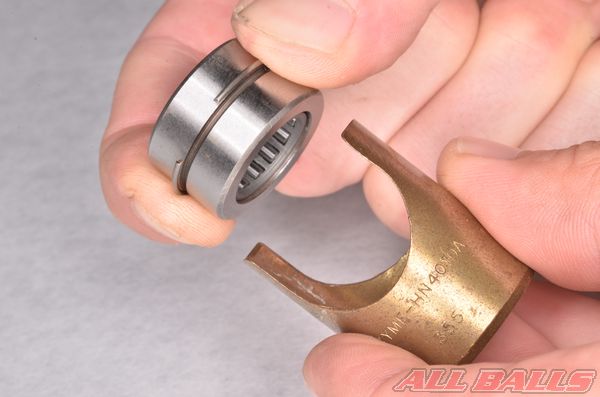
Fit the needle bearing and retainer ring into the compressor tool. The bottom of the bearing should be flush with the end of the compressor tool.
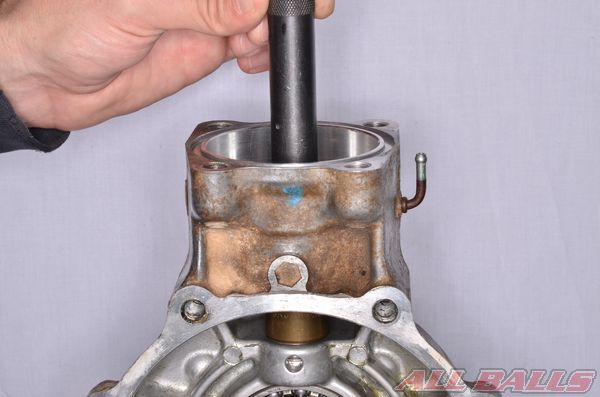
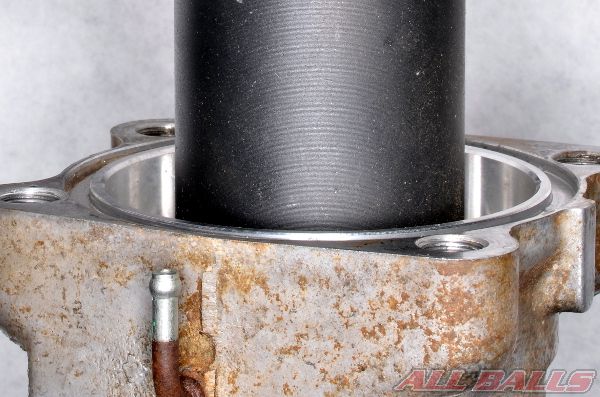
Heat the case with a heat gun. Drive the bearing into the case with a suitable driver that only contacts the outer race of the bearing. If the bearing uses a retaining ring drive the bearing in with one solid strike.
Make sure the bearing is fully seated.
If the bearing uses a retaining ring make sure the ring is seated in the groove.
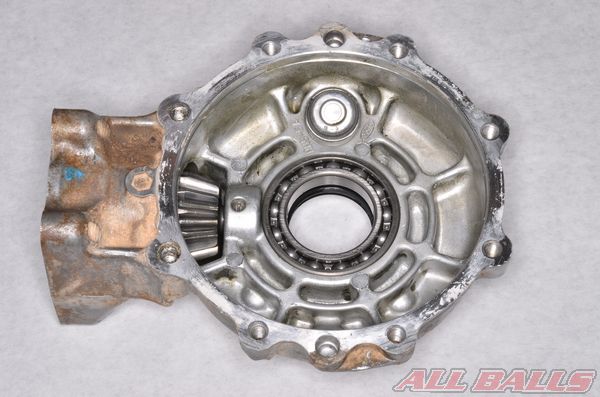
Pinion Gear Installation
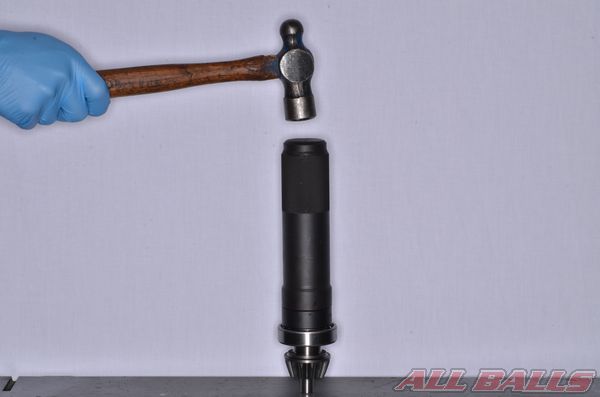
Install the pinion gear assembly into the case.
Drive the pinion gear assembly into the case with a suitable driver that only contacts the outer race of the pinion bearing.
Install the pinion gear shaft inner lock nut and tighten it to specification with the special inner lock nut wrench.
Stake the inner lock nut with a punch and hammer. Do not damage the threads or case.
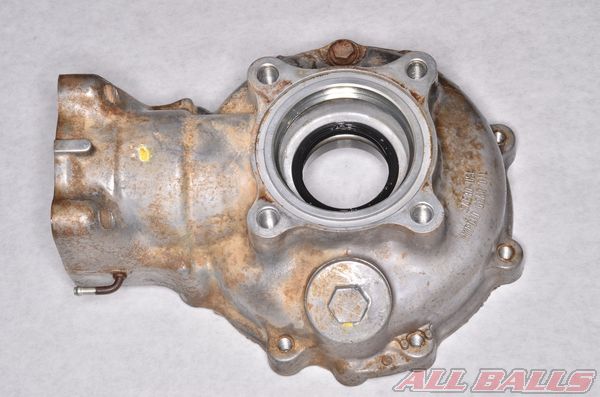
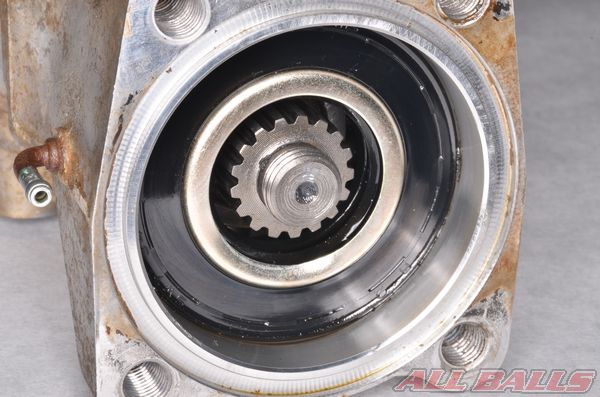
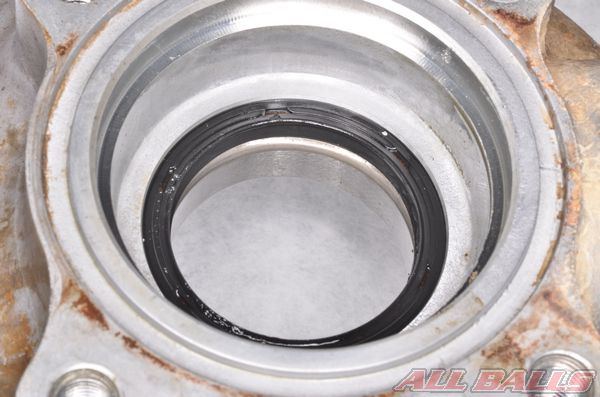
Lubricate the lips of the new pinion oil seal with grease.
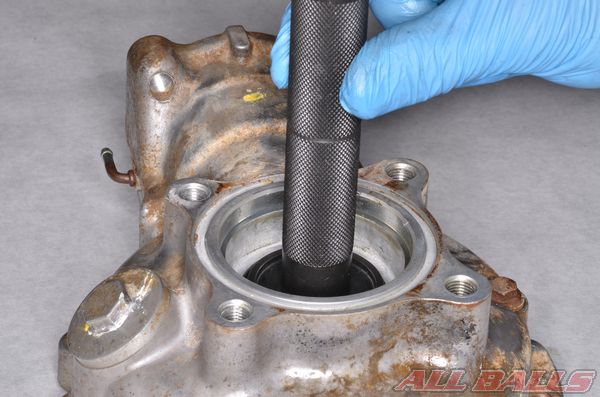
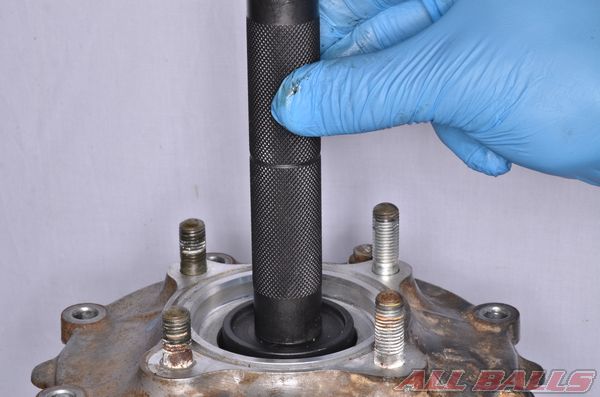
Install the new pinion oil seal until it is fully seated.
Ring Gear and Case Assembly
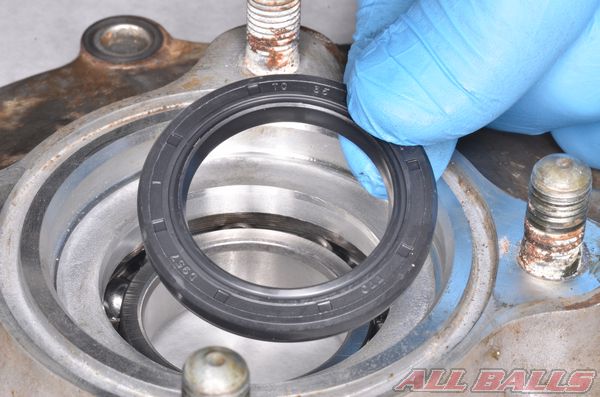
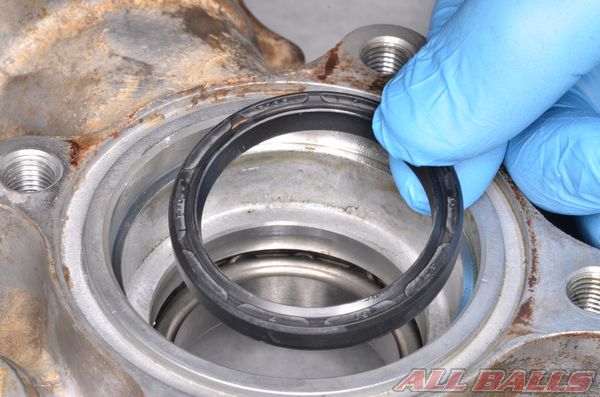
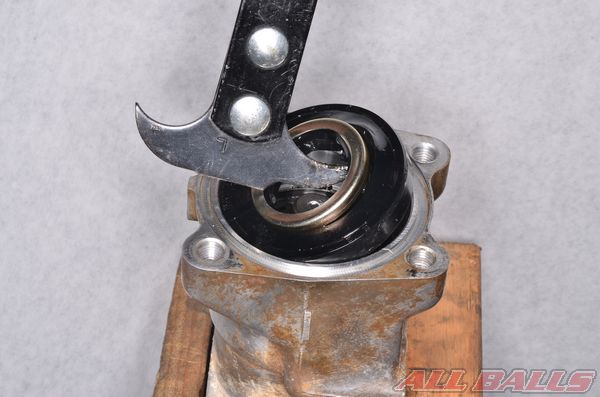
Lubricate the lips of the new oil seals with grease.
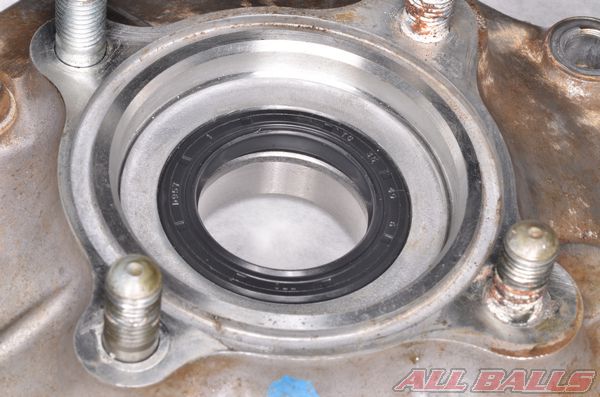
Install the new oil seals into the case and cover.
Install the ring gear with the correct shims.
The ring gear to pinion gear fitment must be precise. The backlash and gear tooth fitment should be inspected if the gear set turns roughly or any of the components are replaced. Shims on the pinion and ring gears can be changed to adjust the backlash and gear tooth fitment.
Make sure the case and cover mating surfaces are free of old sealant material.
Install the cover to the case with new sealant, gasket, or O-ring depending on the type.
Install the case bolts and tighten them evenly, in multiple stages, in a crisscross pattern to the specified torque.
Install the differential to the frame or swingarm. Assemble the vehicle. Fill the final drive oil.

INSTALL ALL BALLS RACING STICKER!