

Note: The procedure shown here depicts a trail-side installation of an EZ Trail Boot on a KYMCO UXV 500 G Side by Side. Before attempting this on your own vehicle be sure to obtain a model specific service manual so you understand your particular setup and have factory recommended torque levels and specifications on hand.
Whether you trail ride or use your vehicle for work it’s not uncommon for a CV boot to require a replacement. As with many things, CV boots tend to break at the most inopportune times – such as in the middle of nowhere or over a weekend after the dealership has closed. After trashing a complete CV axle on my Side by Side because of a torn boot I wish I would have changed it out sooner instead of thinking it would be okay. Fortunately there is a new tool on the market that makes the job easier than every before. Rather than removing the entire axle from the differential all you need to do is remove the wheel and outer knuckle exposing the CV axle. The EZ Trail Boot will not only save you time but it will save you money, here’s how it works:
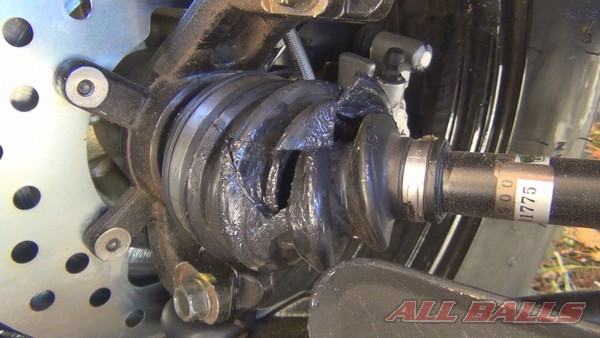
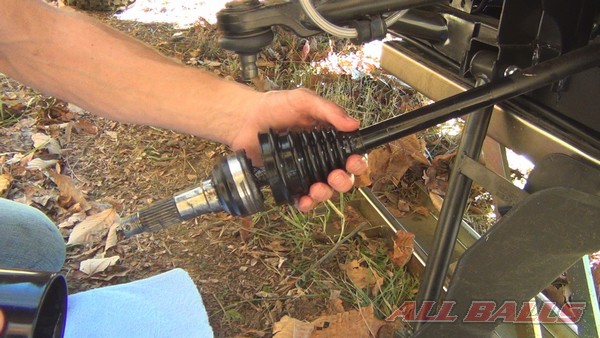
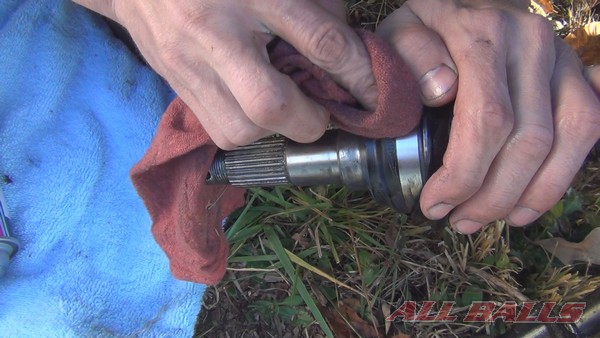
If you have a torn boot like the one in the photo above stop operating the vehicle as soon as safely possible. Wipe away any debris stuck to the boot so it’s clean prior to removal.
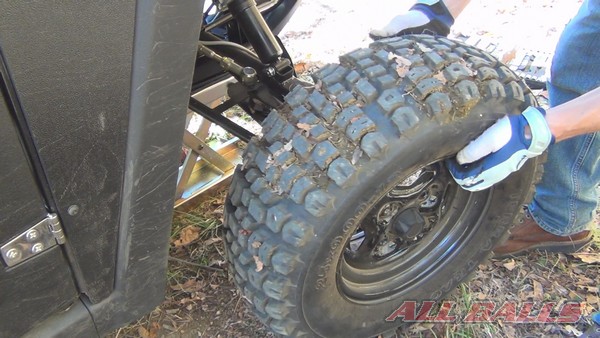
Support the vehicle with a suitable jack and remove the wheel.
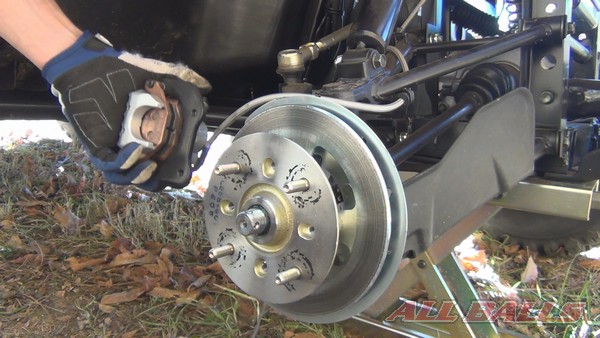
Remove the brake caliper.
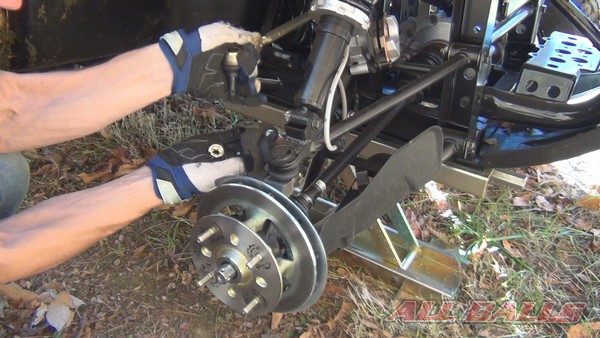
Remove the tie rod from the knuckle. Be sure and use a new cotter pin if applicable.
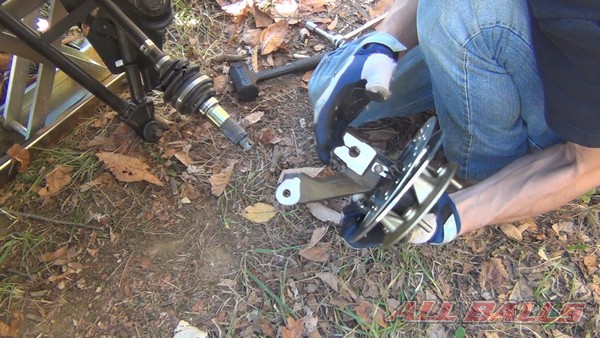
Remove the knuckle and brake rotor.
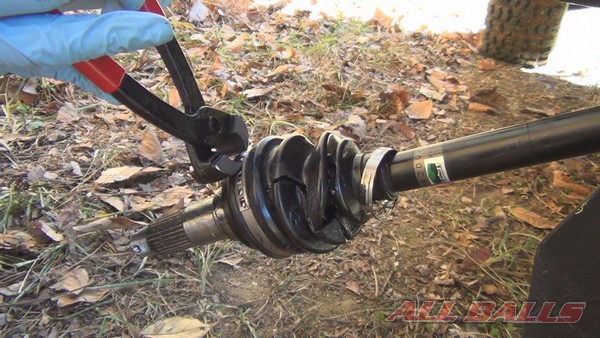
Remove the old boot clamps using a suitable tool.
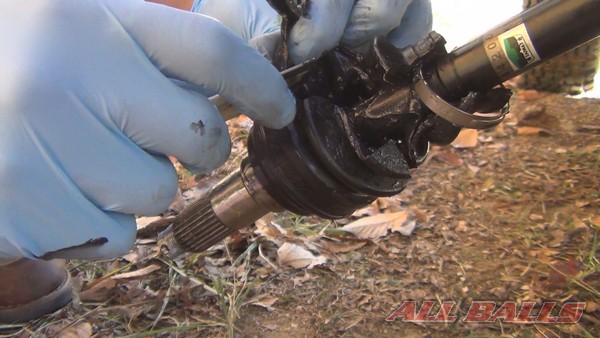
Use a knife to cut the old CV boot loose and free it from the axle.
Check again for any dirt or debris that may have entered the CV joint. It’s very easy for small rocks to hide in the grease.
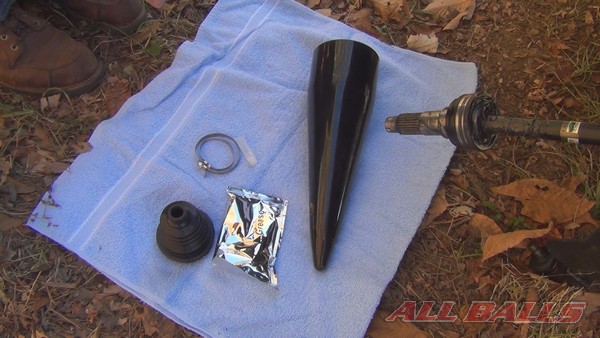
Remove and organize the contents of your EZ Trail Boot kit.
Apply the entire tube of boot lubrication to the EZ boot installation cone. Make sure the cone is completely covered in lubricant and there are no dry spots.
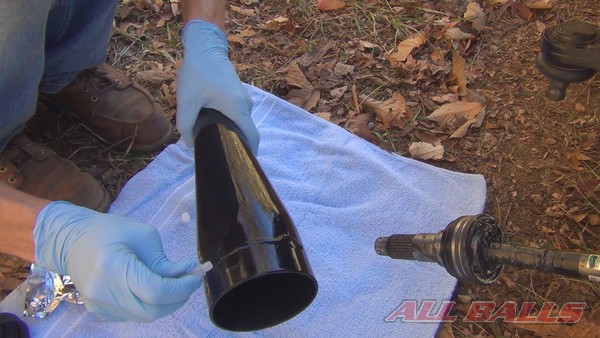
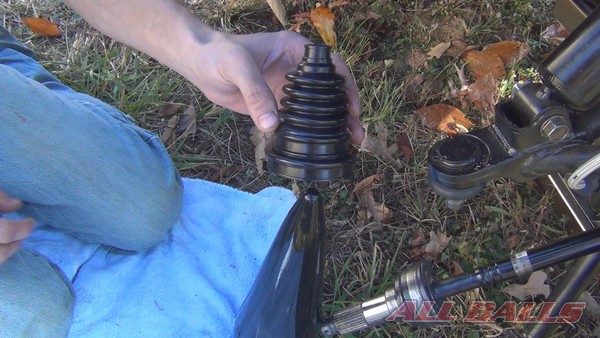
Place the cone on level ground. If you are replacing the outer boot you will want to install the small end over the cone. Push the boot down onto the cone until it is fully expanded. Holding the boot with a clean rag will prevent slipping while sliding the boot over the cone.

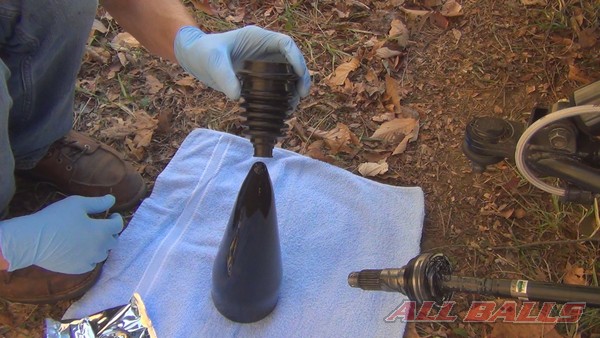
Place the cone and boot over the outer CV joint.
Slide the boot off the cone.
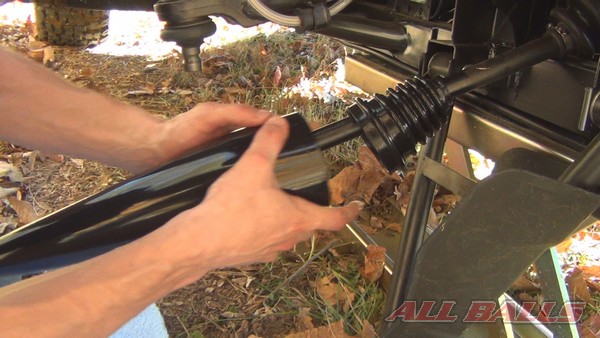
Slide the boot down the axle and free any material that is wrinkled.
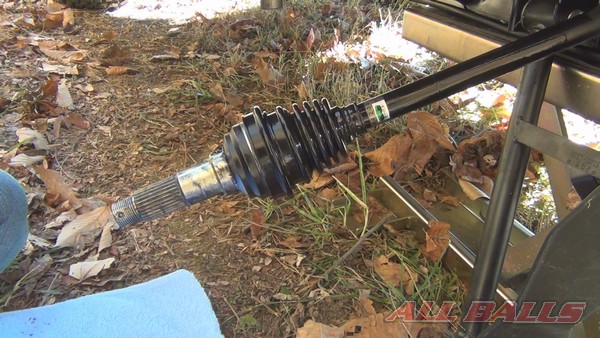
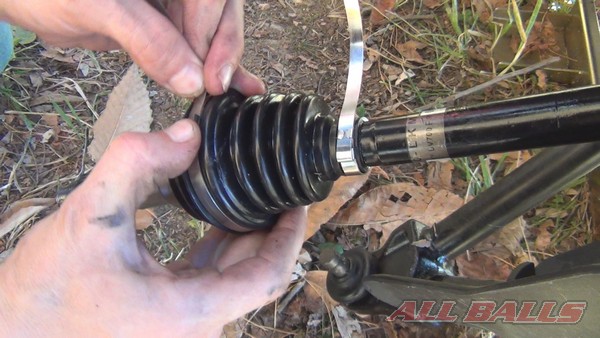
Position the boot on the CV joint and check for proper fitment.
If you are installing the inner boot you will want to install it on the cone with the large end down.
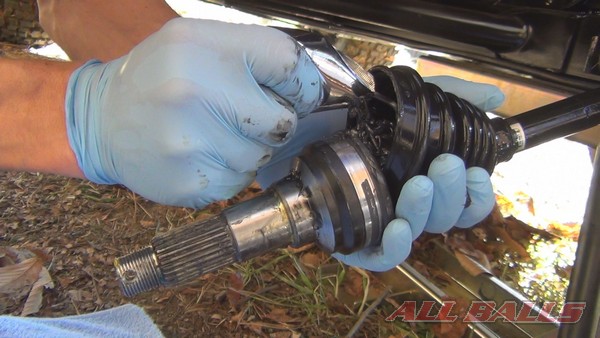
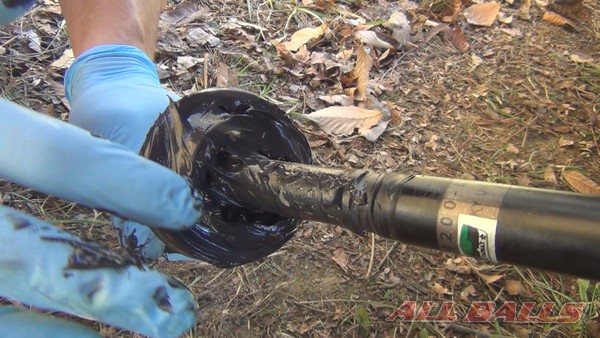
Grease the CV joint with the grease packed provided.
Clean the clamping surfaces on boot and CV joint with a degreaser, if available, to prevent the boot from slipping out of place.
Install the metal band clamps so that when the ends are pulled back they face the opposite direction of normal axle rotation.
Tighten the bands by pulling the ends. Do not over-tighten to the point where the boot becomes distorted or damaged.
While holding the clamp tight, bend the tabs down to secure the end as shown. Cut the excess band.
Since this is a universal fit CV boot you may need to trim any excess rubber.

Clean off any grease and reassemble the vehicle.
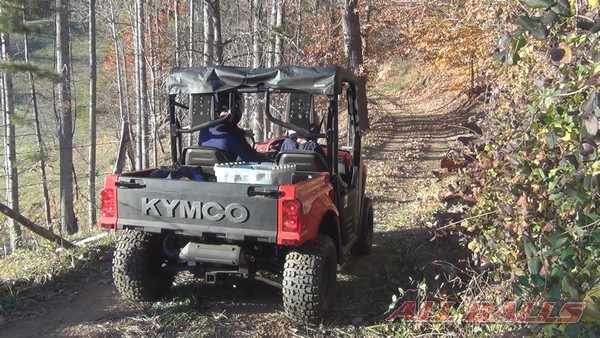
Get back on the trail and enjoy your day!