

SAFETY FIRST: Protective gloves and eyewear are recommended at this point.
Note: These instructions are very general, and you should have a service manual for your particular vehicle to get a better understanding of your particular setup and have factory recommended torque values and specifications on hand.
Check out the Additional Service Information Resources for more information on finding service information for your specific vehicle.
Prep
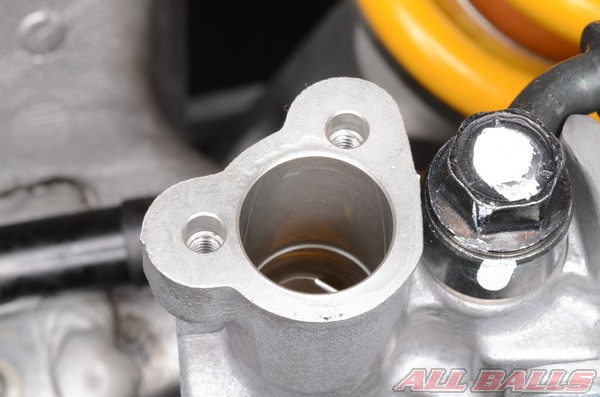
Thoroughly clean the vehicle to make the job easier and prevent contamination of the new components during installation.
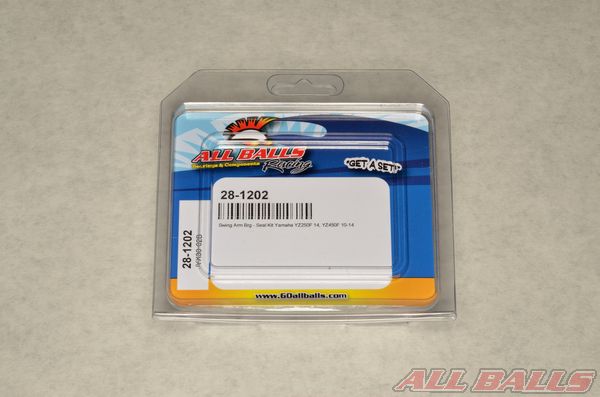
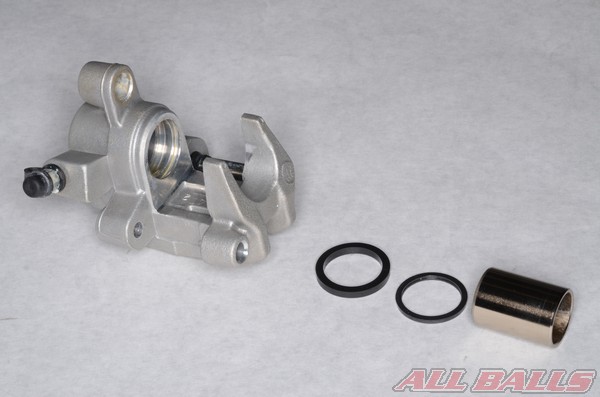
Get your brake caliper rebuild kit from ALL BALLS RACING.
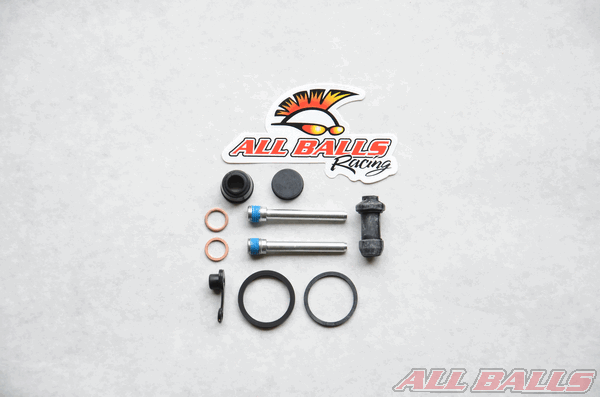
Remove the contents of your ALL BALLS RACING brake caliper rebuild kit. Layout the components in an organized manner for easy installation. Note: wait to do this until the old parts are removed and you are ready to begin installing the new components.
Replacement brake fluid will be needed. In most cases this will be DOT 4 fluid. The brake fluid type will often be indicated on the master cylinder reservoir cap. Always use fresh brake fluid from a newly opened container.
Removal
Warning: Brake fluid is very caustic and can damage paint, chrome and plastic. Wipe up any spills immediately.
Drain the brake fluid from the master cylinder reservoir.
Place a length of 5/16 in. or 7.9 mm inside diameter clear hose on the bleeder valve, open the bleeder valve with a wrench, and remove the old brake fluid with a Mighty -Vac or a similar device.
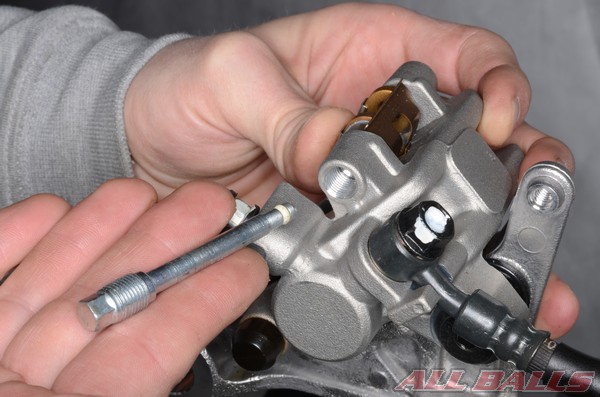
Loosen the brake pad pin, but wait to remove it.
Note, some calipers may have a plug over the pad pin, have two pad pins, or not use removable pad pins at all.
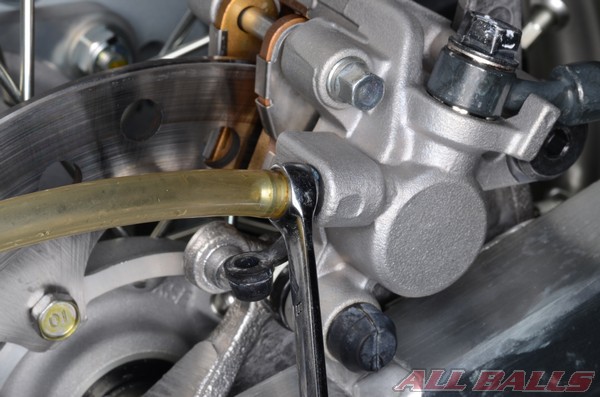
Loosen the the brake hose banjo bolt.
Free the banjo bolt from the caliper. Discard the two sealing washers and catch any remaining brake fluid dripping from the hose in a suitable container.
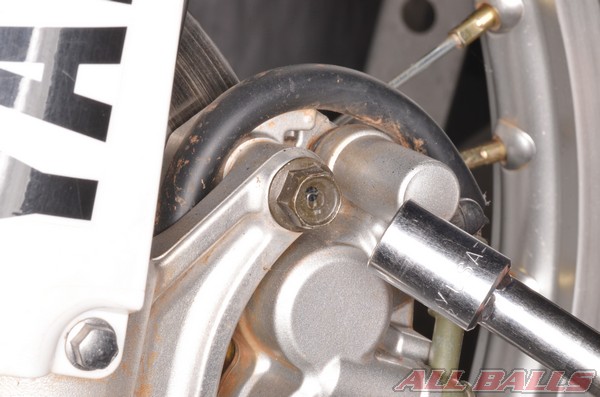
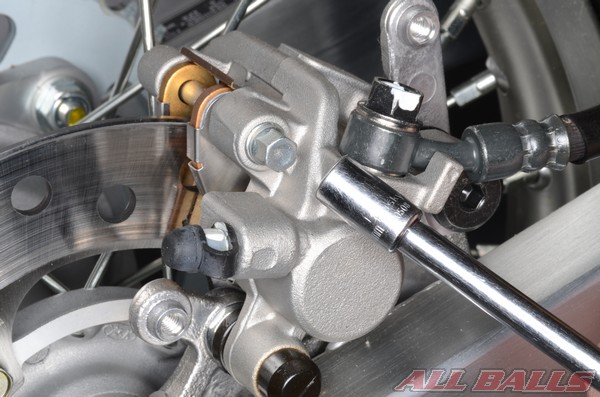
Remove the brake caliper mounting bolts.
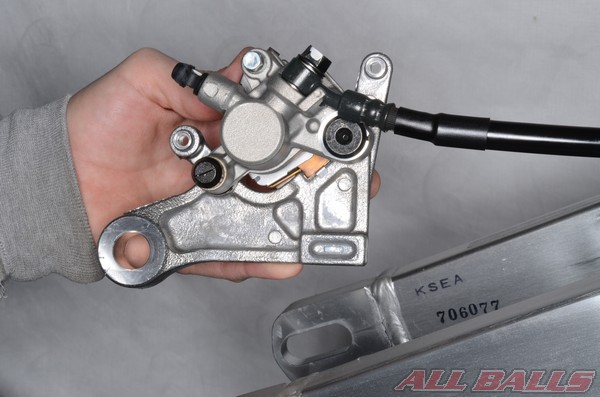
Remove the brake caliper. It may be necessary to remove the rear wheel for a rear caliper.
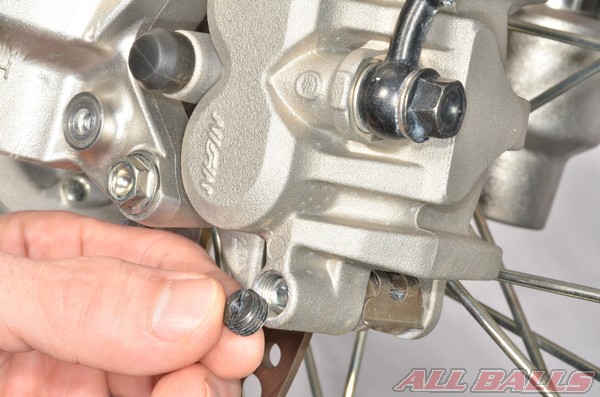
Remove the brake pad pin/s.
Remove the brake pads.
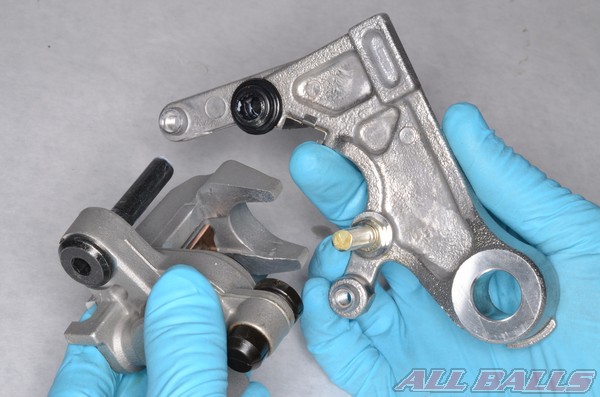
Remove the brake caliper bracket. Clean the slider pins.
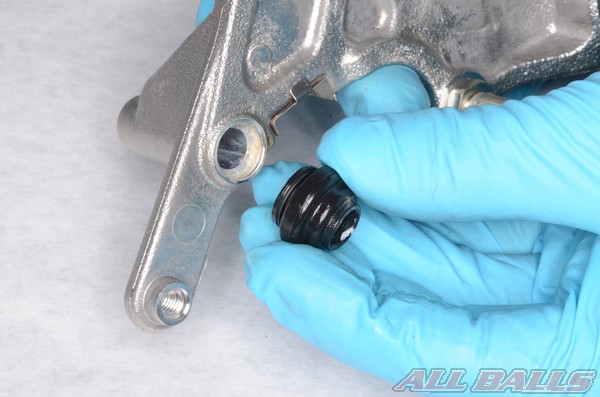
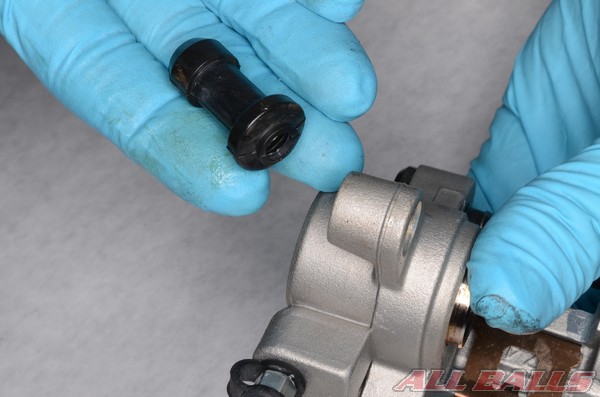
Remove the slider pin boots.
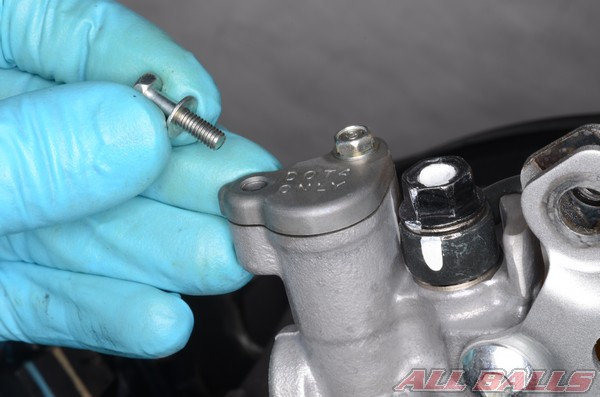
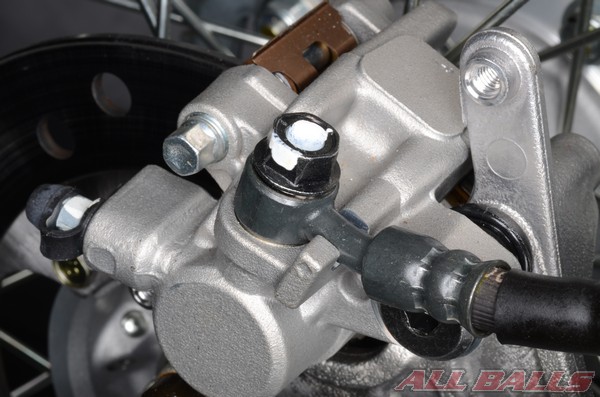
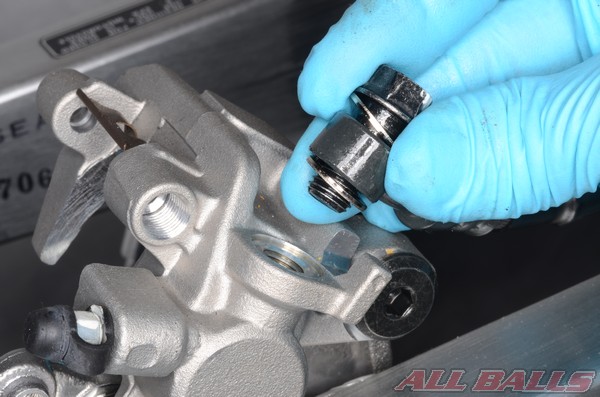
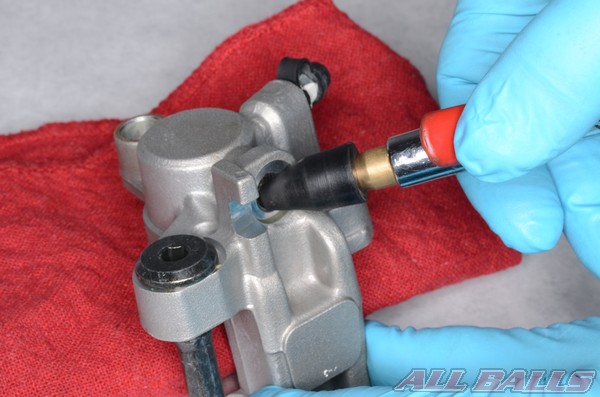
Remove the bleeder screw rubber cap.
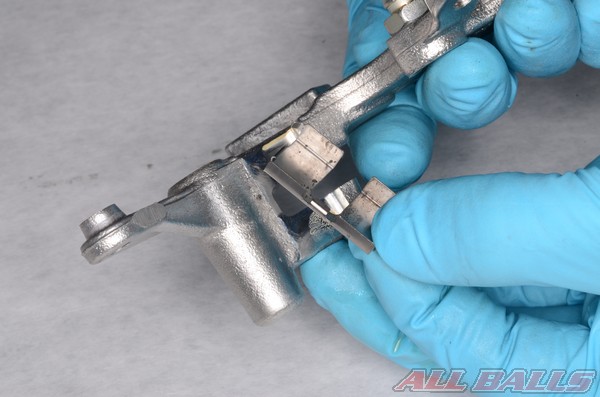
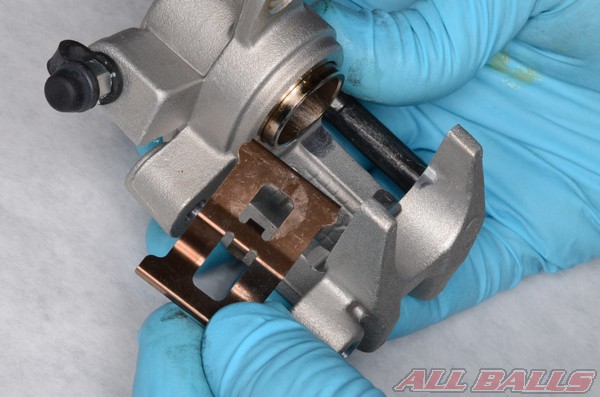
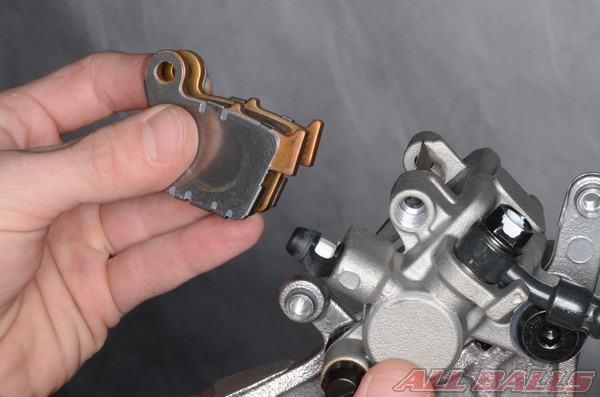
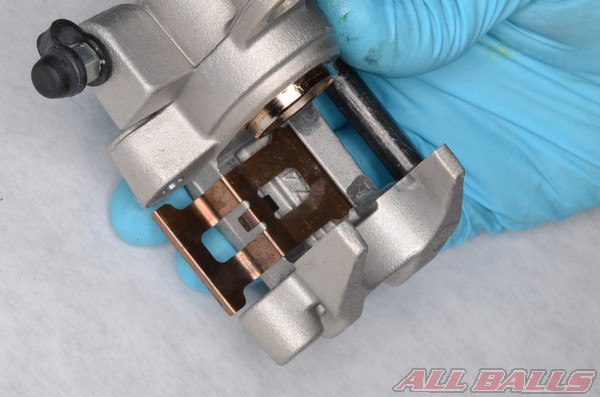
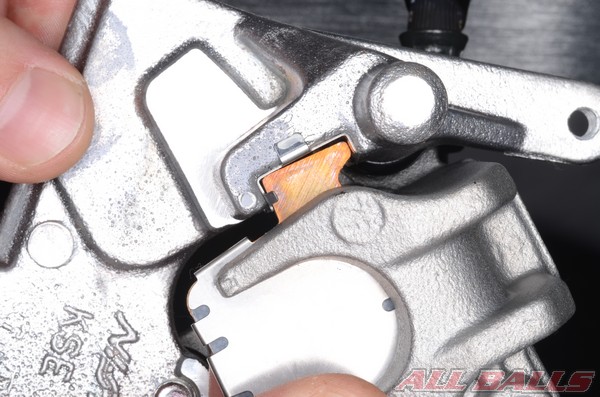
Remove the pad spring and/or retainer clip/s.
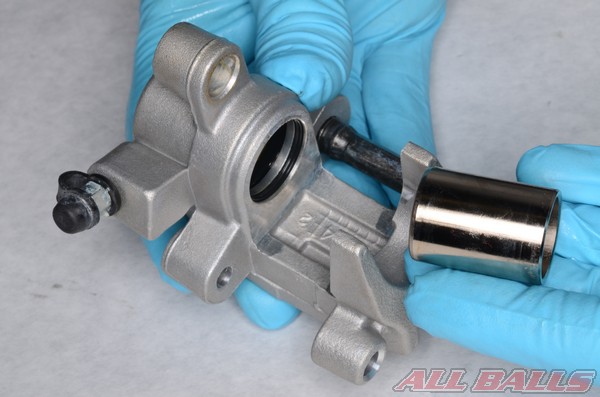
Place a 1″ thick shop rag between the caliper piston and the inside surface of the brake caliper. Blow compressed air into the banjo bolt opening to remove the caliper piston.
Caution: Do not place your fingers over the caliper pistons while removing them as serious injury could result.
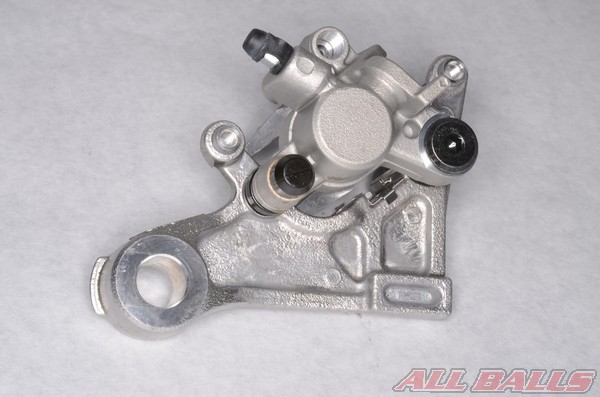
Clean the caliper, piston(s) and other metal hardware with denatured alcohol. Dry off parts with a clean rag. Inspect the caliper piston/s wear and damage. Measure the outside diameter of the caliper piston in multiple places and compare this to the specification.
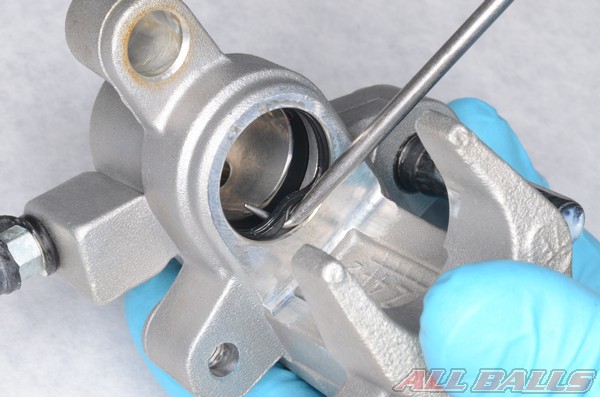
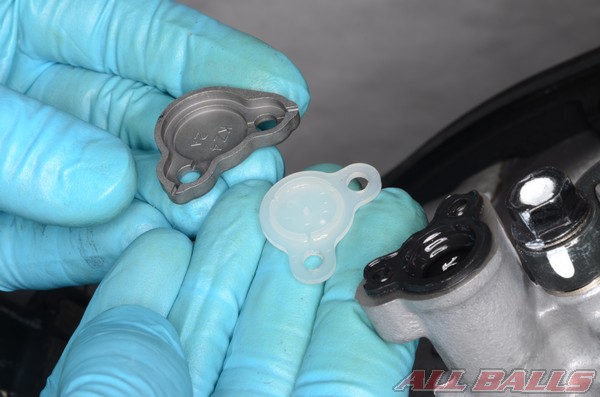
Remove the dust seal.
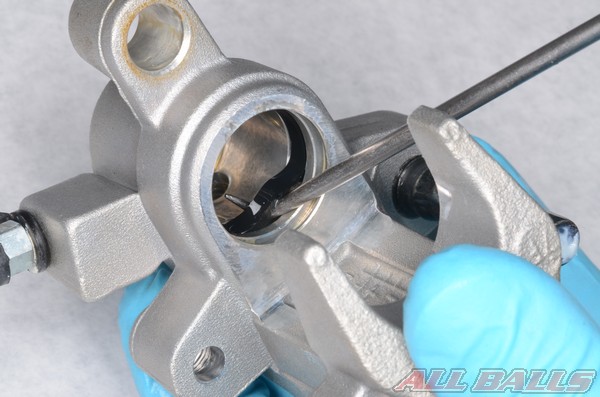
Remove the oil seal.
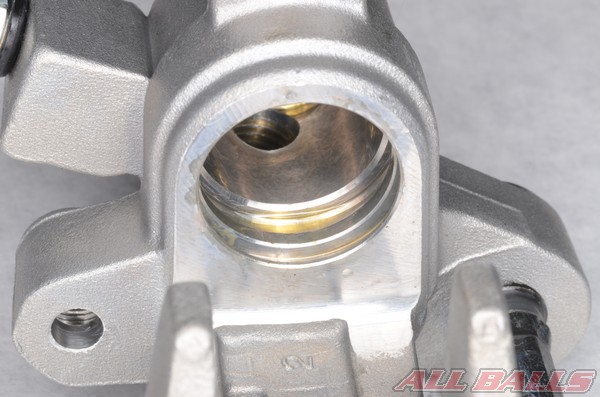
Inspect the caliper bore for damage. Measure the bore and compare to the specification.
Lubricate the caliper piston/s, the caliper piston bores and the seals with the correct brake fluid from a tightly sealed container.
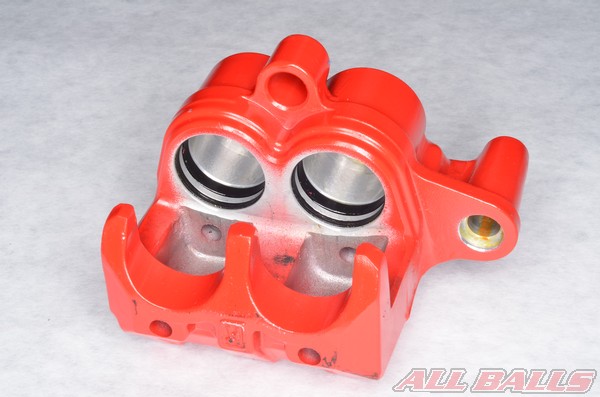
Install the new oil and dust seals. Make sure the seals are all fully seated in their grooves.
Install the caliper piston. Push the piston completely into the caliper closed end first. Use an old brake pad to push the piston all the way in.
Install the brake pad spring into the caliper.
Install the bleeder valve rubber cap.
Install the brake pad retainer clip/s.
Apply a light coat of silicone grease to the inside of the slider pin boots. Install the boots.
Install the caliper bracket to the caliper.
Install the brake pads making sure they remain free of any grease or contamination.
Push the pads against the pad spring and install the pad pin/s.
Make sure the brake pad ends are correctly seated in the retainer clips.
Install the brake caliper.
Tighten the brake caliper mounting bolts to specification.
Tighten the brake pad pin/s to specification.
Connect the brake hose to the caliper with a banjo bolt and two new sealing washers.
Make sure the brake hose is positioned correctly, and tighten the banjo bolt to specification.
Fill the master cylinder with fresh brake fluid.
Pull off the rubber cap over the bleeder valve and crack open the bleeder valve on the brake caliper using an 8 mm wrench. This valve is usually very tight so use a 6 point box end wrench or a 6 point socket and ratchet to prevent rounding off the head. Snug the bleeder valve back down.
Place a length of clear hose on the bleeder valve and place the other end in a container.
Pump the front brake lever (pedal for rear) several times and hold the lever in. While holding the lever in, crack open the bleeder valve. The front brake lever will travel all the way to the throttle grip and brake fluid and/or air will come out of the bleeder valve into the hose. Tighten the bleeder valve before releasing the brake lever. Pump the lever several times again and repeat the process. Be certain to check the master cylinder reservoir occasionally to make sure the reservoir doesn’t run dry. Add more brake fluid as necessary. Continue this process until clean brake fluid comes out of the bleeder valve and there are no air bubbles. The brake lever should feel firm.
Torque the bleeder valve to specification and install its rubber cap.
Make sure the brake fluid level is correct in the reservoir. Install the master rubber diaphragm, plastic cap and outer cap.
Check that the brakes are functioning properly before operating the motorcycle.