

SAFETY FIRST: Protective gloves and eyewear are recommended at this point.
Note: These instructions are very general, and you should have a service manual for your particular vehicle to get a better understanding of your particular setup and have factory recommended torque levels and specifications on hand.
Check out the Additional Service Information Resources for more information on finding service information for your specific vehicle.
Fork Conversion
Changing forks is a popular motorcycle upgrade and customization procedure. The ALL BALLS Racing fork conversion bearing resource is a great tool when attempting this type of custom work.
Note: This front-end conversion search is based on bearing inner and outer dimensions ONLY! Stem length may vary from machine to machine making some combinations unworkable. As a result of front-end conversion, rake and trail may be altered, adversely affecting handling of the vehicle.
Also, make sure to select a fork that is appropriate for the weight, and desired use of the vehicle. Before attempting a fork swap, make sure the fork is sturdy enough for its new role and plan for changes in chassis geometry that may be created by the conversion. Do not use a fork that isn’t stout enough, or that will create unacceptable geometry. Make sure to do the due diligence of research and planning before starting this type of custom modification. Consult an engineer or customizing expert if necessary.
Bearing Selection
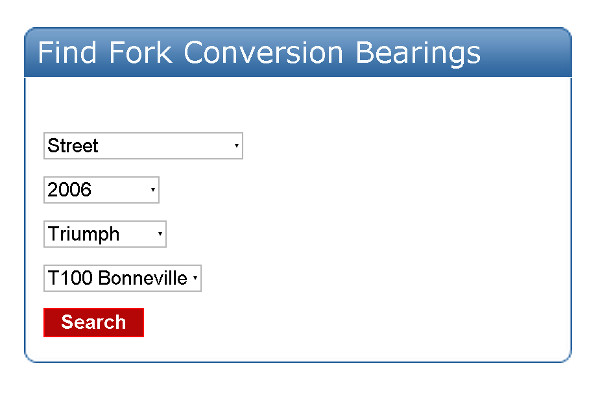
Go to http://www.allballsracing.com/index.php/forkconversion to use the fork conversion bearing finder tool.
Follow the directions on the page and select the frame of the vehicle that will be receiving the new fork.
Find the compatible front end that will be mated with the frame. Remember: This front-end conversion search is based on bearing inner and outer dimensions ONLY! Stem length may vary from machine to machine making some combinations unworkable. As a result of front-end conversion, rake and trail may be altered, adversely affecting handling of the vehicle.
Conversion Process
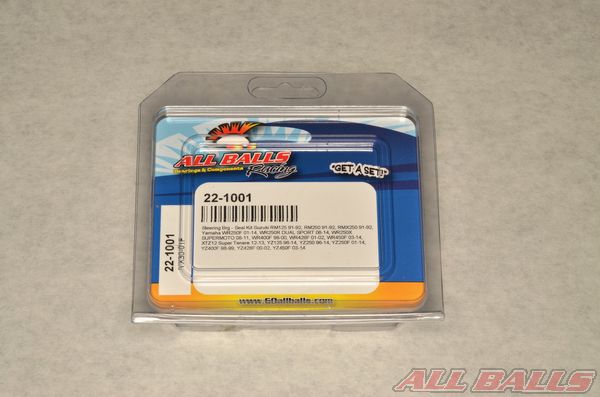
Order the required top and bottom bearings and their associated components for the conversion.
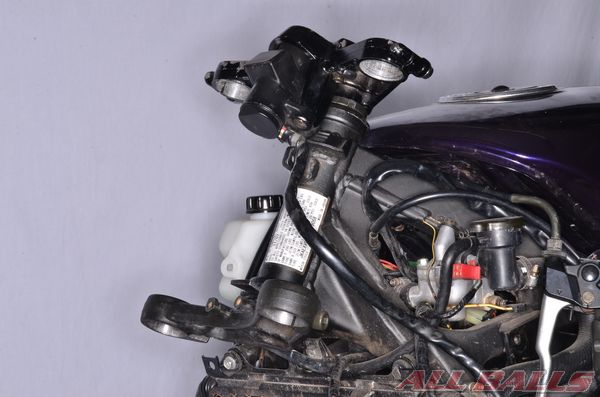
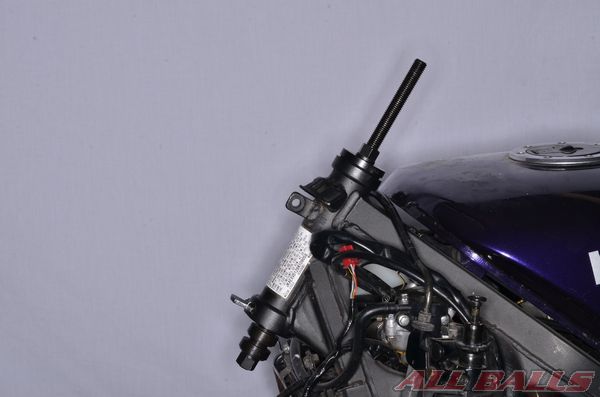
Remove the original fork components and steering bearings.
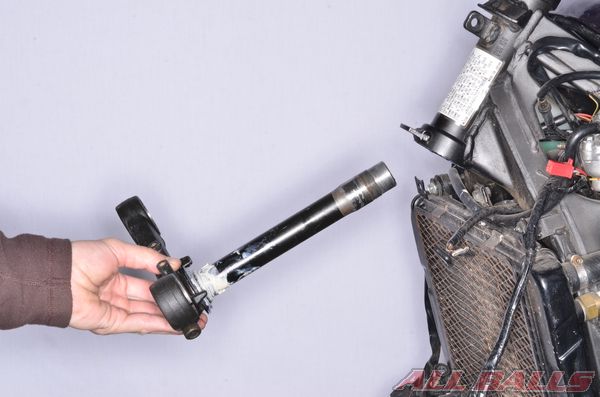
Examine the fitment of the original and custom components.
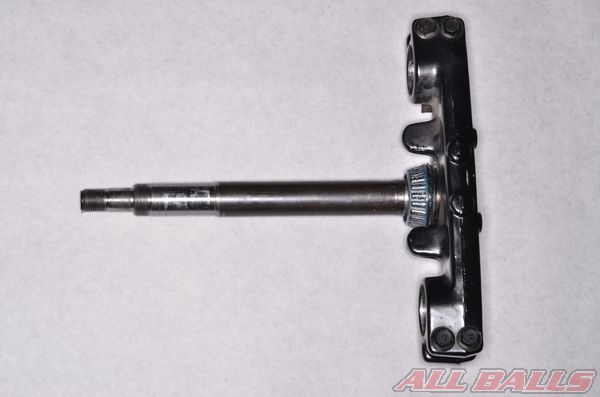
With the example EX500 adventure bike project, the top of the steering stem needed to be reduced in outside diameter.
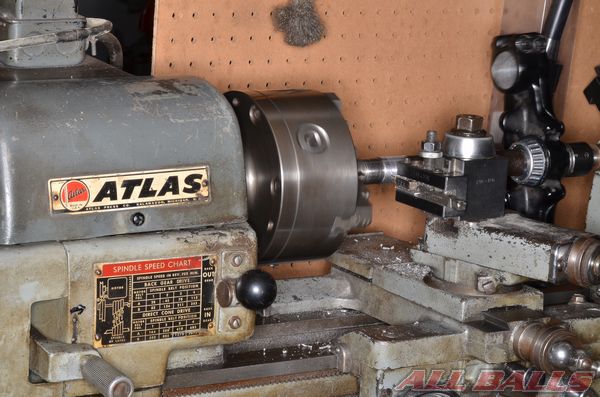
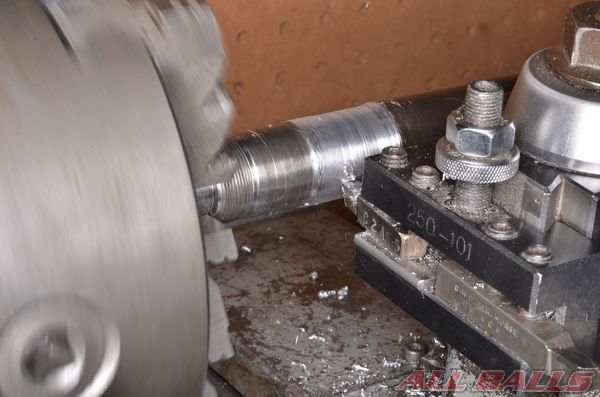
The machine work was accomplished by an experience machine shop.
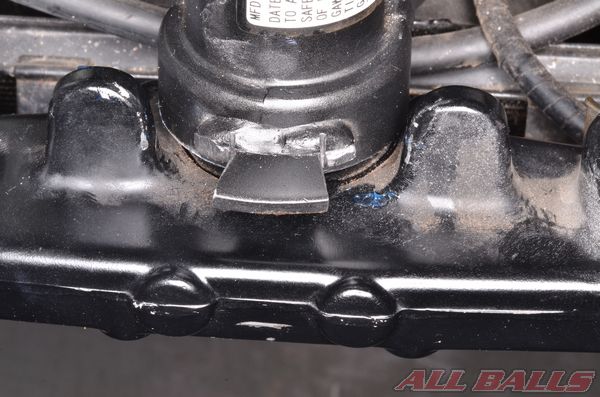
Also, the steering stop on the frame needed to be modified to allow for a suitable the lock-to-lock range of motion of the steering.
Install the new bearing races into the frame. See the Steering Bearing Upgrade topic for more information.
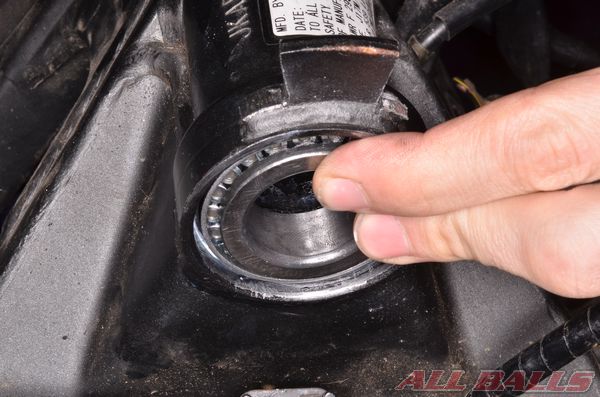
Examine the fitment of the new bearings in their races.
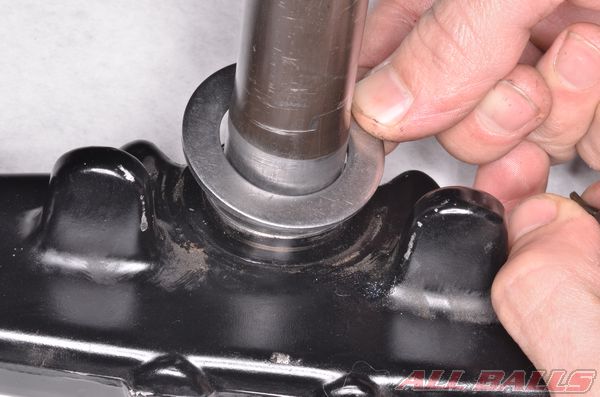
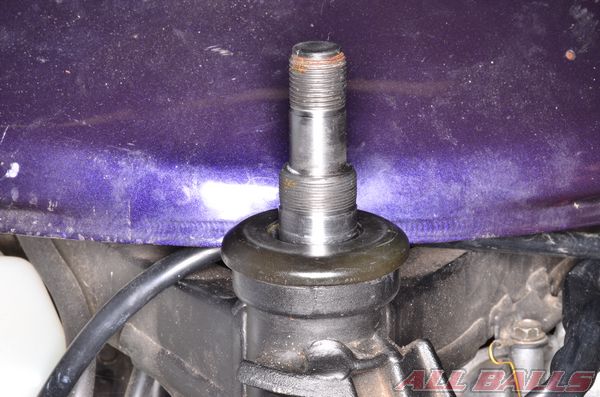
On the example bike, the lower bearing needed to be raised up on the steering stem for proper bearing to race fitment. Install a washer below the bearing before driving the bearing onto the stem. Note: the bearing should be replaced with a new item if it is removed from the stem after being driven into place.
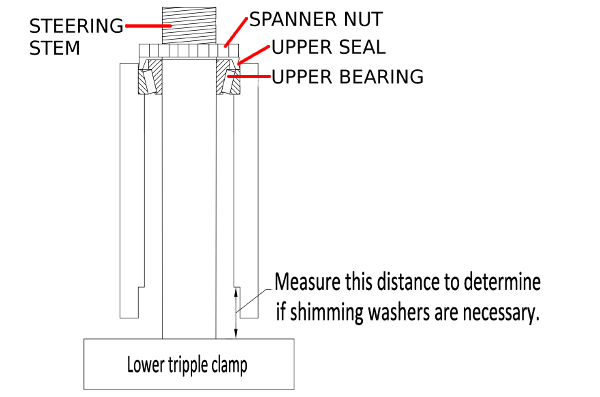
To determine if a shimming washer is necessary.
1) Install the upper bearing and seal.
2) Install the steering stem and thread the spanner nut on until it is in its normal position.
3) Verify the lower triple clamp does not rub on the frame. If the lower triple clamp does rub on the frame back off the spanner nut untill the triple clamp clears the frame.
4) Measure from the stops in the frame to the lower triple clamp bearing surface. Match this height with the included shimming washers.
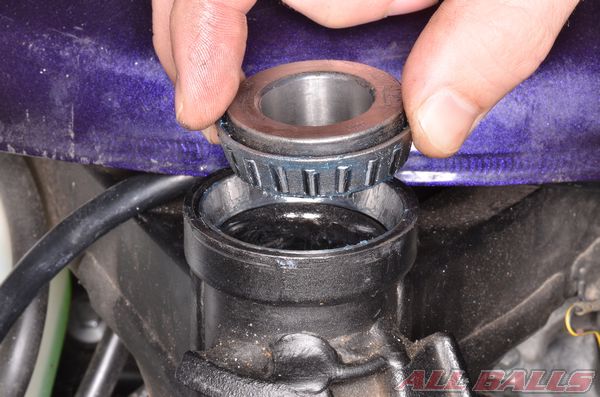
Lubricate the new bearings with grease and install them.
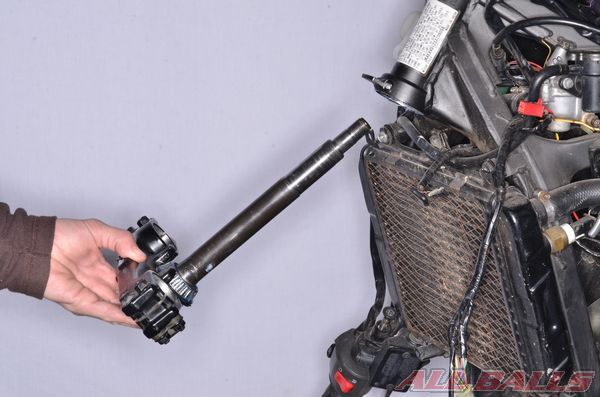
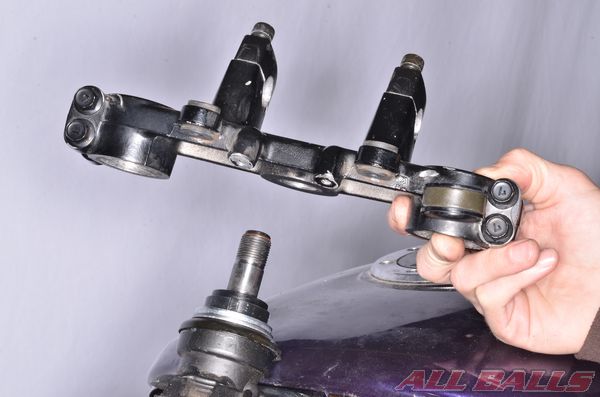
Install the lower fork clamp and stem into the frame.
Install the upper bearing dust cap.
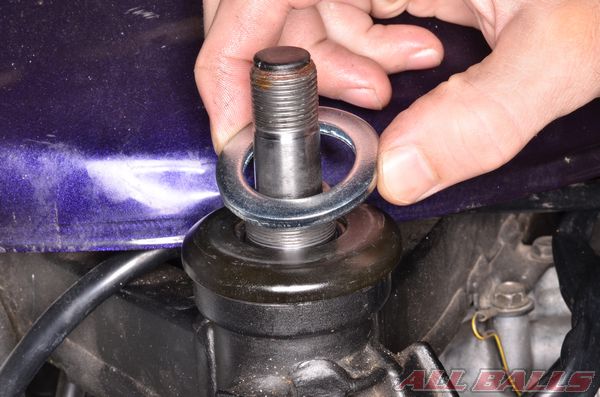
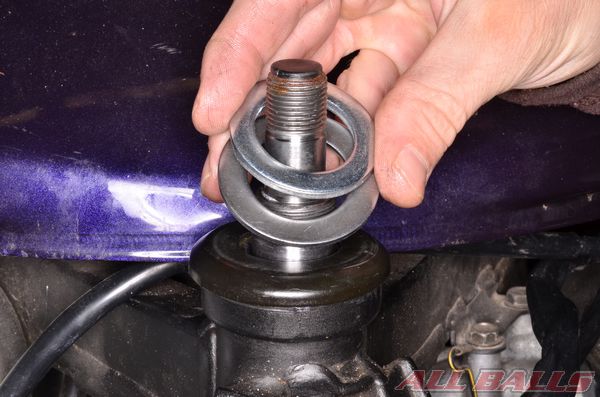
Install the washer/s. Extra thick or additional washers may be required for the steering adjusting nut to fit correctly.
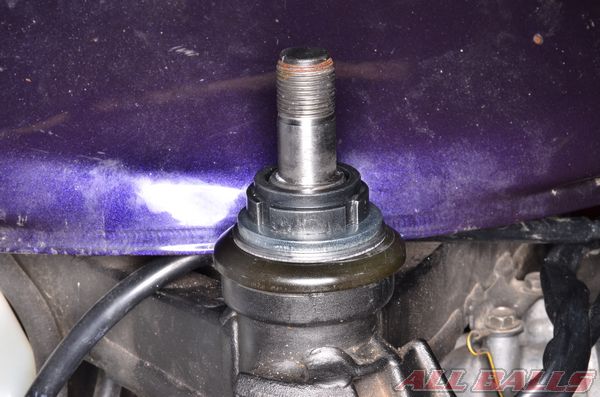
Install the steering adjusting nut.
Tighten the adjusting nut with a pin spanner. Follow any specific adjusting nut instructions in the service manual
General Adjusting Nut Information – Tighten the adjusting nut securely. Turn the steering stem lock-to-lock several times to seat the bearings. Loosen the adjusting nut 1/4 to 1/2 half turn. Adjust the nut so the steering moves correctly. The adjusting nut should be tight enough so that any vertical movement is eliminated. However, it should not be so tight as to cause binding or require excessive force to turn.
Note: Some models have specific initial and final torque specs or tightening sequences for the adjusting nut.
Install the new upper fork clamp.
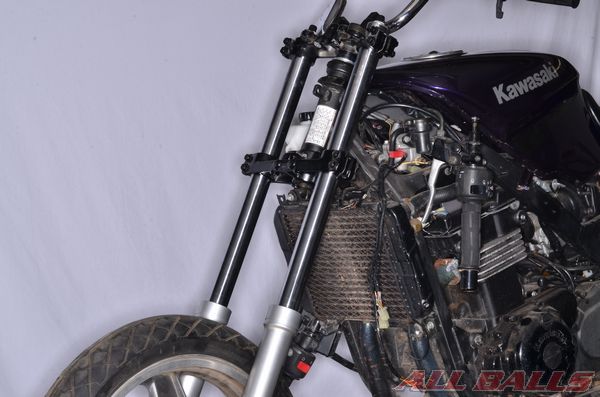
Install the new fork legs into the fork clamps. Make sure the lock-to-lock steering movement is correct. Also, make sure the front wheel will not strike a radiator, exhaust pipe, or other item under full fork compression.
Make sure the steering moves smoothly without any vertical movement or needing excessive force. Adjust the steering stem adjusting nut if needed.

INSTALL ALL BALLS RACING STICKER!