

SAFETY FIRST: Protective gloves and eyewear are recommended at this point.
Note: These instructions are very general, and you should have a service manual for your particular vehicle to get a better understanding of your particular setup and have factory recommended torque levels and specifications on hand.
Check out the Additional Service Information Resources for more information on finding service information for your specific vehicle.
Prep
Thoroughly clean the vehicle to make the job easier and prevent contamination of the new components during installation.
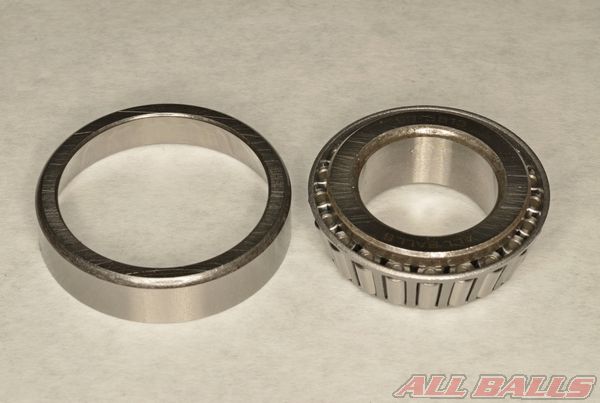
Get your steering bearing upgrade kit from ALL BALLS RACING. The steering bearing upgrade kit replaces ball bearings with tapered roller bearings.
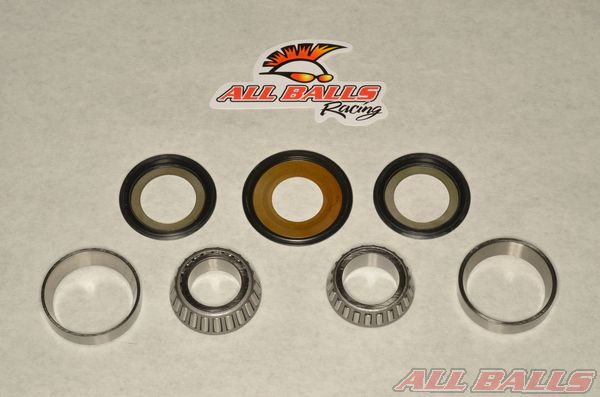
Remove the contents of your ALL BALLS RACING steering bearing upgrade kit. Layout the components in an organized manner for easy installation. Note: wait to do this until the old parts are removed and you are ready to begin installing the new components.
Removal
Remove the following components:
- Front Wheel
- Front Fender
- Front Forks
- Handlebars
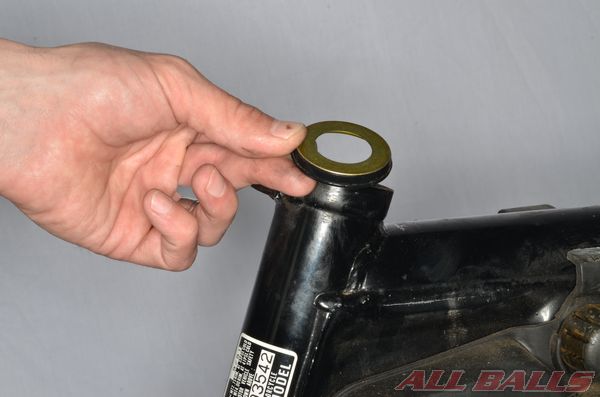
Remove the steering stem nut and washer if applicable.
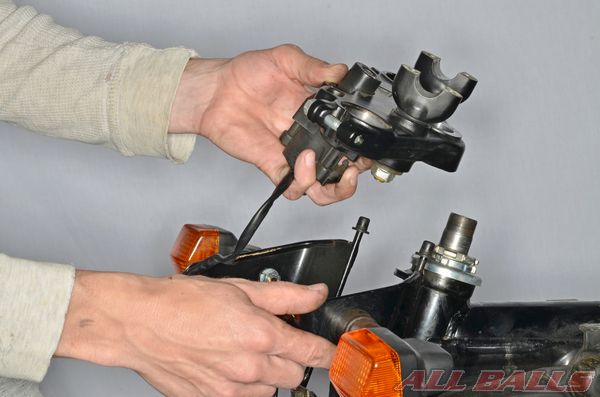
Lift the upper fork clamp off the steering stem.
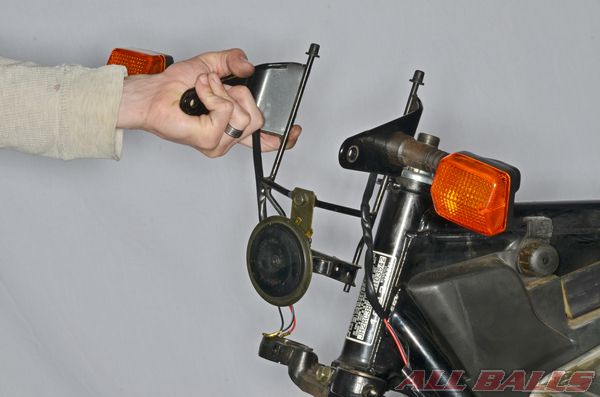
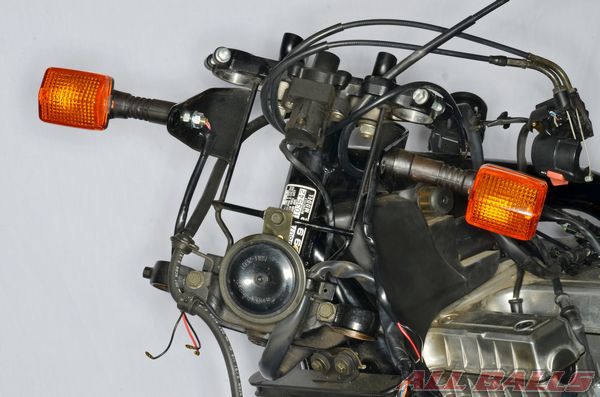
Remove any additional components, such as light brackets, from the fork clamps.
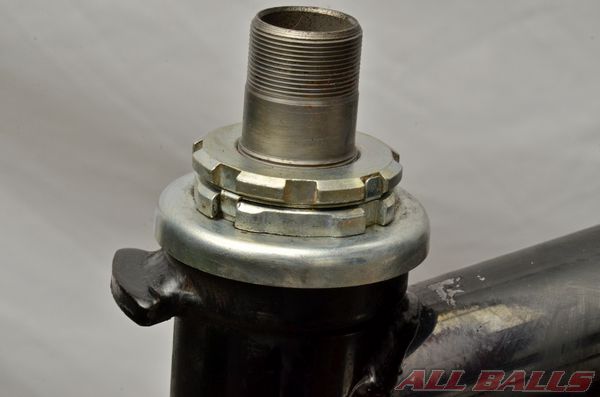
Use a punch and a hammer to open the steering lock washer tabs.
Loosen and remove the steering stem lock nut.
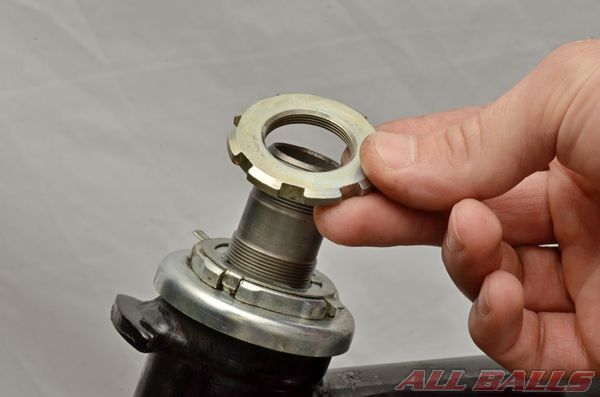
Remove the lock washer.
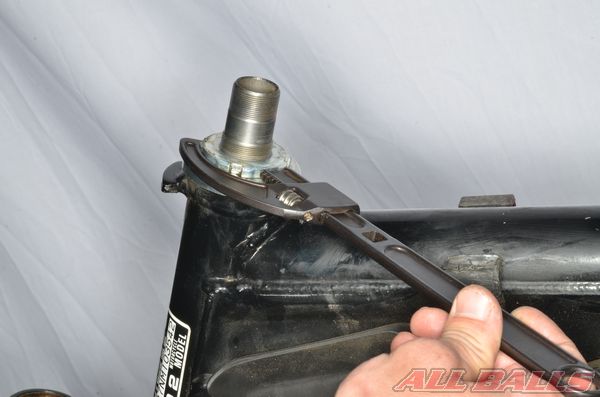
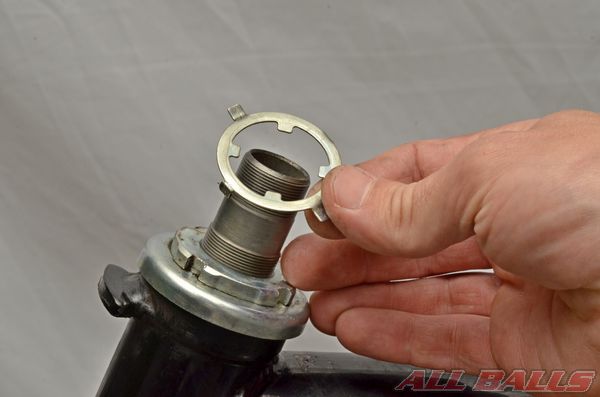
Loosen the steering adjusting nut.
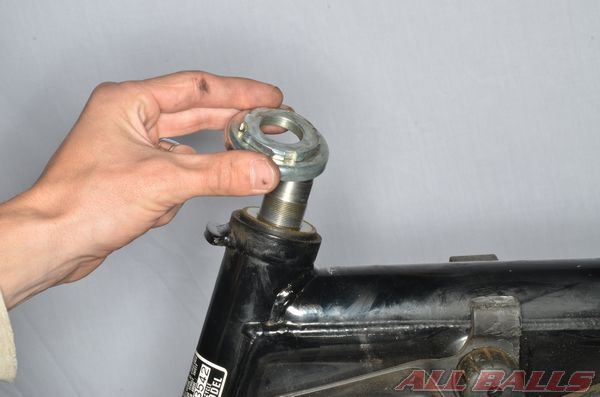
Remove the adjusting nut. Make sure to support the lower fork clamp with your free hand, as it can fall out with the nut removed.
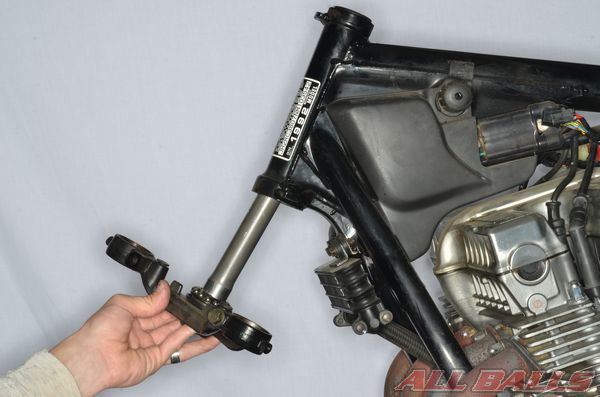
Remove the lower fork clamp and steering stem from the steering head.
Note: if the steering uses uncaged ball bearings the ball bearings will be free to fall out once the steering stem is removed.
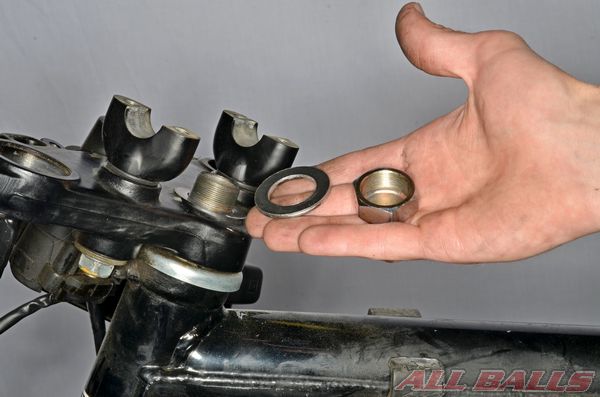
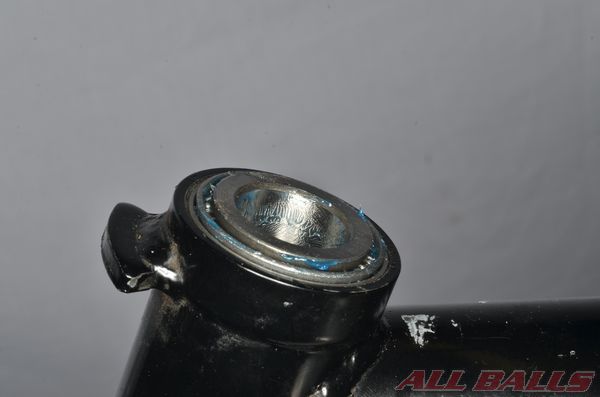
Remove the bearing cover.
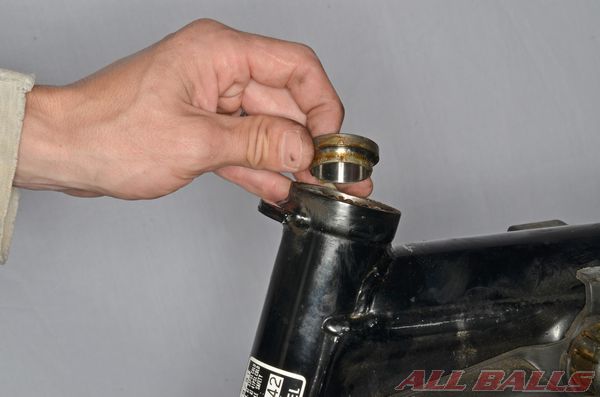
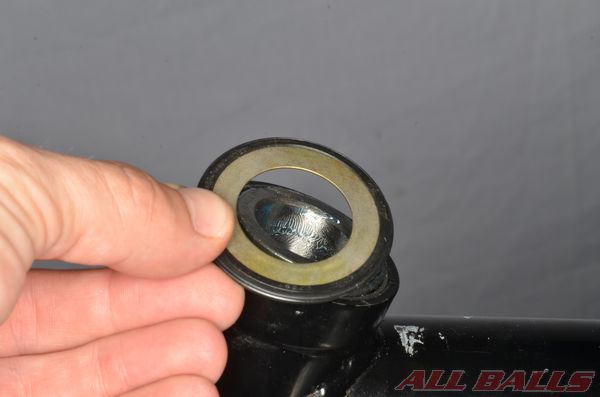
Remove inner bearing race from the upper bearing.
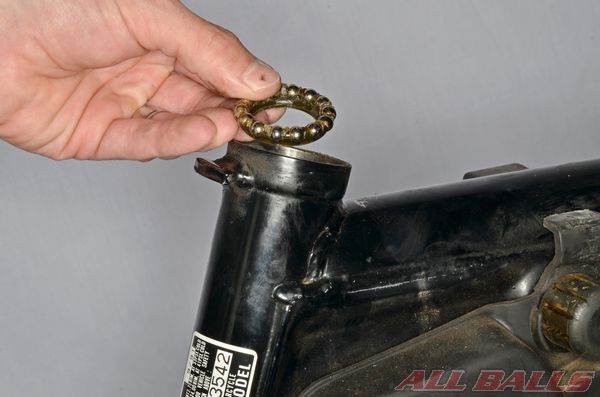
Lift out the upper bearing.
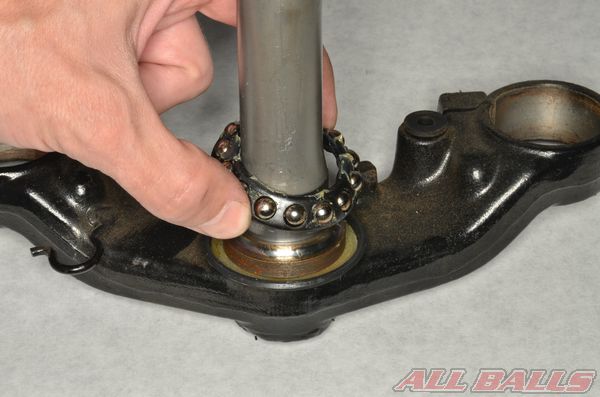
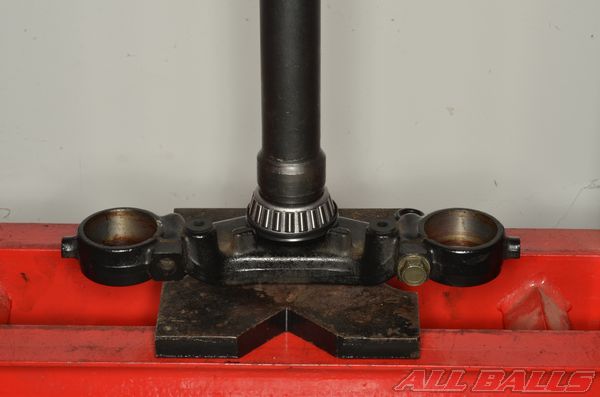
Lift the lower bearing off of the steering stem.
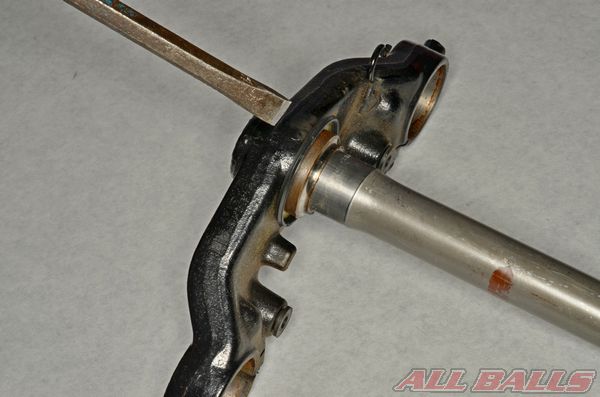
Remove the lower bearing inner race by tapping a chisel between the race and the fork clamp. Work your way around until the bearing race pops free. Remove the inner bearing race and dust seal from the steering stem.
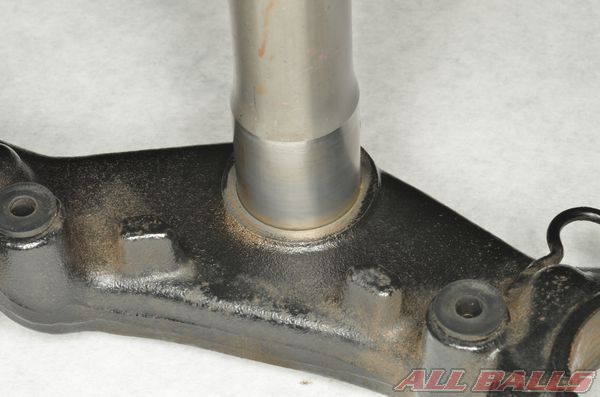
Clean away all of the old grease, grime, and rust from the bottom of the steering stem.
Make sure the steering stem is clean and in good condition to accept the new bearing and dust seal. Remove any burrs from the stem that might prevent smooth bearing installation.
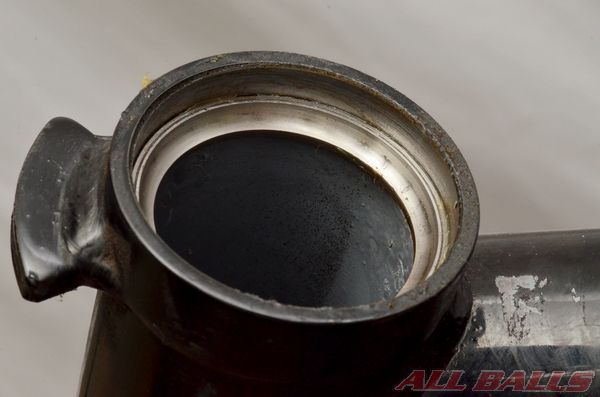
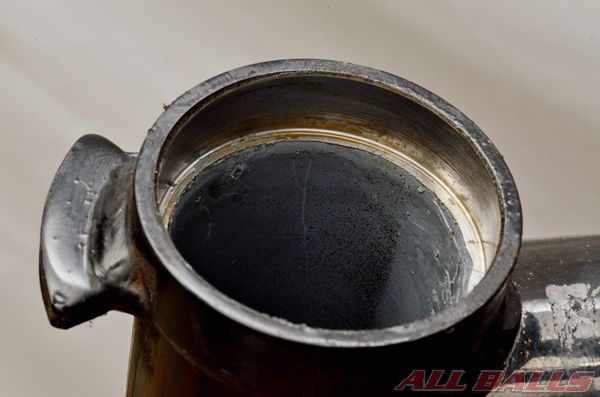
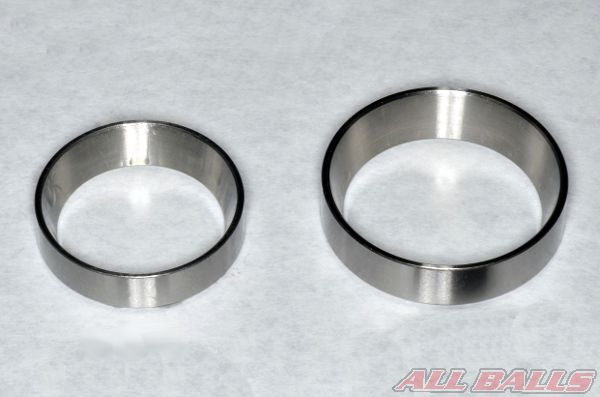
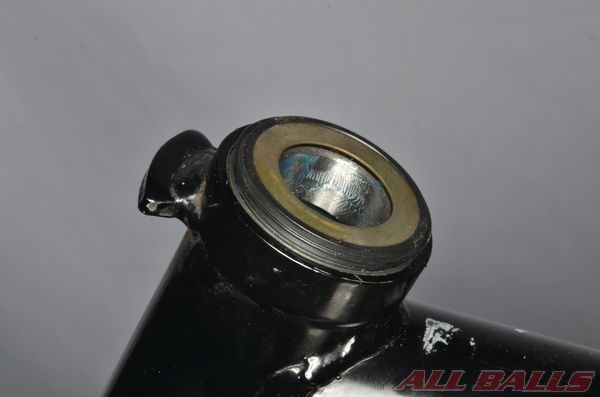
The bearing outer races are in the steering head of the frame. There are two races – one for the upper bearing and one for the lower.
Note: when upgrading from ball bearings to tapered roller bearings the new tapered bearings races will have a different shape than the ball bearing race shown above.

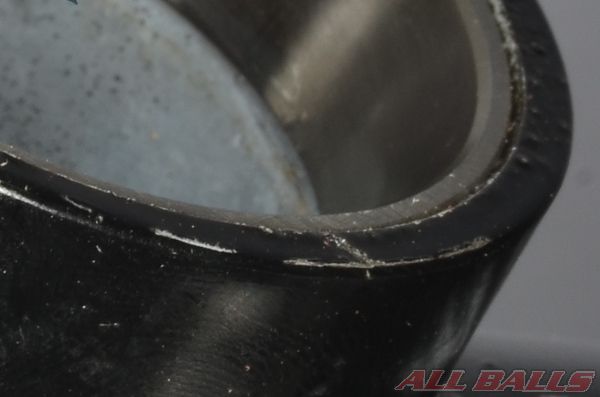
Remove the steering bearing races with a steering bearing race remover tool.
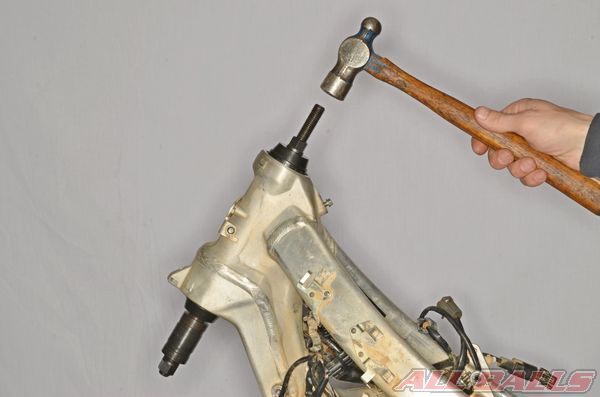
If a steering bearing remover tool is not available, remove the bearing races by knocking them out with a drift and hammer.
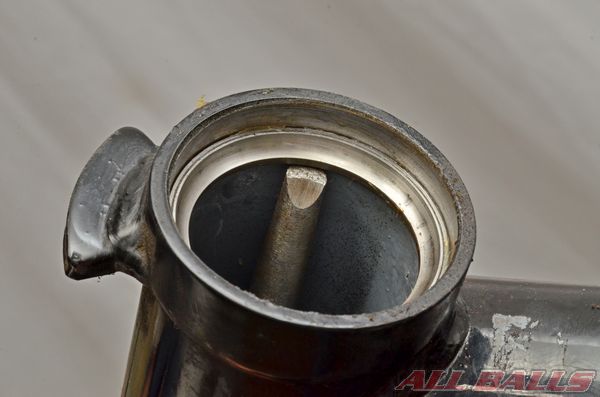
Have the drift set against the lip of the race, and work around the race evenly to drive it out.
Remove the upper and lower bearing races.
Clean away all of the old grease, grime, and rust from the bearing bores. Inspect the condition of the steering head in the frame. Remove any burrs that may inhibit the installation of the new bearing races.
Installation
Be sure to install the upper and lower bearings and races to their proper positions.
Lubricate the dust seal lips with grease.
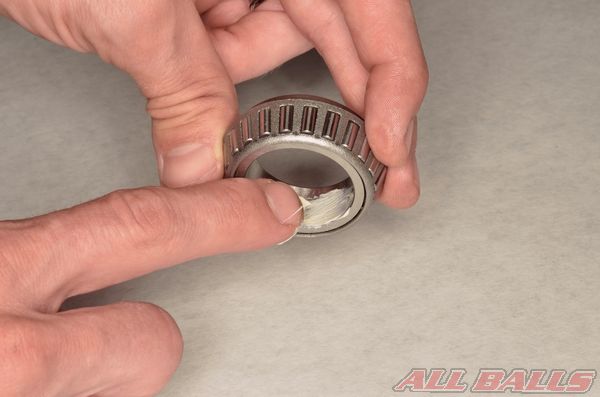
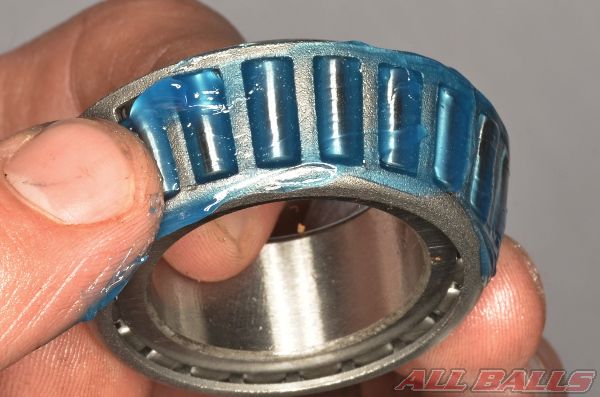
Apply a light coat of grease to the inside diameter of the lower bearing to aid installation.
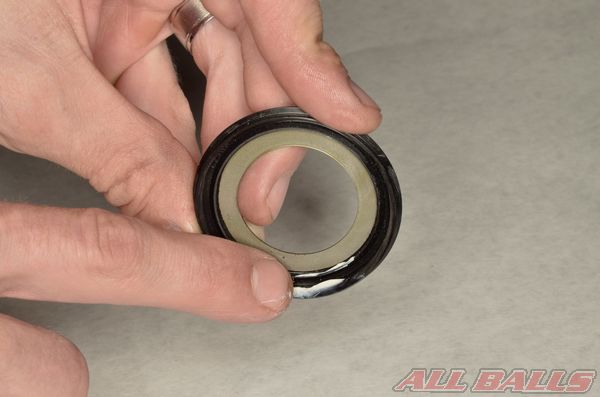
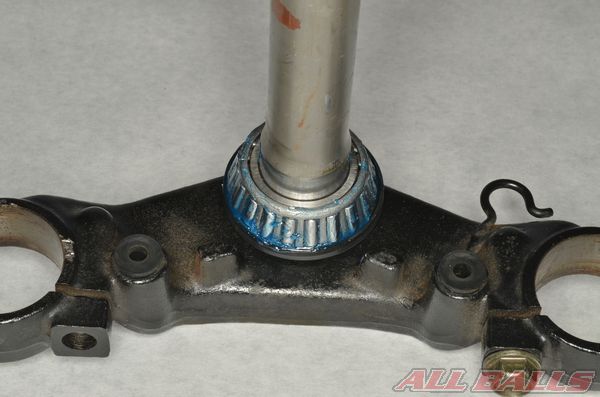
Fit the new dust seal and lower bearing onto the steering stem.
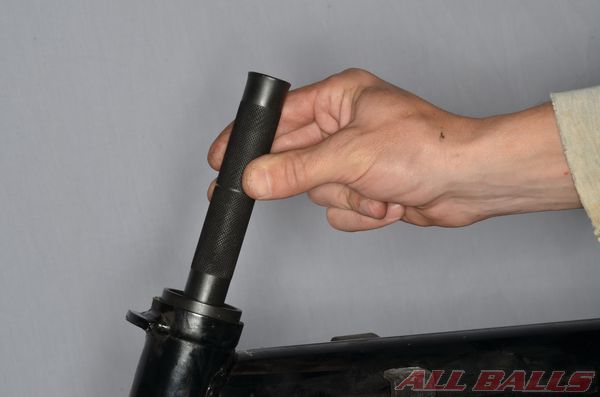
Use a press with a steering stem bearing installer tool to install the lower bearing onto the steering stem.
Make sure the bearing installer tool or pipe, only makes contact with the inner race of the bearing. Pressing on the cage of the bearing will distort it and may cause binding in your steering.
Install the new bearing races into the steering head of the frame.

Use an appropriate bearing race installation tool to install the races into the steering head of the frame. Makes sure the bearing races go in straight. Do not apply pressure to the tapered portion of the races to prevent damage.
A tool can easily be made with a piece of threaded bar stock some nuts that fit it and some washers that have a slightly smaller outside diameter as the races that you are installing.
After the bearings are pulled in hit both ends of the threaded rod with a hammer to fully seat the bearings.
A suitable bearing race driver may also be used to install the races into the steering head. Make sure the driver fits the race correctly and take care to drive the race in straight.
Lubricate the bearings with grease.
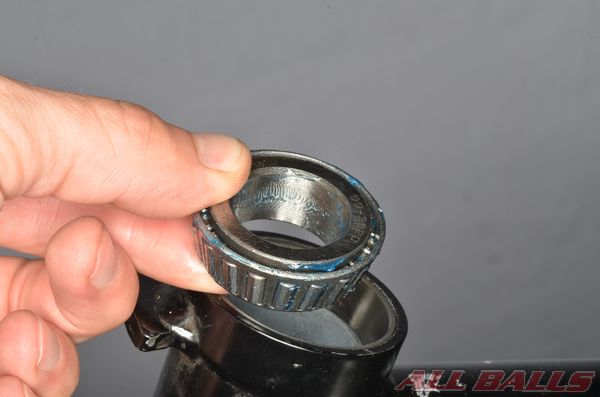
Install the upper bearing into its race.
Install the upper dust seal.
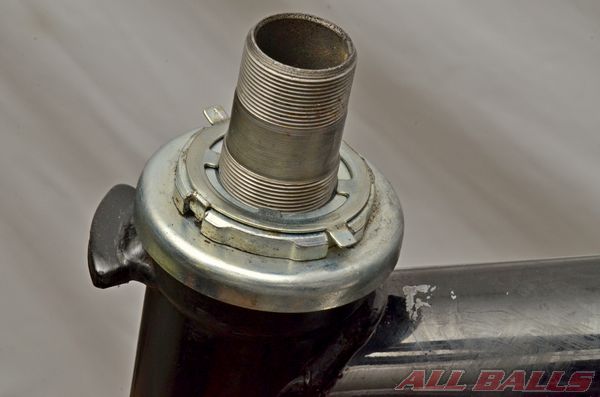
Fit the steering stem into the steering head of the frame.
Thread on the adjusting nut.
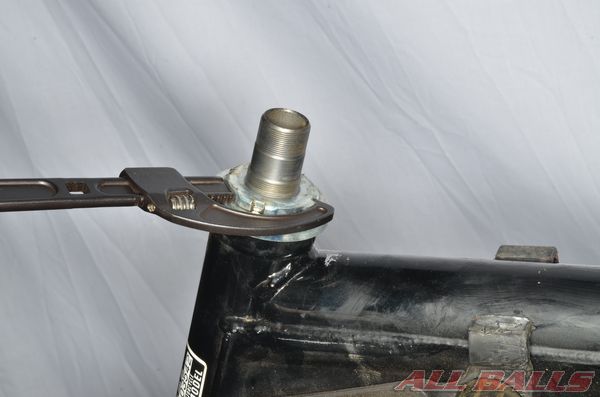
Tighten the adjusting nut with a pin spanner. Follow any specific adjusting nut instructions in the service manual
General Adjusting Nut Information – Tighten the adjusting nut securely. Turn the steering stem lock-to-lock several times to seat the bearings. Loosen the adjusting nut 1/4 to 1/2 half turn. Adjust the nut so the steering moves correctly. The adjusting nut should be tight enough so that any vertical movement is eliminated. However, it should not be so tight as to cause binding or require excessive force to turn.
Note: Some models have specific initial and final torque specs or tightening sequences for the adjusting nut.
Install the new lock washer.
Install the lock nut and tighten it to specification.
Bend the tabs of the lock washer to secure the nuts.
Fit the upper fork clamp into place.
Install the steering head nut and washer.
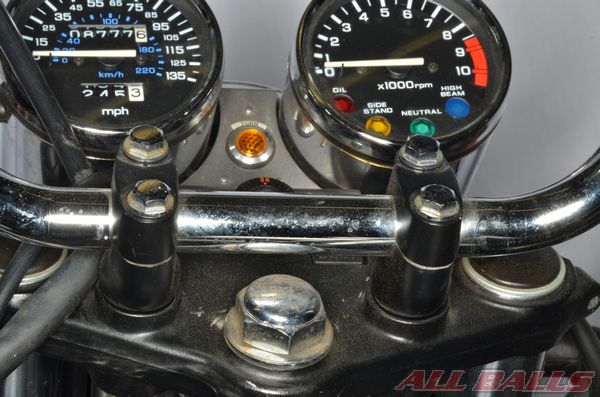
Install the forks and tighten the steering stem nut to specification.
Make sure the steering moves smoothly without any vertical movement or needing excessive force. Adjust the steering stem adjusting nut if needed.

INSTALL ALL BALLS RACING STICKER!