Mechanical Drum Brakes
It is important to work in a comprehensive manner when inspecting and servicing drum brakes. Do not assume the problem lies with a specific component. Poor drum brake performance can be caused by a problem with almost any component, and the only way to make sure the system works correctly it to examine it as a whole.
A vehicle owner may bring in a vehicle with poor drum brake performance and ask for new brake shoes. In reality the vehicle may or may not need shoes. The poor braking performance may be related to a poorly adjusted brake cable, stretched cable, worn or seized brake cam, or a combination of factors.

The mechanical assemblies used in the activation of drum brakes must have the right amount of free play to provide good feel and power. Measure the distance from the lever or pedal at rest to where the resistance of the brake engagement is first felt.
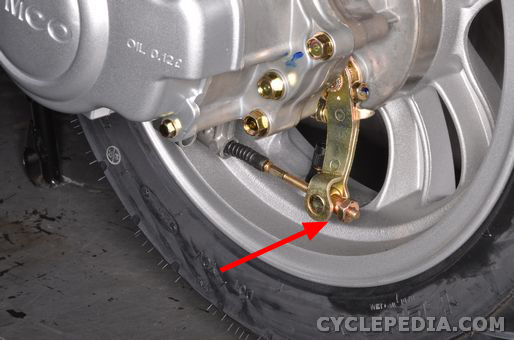
Adjust the free play to specification with the adjuster nut near the brake cam. The free play will increase with time and wear as the cable stretches and the shoe linings wear away. If the specification cannot be met, the cable may have stretched too far or the brake shoe linings may be worn out.
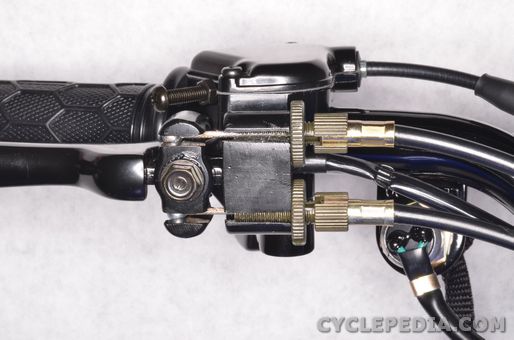
Some models have the cable adjustment on the lever end. If this is the case, loosen the knurled lock nut and turn the adjuster as need. Tighten the lock nut when finished. The photo above shows the lever and cable assembly for an ATV with a drum brake for each front wheel. The lever operates both front brakes with an equalizer so that both brakes are applied evenly. Always adjust the free play to make sure the left and right brakes engage evenly.
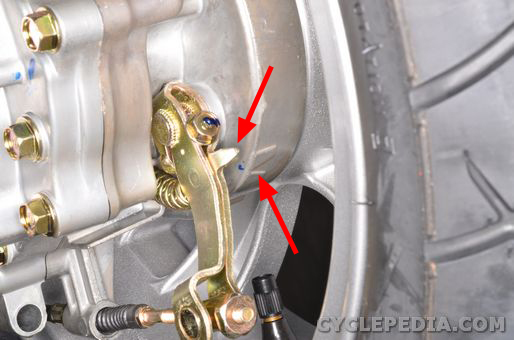
The brake shoes wear out over time. Many drum brakes have an external brake shoe wear indicator. Apply the brakes fully and make sure the indicator is in the specified zone. The brake shoes should be replaced if the indicator exceeds the wear out marking on the brake panel.
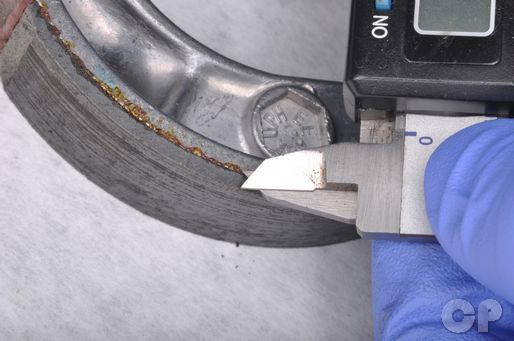
The shoes can also be removed and inspected if the brake doesn’t have a shoe wear indicator. Measure the thickness of the linings and compare the measurement to the service specifications.
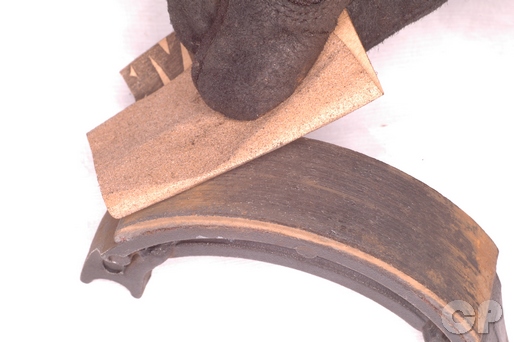
Inspect the shoe linings for uneven wear or dirt imbedded in the surface. Remove any objects stuck in the surface, and clean with a wire brush. Clean away oil and grease with brake cleaner. If there are any obvious high spots sand them down for a uniform thickness.
Use steel wool to remove rust from the drum. Spray with brake cleaner to remove grease and wipe clean with a lint free rag. Inspect the brake drum for uneven wear and damage. Measure the drum inside diameter with a machinists rule or caliper; measure in several different locations. If any measurement goes beyond the service limit replace the brake drum.
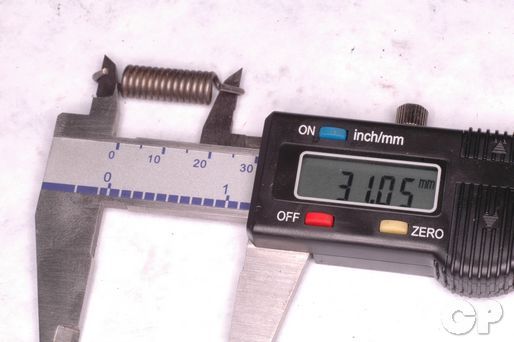
Inspect the shoe springs for damage and fatigue. Measure the free length and compare this to the service specification if given.
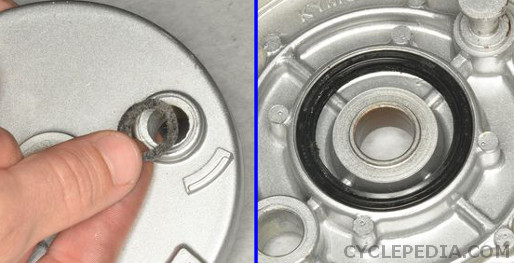
Inspect the brake seals for damage and leaks. Replace the seals as needed. Lubricate the rubber dust seals with a light coat of high temperature and waterproof grease before assembly.

Make sure the cable is free of damage and kinks. The cable should move smoothly inside its housing. Use a cable lubricator to lubricate all control cables with a quality cable lube.

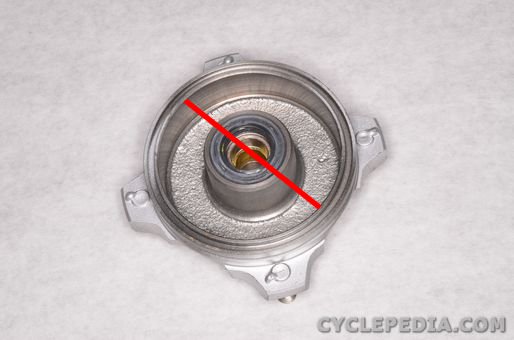
Inspect the brake cam for wear and damage. Some vehicles may have service specifications for the outside diameter of the cam and the inside diameter of the brake cam bore in the panel. A worn or seized brake cam can result in a stiff lever, sticking shoes, and poor brake feel. Make sure the brake cam, lever and wear indicator are properly aligned.
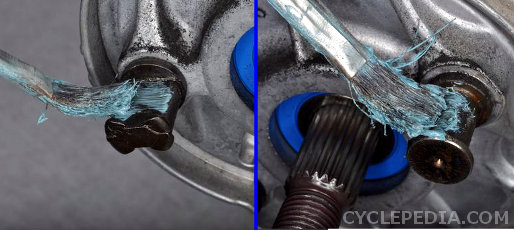
Apply a light coat of high temperature grease to the brake cam lobe and turning surface to insure it turns smoothly in the panel and against the shoe ends. Also grease the brake shoe pivot pin. Avoid using excessive grease or getting grease on the shoe linings or drum.
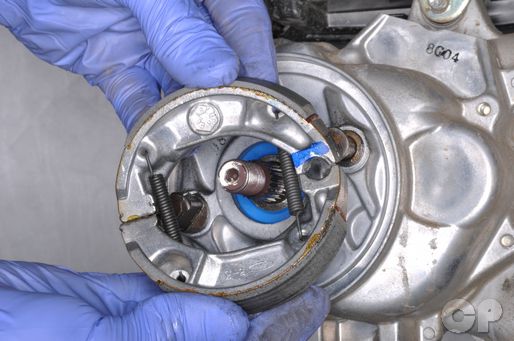
Use clean gloves when changing the brake shoes. Grip the brake shoes by their centers and stretch the ends apart and around the pin and the cam for removal and installation. Adjust the free play in the brake system after installing new components.
Troubleshooting
Rear wheel wobbling
- Bent rim
- Faulty tire
- Axle not tightened properly
Soft rear shock absorber
- Weak shock absorber spring
- Faulty damper
Poor brake performance
- Brake not adjusted properly
- Worn brake linings
- Worn brake shoes at cam contacting area
- Worn brake cam
- Worn brake drum