

SAFETY FIRST: Protective gloves and eyewear are recommended at this point.
Note: These instructions are very general, and you should have a service manual for your particular vehicle to get a better understanding of your particular setup and have factory recommended torque levels and specifications on hand.
Check out the Additional Service Information Resources for more information on finding service information for your specific vehicle.
Prep
Thoroughly clean the vehicle to make the job easier and prevent contamination of the new components during installation.
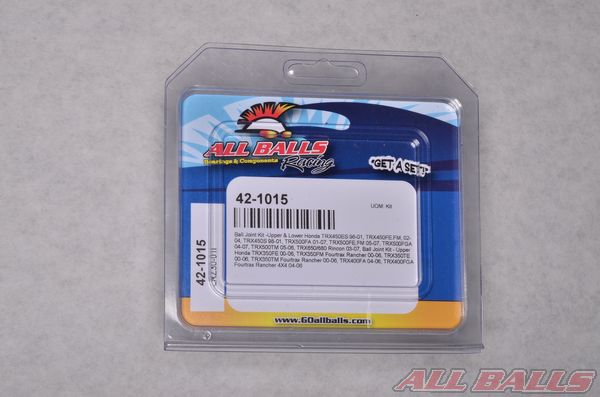
Get your ball joint kit from ALL BALLS RACING.
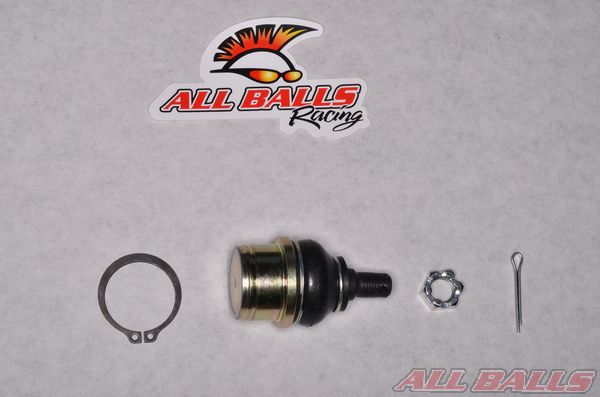
Remove the contents of your ALL BALLS RACING ball joint kit. Layout the components in an organized manner for easy installation. Note: wait to do this until the old parts are removed and you are ready to begin installing the new components.
Removal
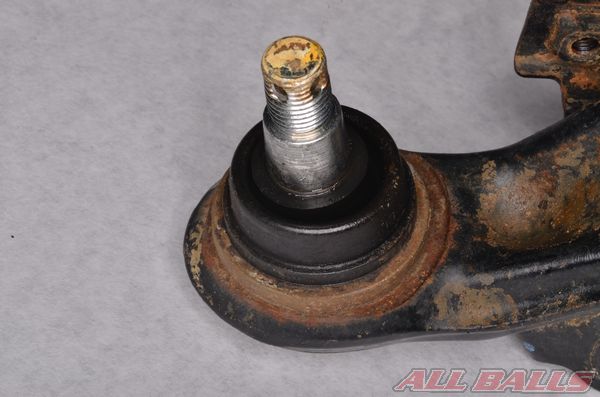
Spray the tapered portion of the ball joint with a penetrating lube to aid in freeing it.
Free the ball joints with a ball joint separator tool if needed.
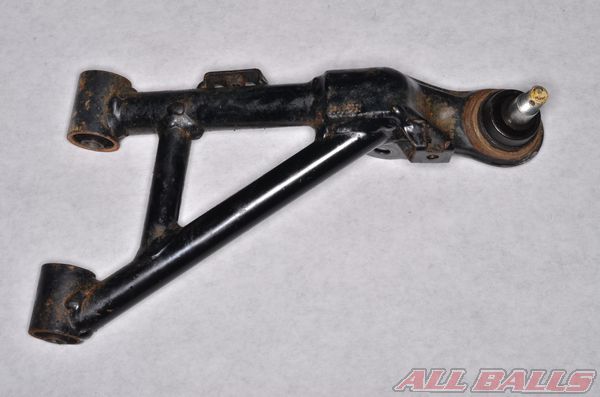
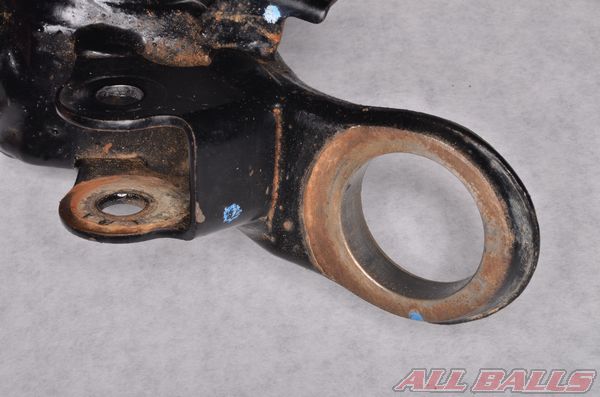
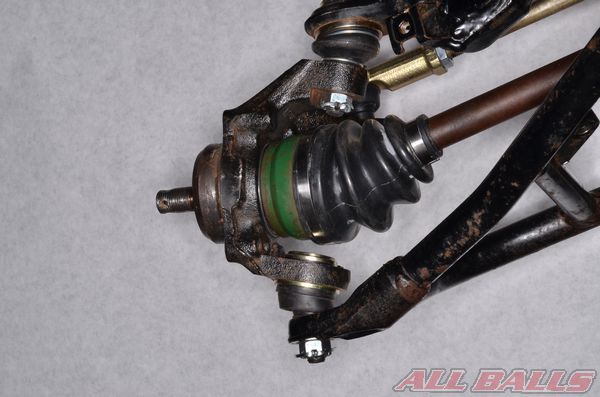
Remove the A-arm. See the vehicle’s service manual for specific information.
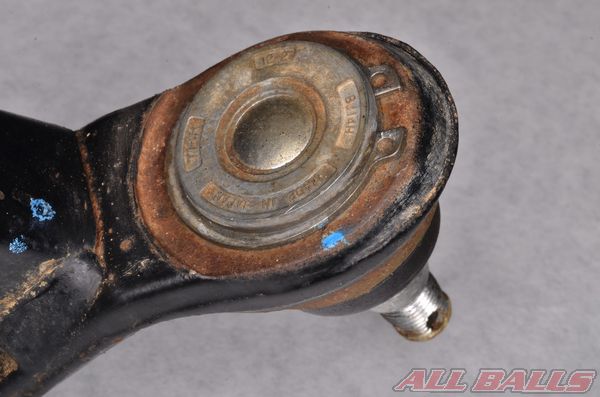
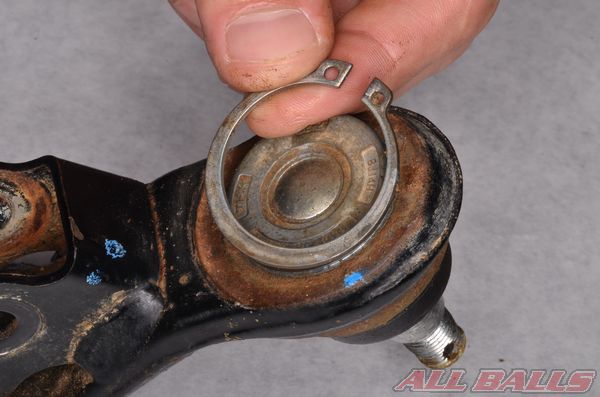
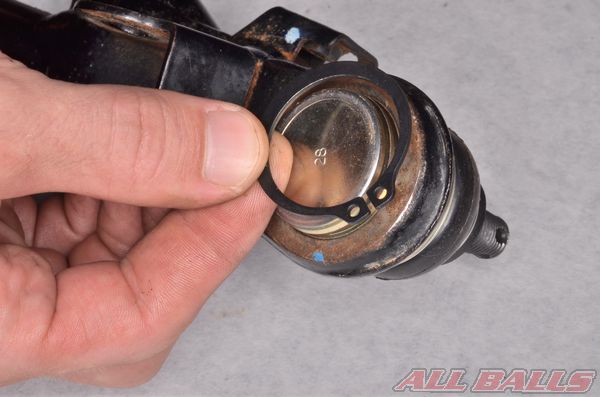
Remove the snap ring with snap ring pliers.
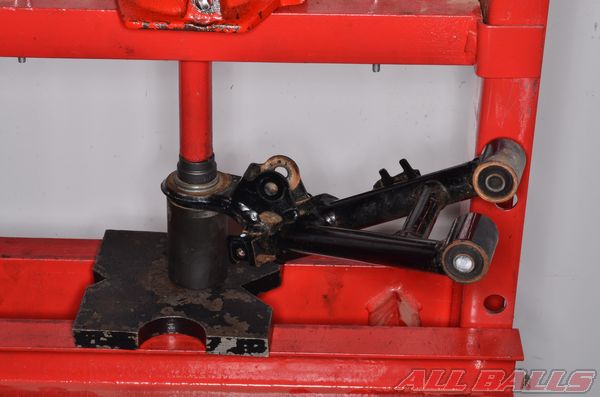
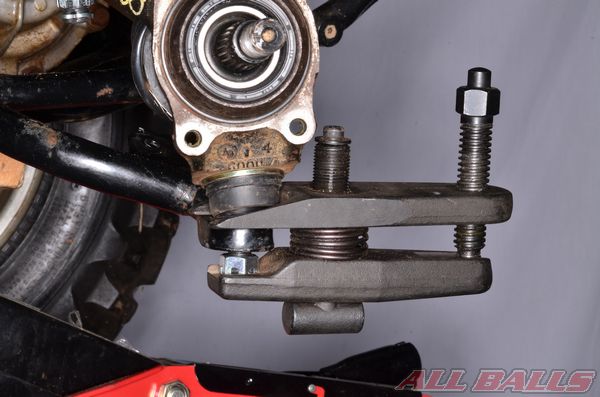
Use a press and appropriate tools to press the ball joint out of the A-arm. Make sure the ball joint has room to exit the A-arm.
Clean away all of the old grime and rust from the ball joint bores. Remove any burrs that may inhibit the installation of the new ball joints.
Installation

Install the new ball joint into place with a press. Use a suitable tool that will only contact the metal outer lip of the ball joint. Make sure the ball joint is fully seated and the boot has not been damaged.
The snap ring groove should be visible.
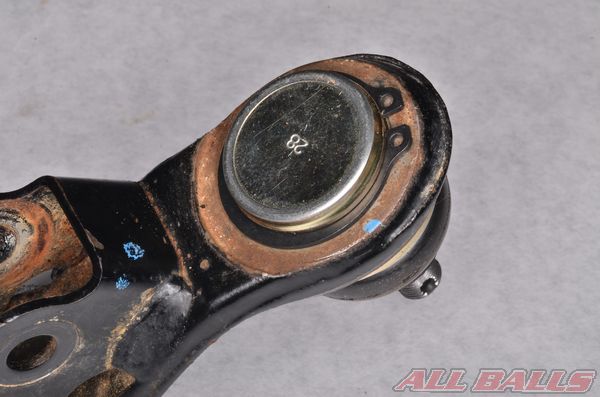
Install the new snap ring into the snap ring groove.
Install the suspension arms, tighten the nuts to specification and install the new cotter pins.
INSTALL ALL BALLS RACING STICKER!