

SAFETY FIRST: Protective gloves and eyewear are recommended at this point.
Note: These instructions are very general, and you should have a service manual for your particular vehicle to get a better understanding of your particular setup and have factory recommended torque levels and specifications on hand.
Check out the Additional Service Information Resources for more information on finding service information for your specific vehicle.
This guide shows instructions for replacing the swingarm bearings for a shaft drive ATV. For some chain drive models the Motorcycle Swingarm Bearing Installation Guide may be more applicable.
Prep
Thoroughly clean the vehicle to make the job easier and prevent contamination of the new components during installation.
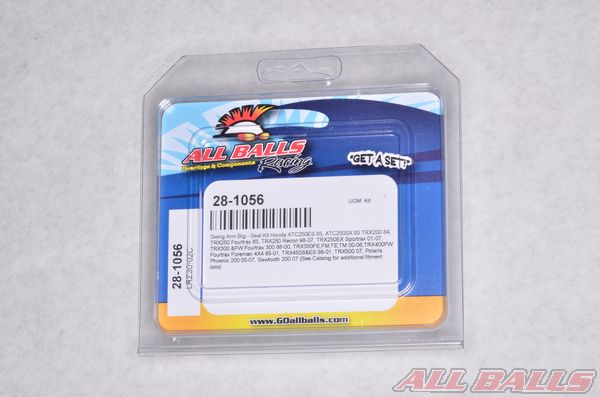
Get your swingarm bearing rebuild kit from ALL BALLS RACING.

Remove the contents of your ALL BALLS RACING swingarm rebuild kit. Layout the components in an organized manner for easy installation. Note: wait to do this until the old parts are removed and you are ready to begin installing the new components.
Removal
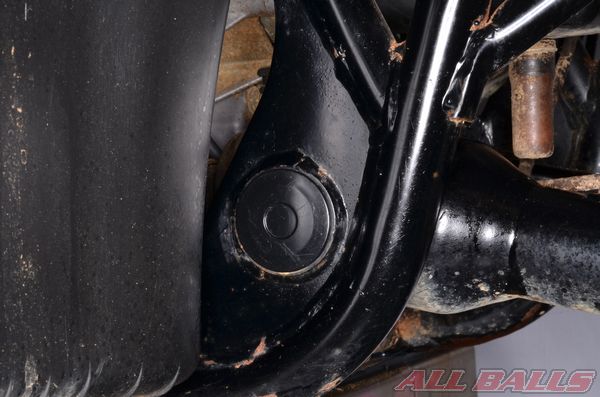
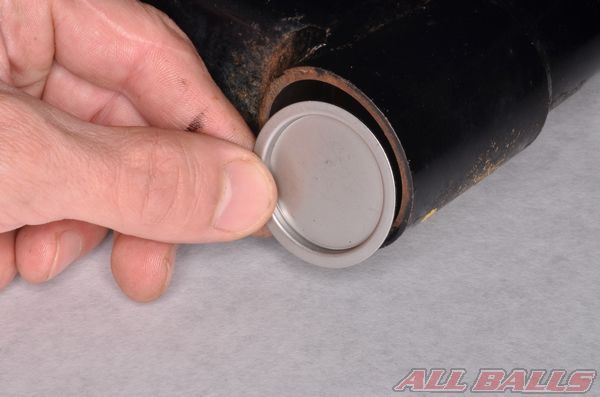
Remove the swingarm pivot caps.
Support the back of the frame so the weight of the vehicle is not being supported by the swingarm.
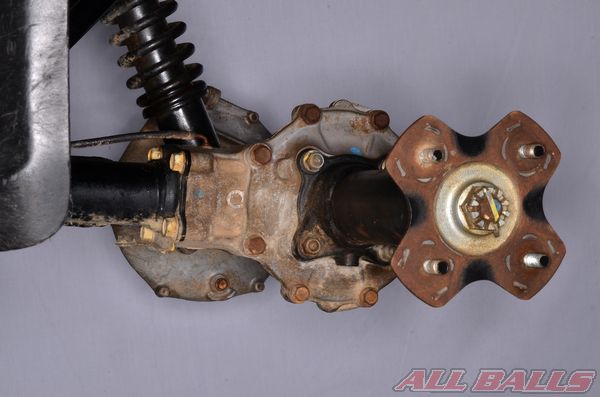
Remove the rear axle and final drive unit. Free the swingarm from the lower shock mount or linkage.
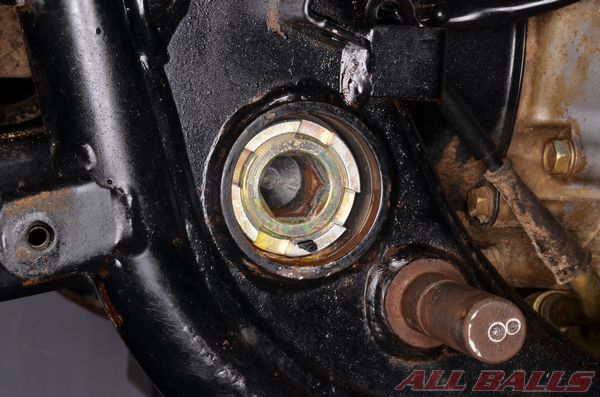
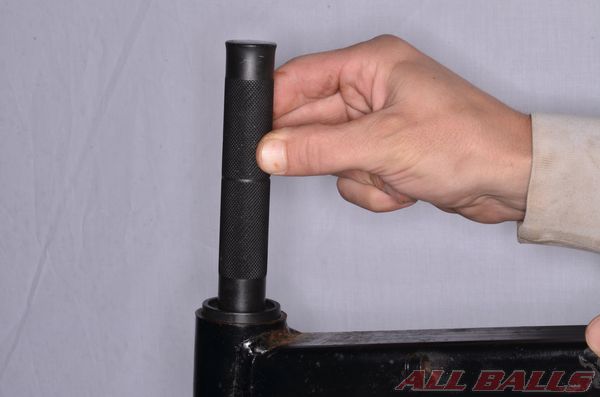
Remove the pivot lock nut with the special lock nut wrench.
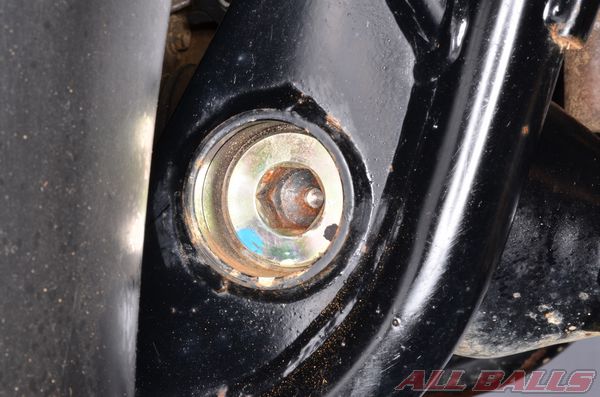
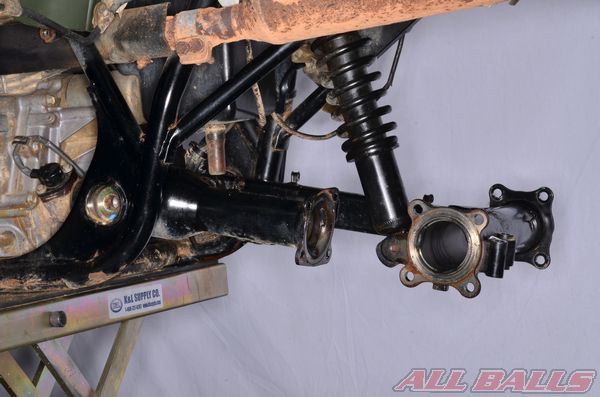
Remove the swingarm pivot bolts. Free the drive shaft joint boot and remove the swingarm.
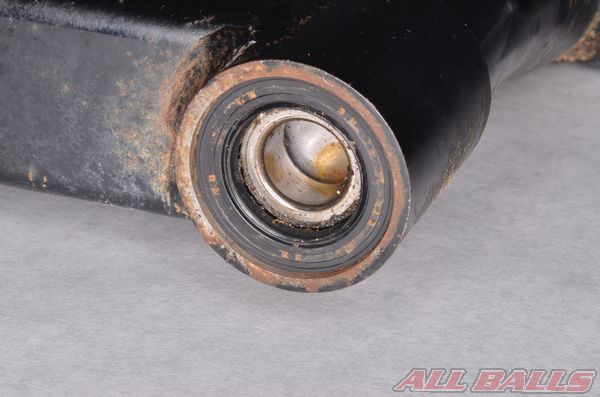
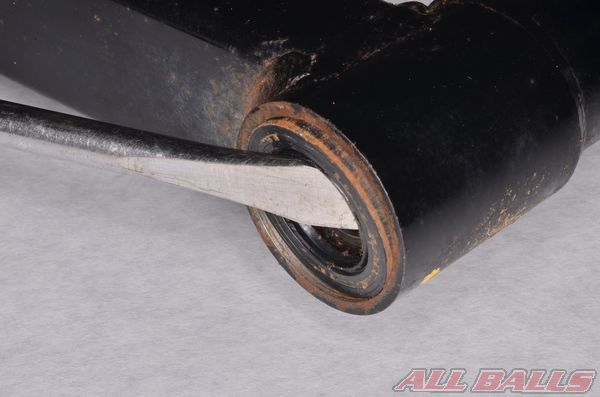
Remove the dust seals.
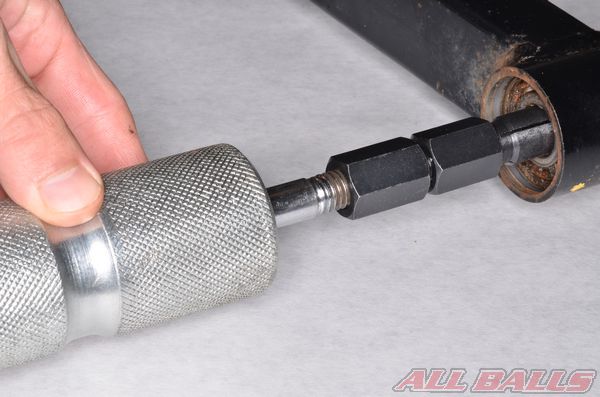
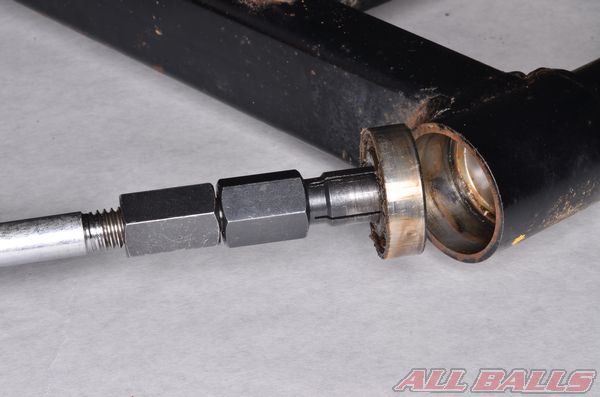
Remove the bearings with a suitable bearing puller.
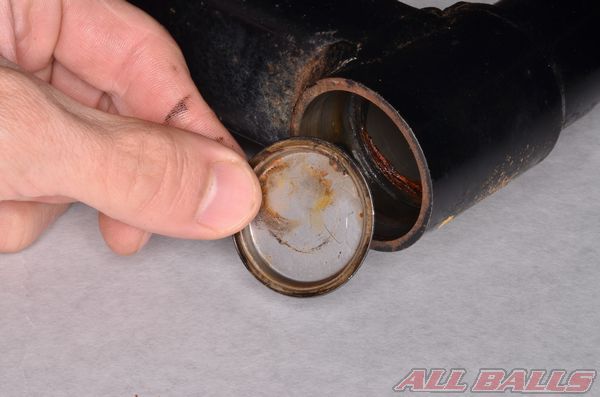
Remove the bearing grease holder.
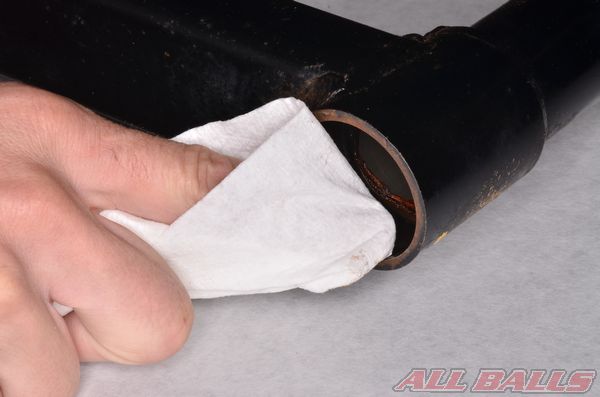
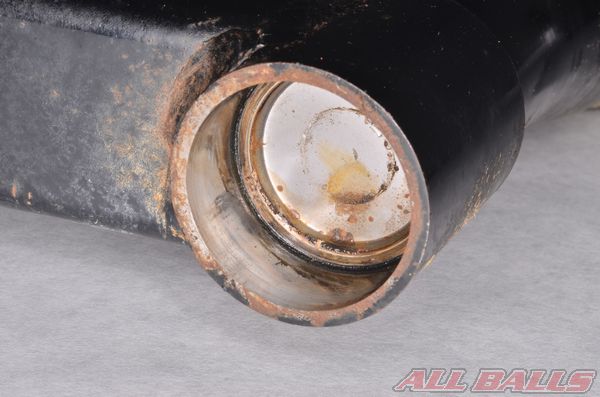
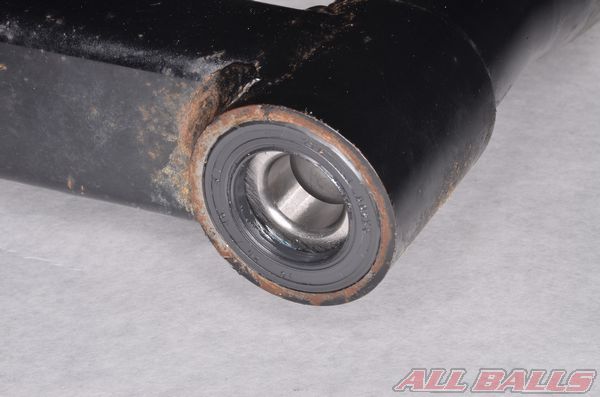
Clean away all of the old grease, grime, and rust from the bearing bores.
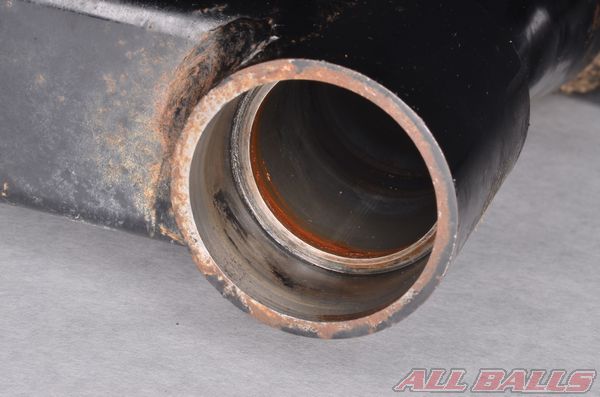
Inspect the bearing bores for wear and damage. Make sure the bores are free of damage or burrs that may cause the new bearings to hang during installation.
Bearing Replacement
Install the bearing grease holder.

Install the bearing race.
Drive in the bearing race with a suitable driver that only contacts the race on its outside diameter. Do not contact the angled section of the bearing race.
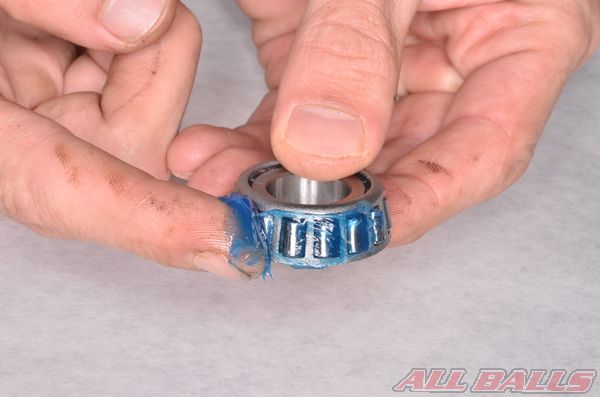
Lubricate the new bearing with grease.
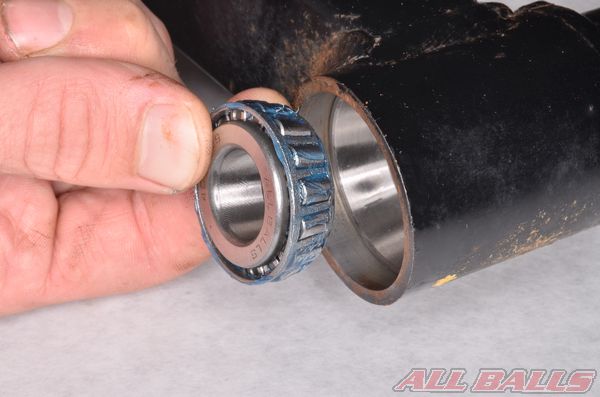
Install the swingarm bearings into the races.

Apply grease to the lips of the dust seals.
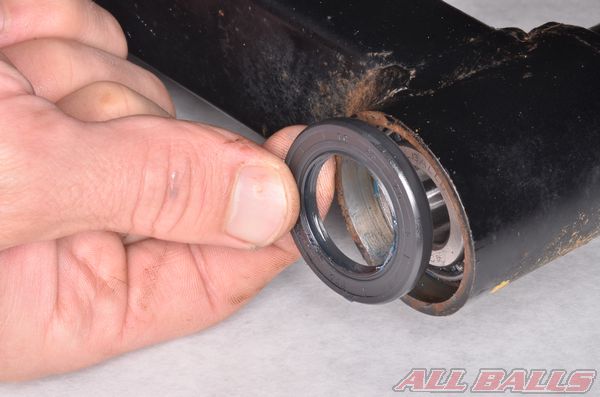
Install the dust seals into the swingarm.
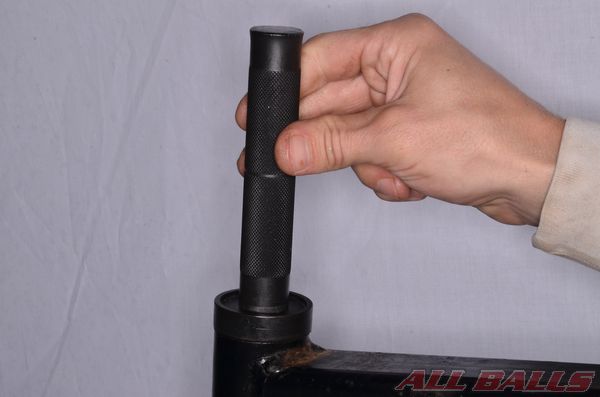
Use a driver that matches the outside diameter of the dust seal to push it into place if needed.
Installation
Take care to properly support the vehicles frame and swingarm so the vehicles weight is not applied to the swingarm until its fasteners are installed.
Apply a light coat of grease to the swingarm pivot bolts. Install the swingarm to the frame. Tighten the pivot bolts to specification.
Hold the pivot bolt and tighten the locknut to specification with the special locknut wrench.
Install the swingarm pivot caps.
Assemble the vehicle and tighten the fasteners to specification.
To make your bearings last longer- avoid pressure washing around the bearing seals for extended periods of time. Pressure washers will push water right around seals causing premature rusting of the bearings.

INSTALL ALL BALLS RACING STICKER!