

SAFETY FIRST: Protective gloves and eyewear are recommended at this point.
Note: The steps here show the installation procedure on a 1998 Harley-Davidson FLT motorcycle, you should have a service manual for your particular vehicle to get a better understanding of your particular setup and have factory recommended torque levels and specifications on hand.
Check out the Additional Service Information Resources for more information on finding service information for your specific vehicle.
Prep
Thoroughly clean the vehicle to make the job easier and prevent contamination of the new components during installation.
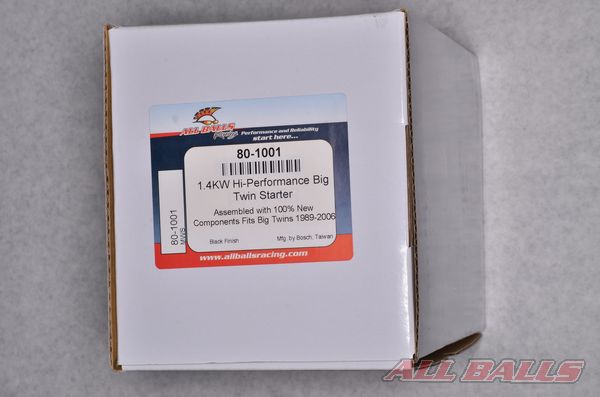
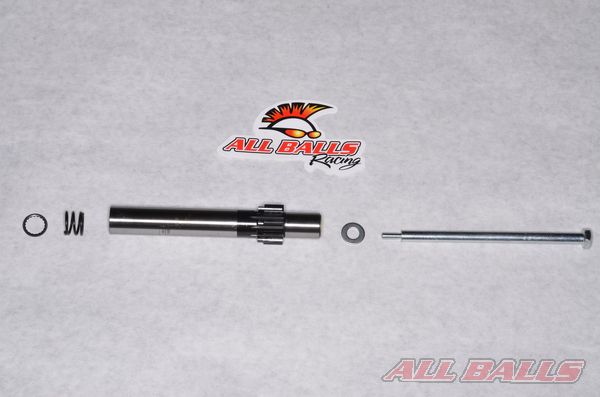
Get your High Performance Starter Motor and Jack Shaft kit from ALL BALLS RACING.

Remove the contents of your ALL BALLS RACING starter motor kit.
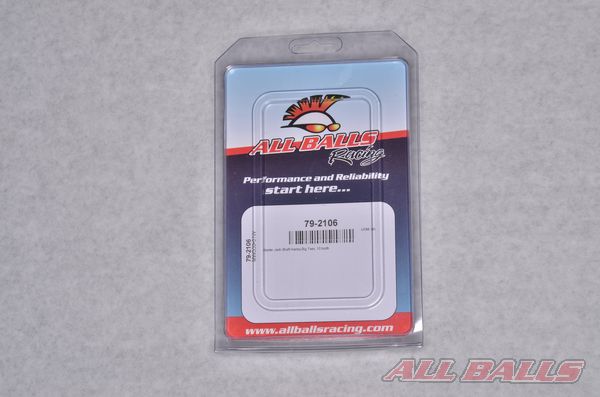
Remove the contents of your ALL BALLS RACING jack shaft kit.
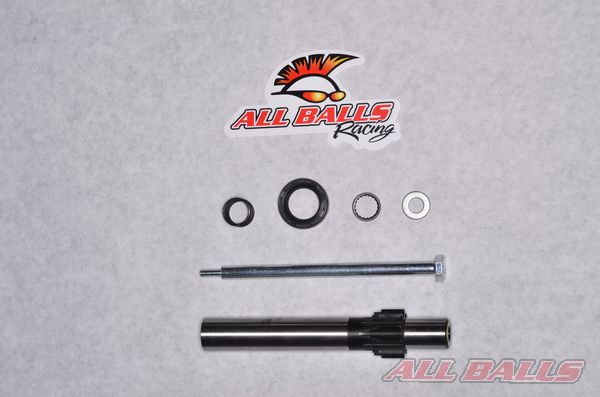
Arrange the components in an organized manner for easy installation. Note: wait to do this until the old parts are removed and you are ready to begin installing the new components.
Starter Motor Replacement
Remove the seat bolt.
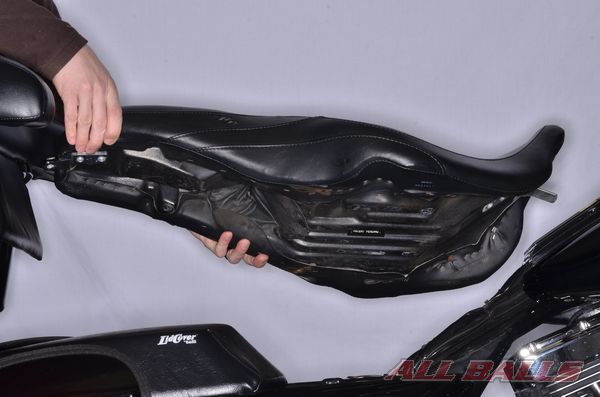
Remove the seat.
Disconnect the ground lead from the battery.
Remove the floorboard, shift lever and passenger foot pegs.
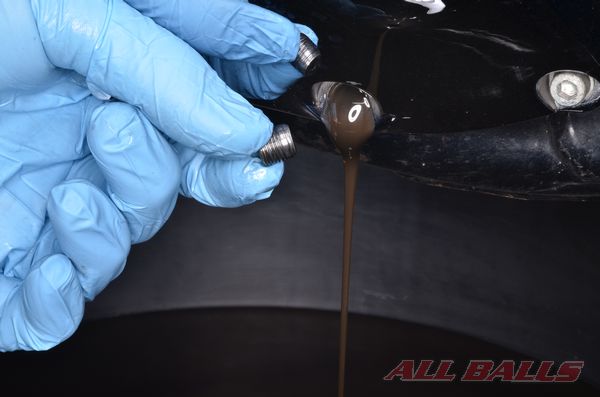
Remove the drain plug and allow the primary oil to drain completely.
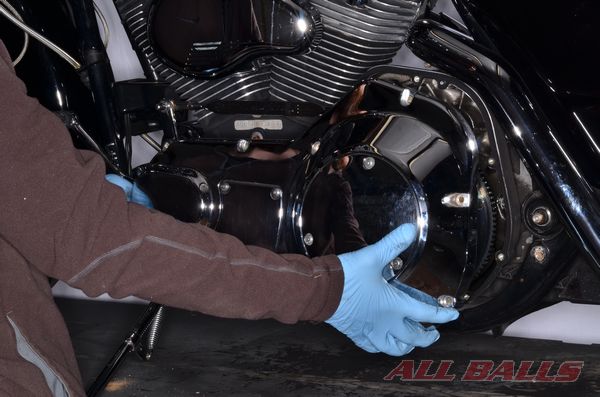
Remove the mounting bolts and the primary chain case cover.


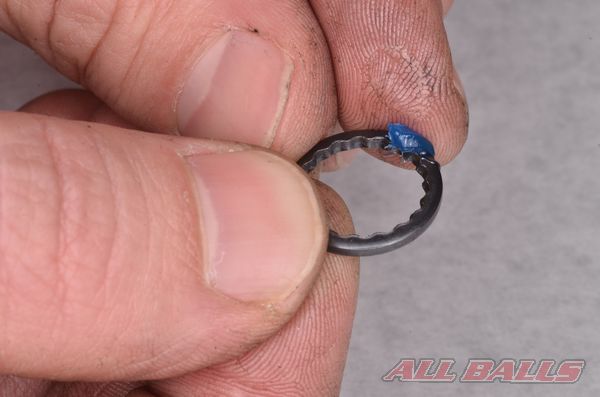
Bend the tab on the lock washer.
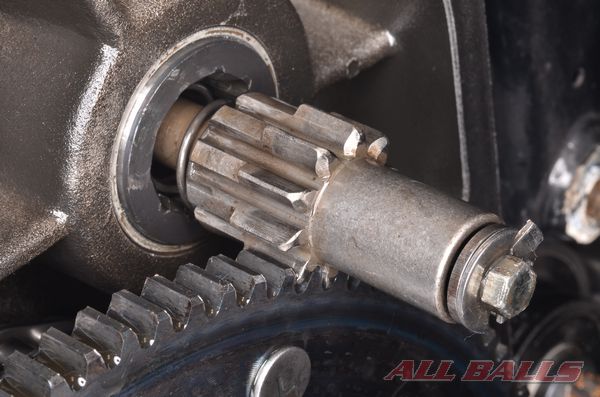
Extend the pinion gear so it can be held by the clutch driven gear and loosen the jack shaft bolt. Wrap the pinion gear with a rag and hold it with pliers if needed to keep it from turning when the bolt is loosened.
Remove the jack shaft bolt and washers.
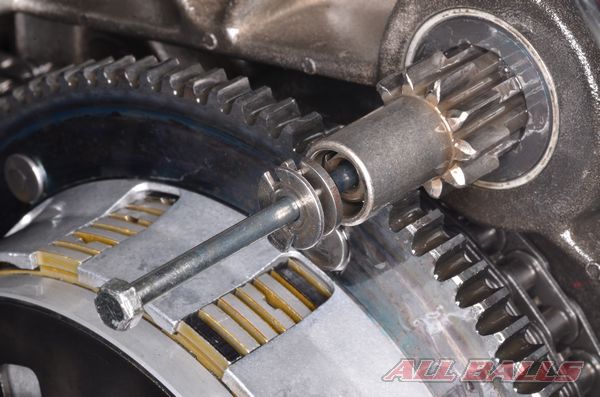
Remove the pinion gear and spring, and check for any damaged teeth on the starter driven gear on the clutch basket. Replace the components as necessary.
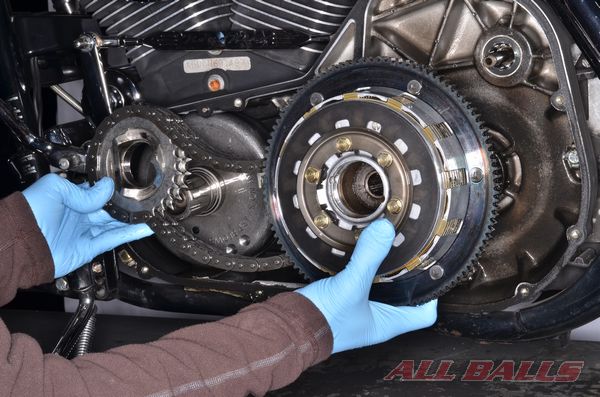
Follow the manufacturers instructions and remove the clutch and primary chain as an assembly.
Note: On some models the clutch hub main shaft nut has reverse or left hand threads.
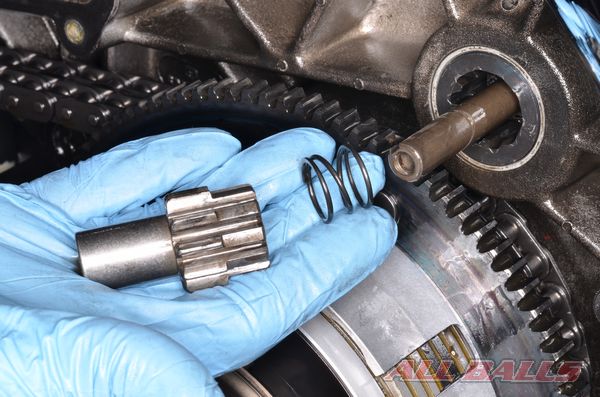
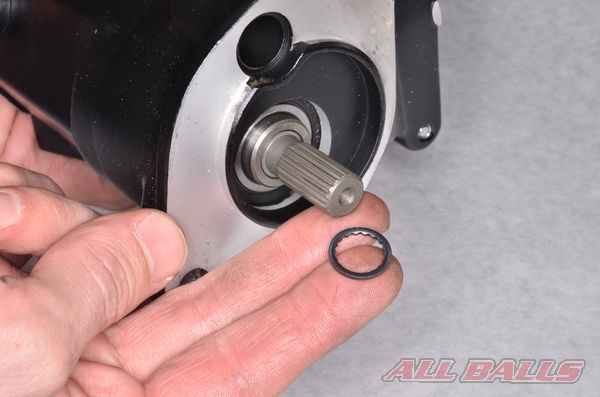
Remove the coupling and the old jack shaft.
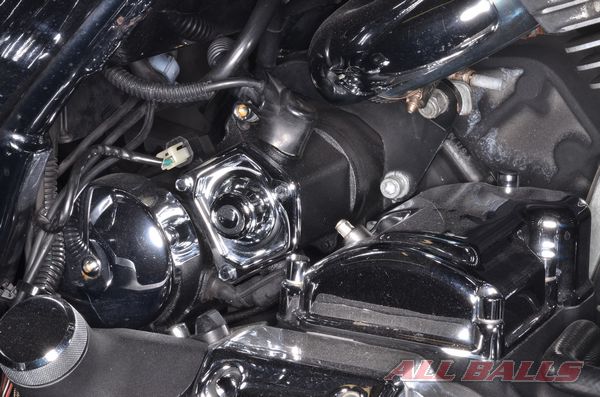
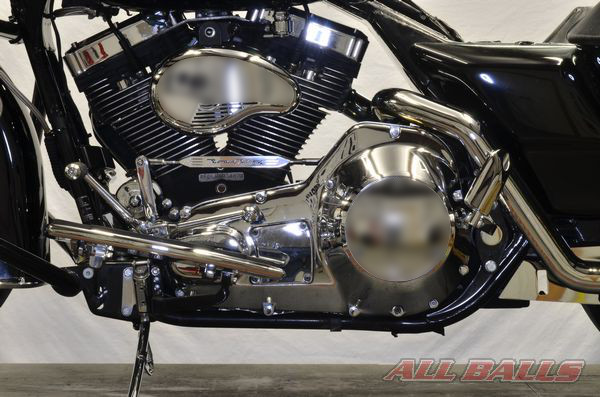
Locate the starter motor on the right side of the machine.
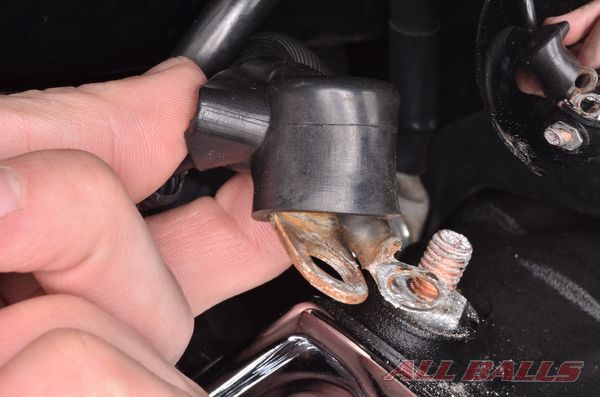
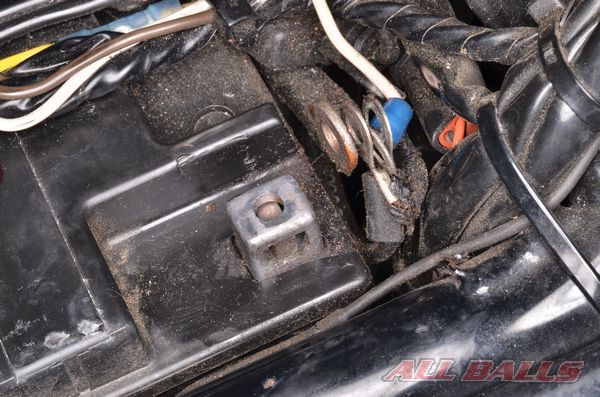
Pull back the rubber boot, remove the lock nut and free the starter motor cables.
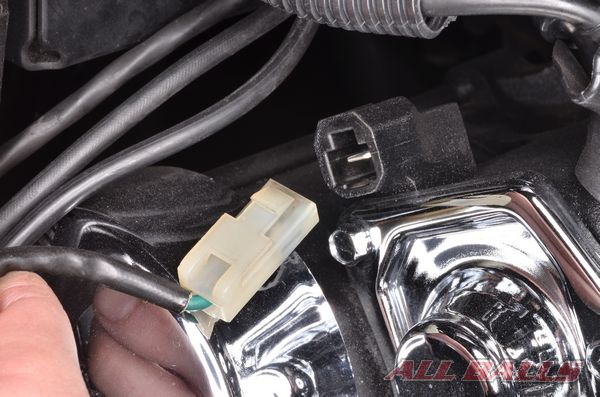
Disconnect the solenoid connector.
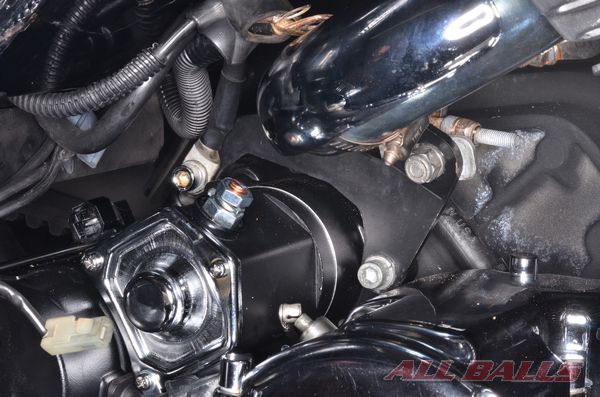
Remove the 2 starter motor mounting bolts. Some models may require the removal of an exhaust bracket.
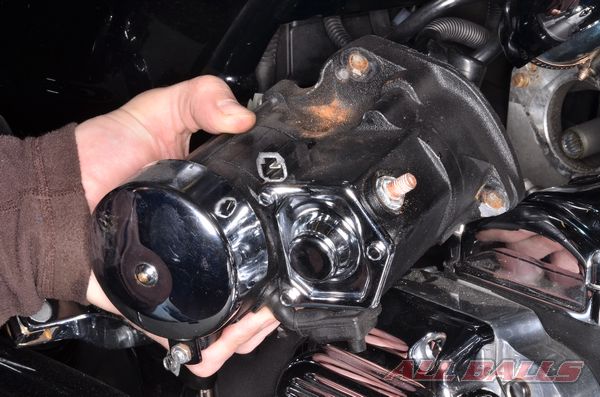
Remove the starter motor.
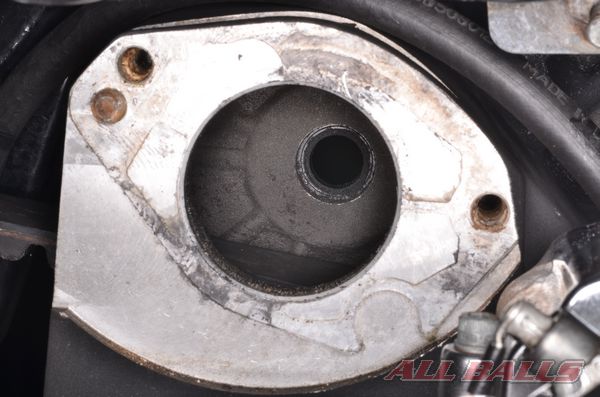
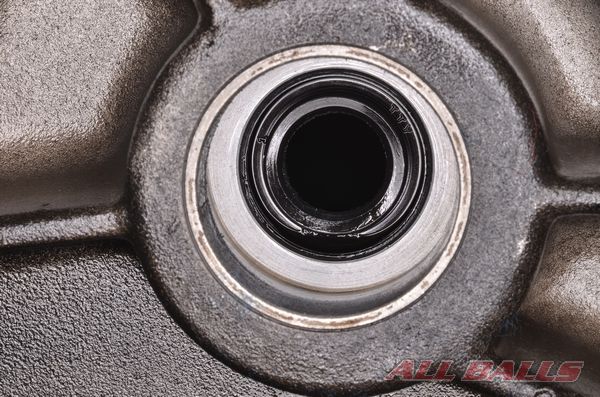
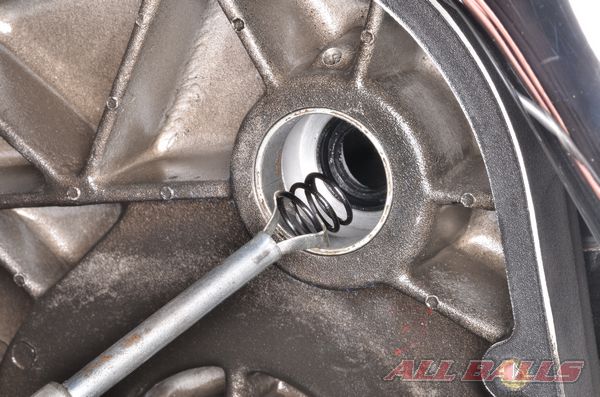
Drive out the old jack shaft oil seal and note the direction of the seal for installation.
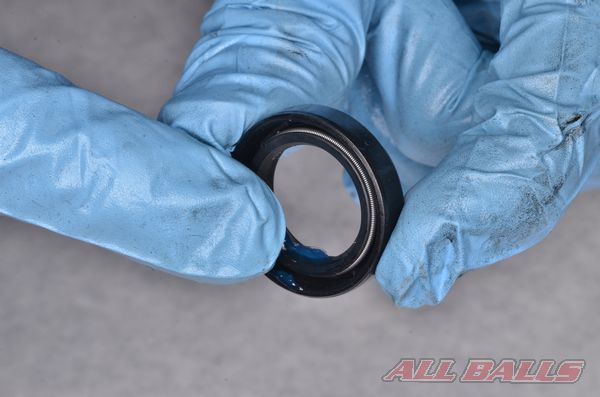
Apply a thin coat of grease to the new oil seal lips.
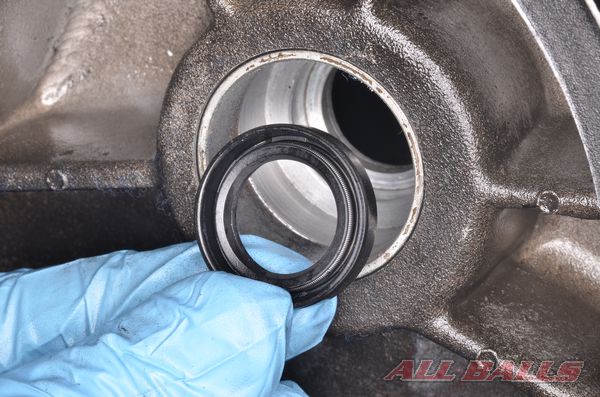
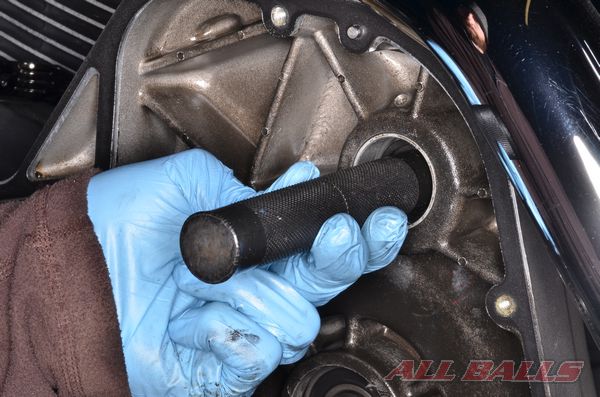
Install the new jack shaft oil seal into the left case half until it is fully seated.
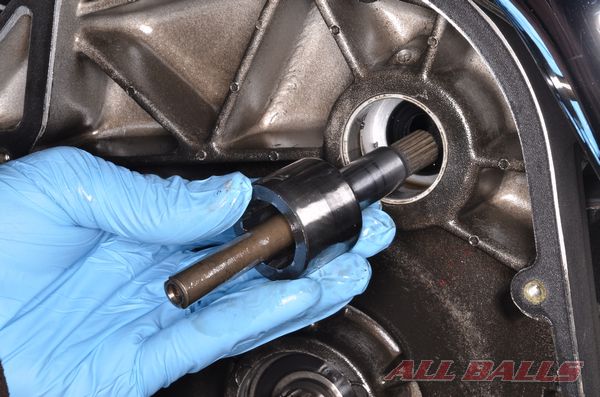
Note the direction and order of your new jack shaft and parts.
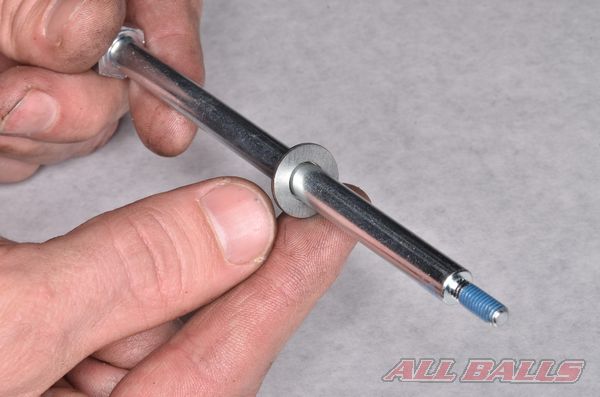
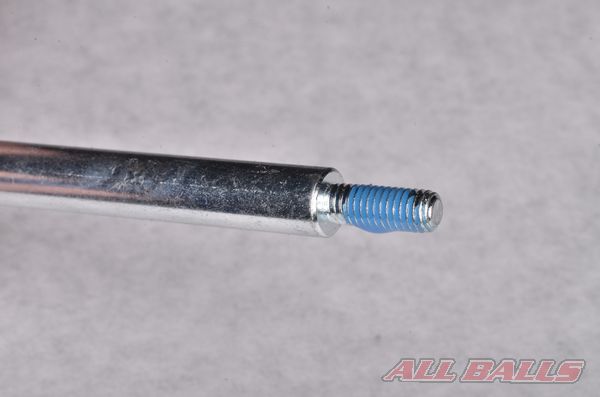
Install the the splined washer onto the new starter motor, a small dab of grease will help hold it in place. Apply a thin coat of grease to the starter motor splines.

Install the new starter motor onto the engine. Tighten the bolts to specification with a toque wrench.
Using a suitable holding tool, carefully place the spring onto the starter motor shaft. Avoid damaging the oil seal or dropping the spring.

Install the new jack shaft onto the starter motor shaft, carefully guide it through the oil seal. Make sure it fits correctly- you will feel it press against the spring.

Install the clutch and primary assembly, follow the manufacturers instructions for proper reassembly.
Install the plain washer onto the jack shaft bolt.
Apply non-permanent thread locking agent to the bolt threads.


Install the bolt into the jack shaft, hold the jack shaft with a suitable tool and tighten the bolt to 5 ft. lbs.
Install the primary cover and fill with oil following the manufacturers instructions.
Install the floorboard, shift lever and passenger foot pegs following the manufacturer’s instructions.
Connect the solenoid lead and battery cables, pull the rubber boot over the cables.
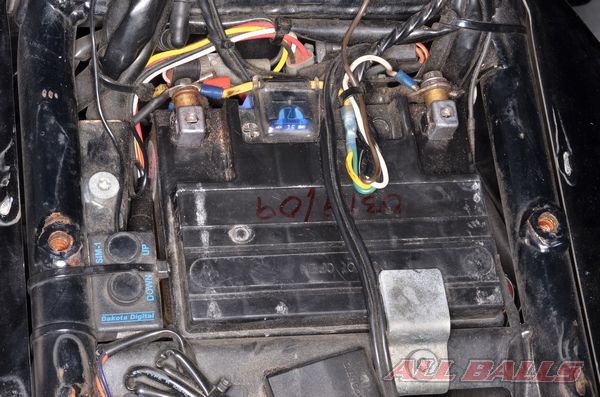
Connect the negative battery lead.
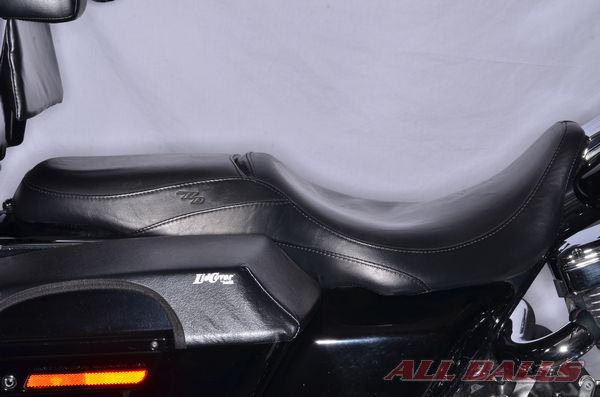
Install the seat and tighten the bolt securely to the manufacturers specification.

INSTALL ALL BALLS RACING STICKER!