SAFETY FIRST: Protective gloves and eyewear are recommended at this point.
Note: These instructions are very general, and you should have a service manual for your particular vehicle to get a better understanding of your particular setup and have factory recommended torque levels and specifications on hand.
Check out the Additional Service Information Resources for more information on finding service information for your specific vehicle.
Prep
Thoroughly clean the vehicle to make the job easier and prevent contamination of the new components during installation.
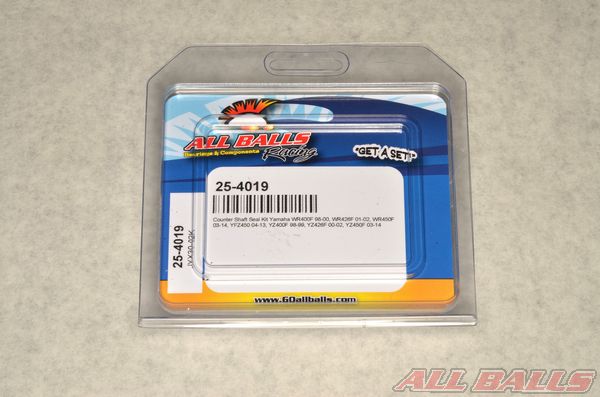
Get your countershaft kit from ALL BALLS RACING.
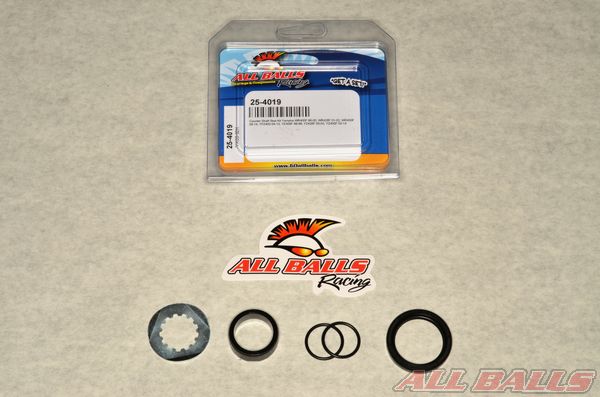
Remove the contents of your ALL BALLS RACING master cylinder rebuild kit. Layout the components in an organized manner for easy installation. Note: wait to do this until the old parts are removed and you are ready to begin installing the new components.
Removal
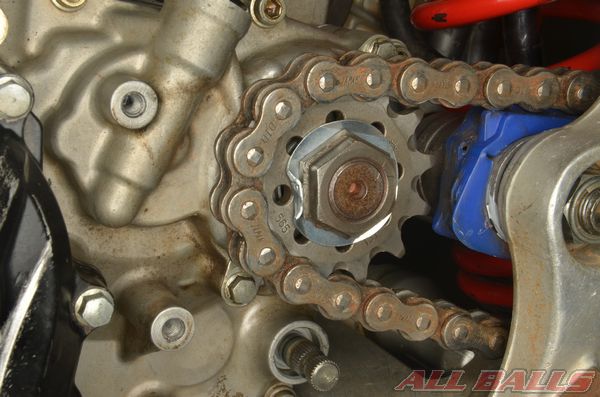
Countershaft sprockets can be attached in several different ways- they may have lock washers, thread lock, multiple fasteners, snap rings, or reverse threads.
Allays follow the specific instructions in the particular service manual when removing and installing the counter shaft sprocket, and never work with the chain and sprocket while the engine is running.
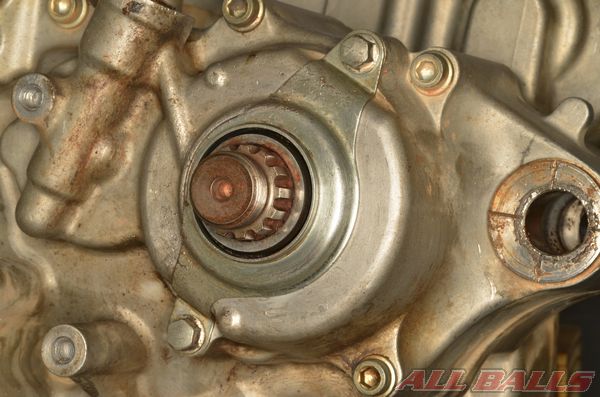
Remove the sprocket from the countershaft.

Some models have a countershaft seal retainer. Remove the countershaft seal retainer.
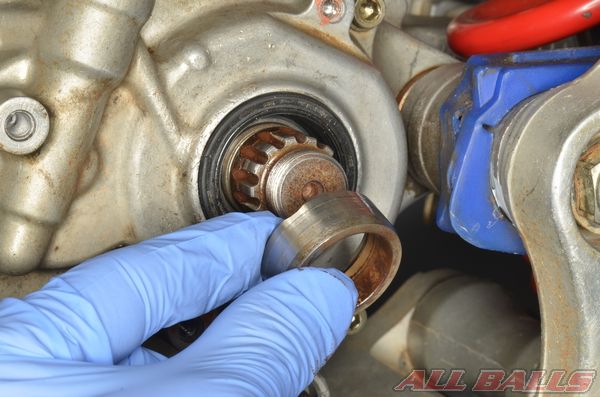
Remove the countershaft seal bushing.
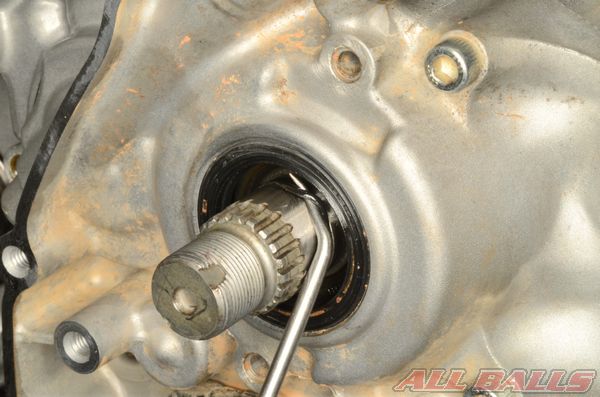
Use a pick to extract the countershaft O-ring.
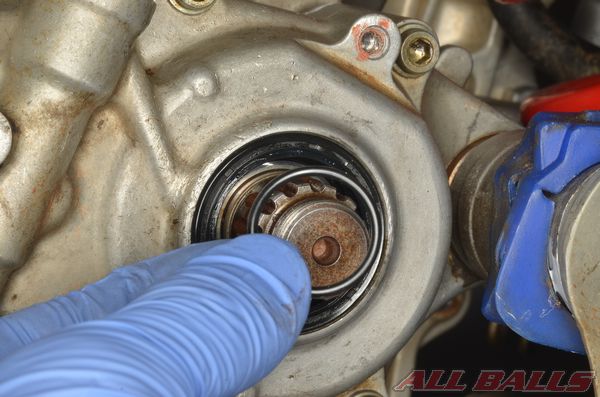
Remove the countershaft O-ring.
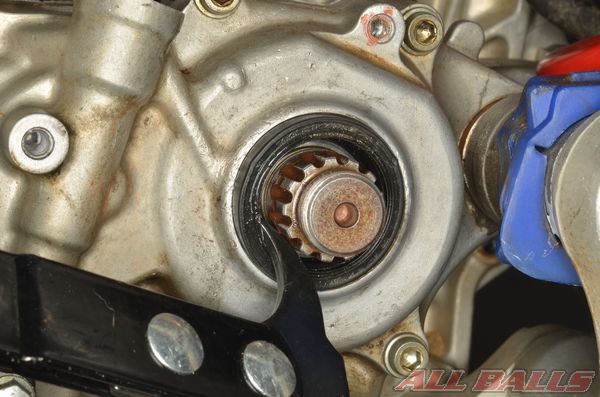
Remove the seal with a seal pick. If a seal pick is unavailable you can thread wood screws into the seal and pull it out by the screws.
Installation
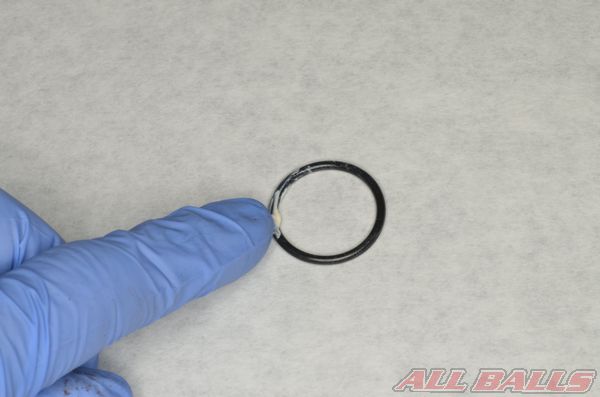
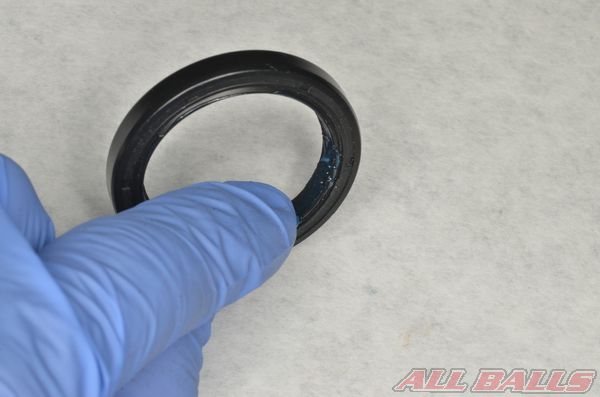
Coat the new seal and O-ring in grease.
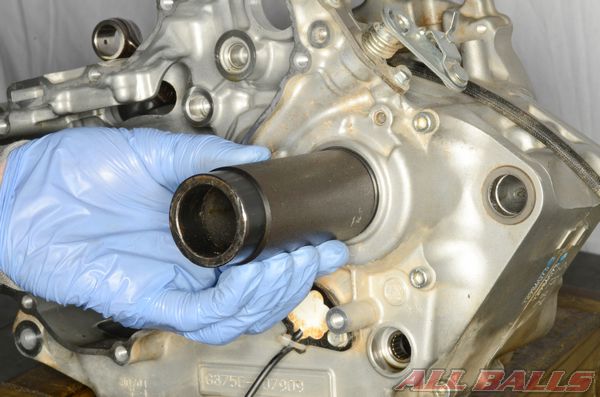
Press in the the seal by hand in with an appropriate driver or a socket with the same outside diameter of the seal.
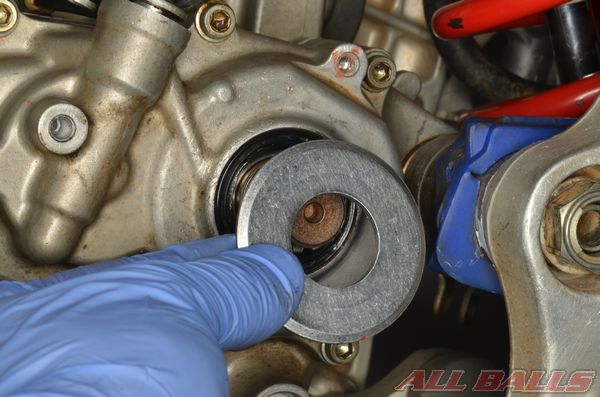
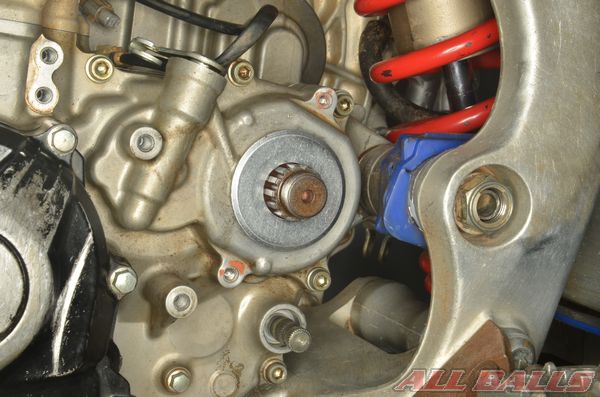
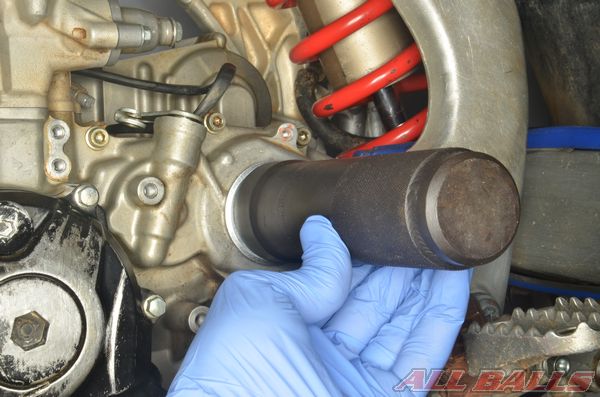
If a special driver is unavailable, use a large washer to push the seal into the crankcase.

Install the O-ring into its groove in the countershaft.
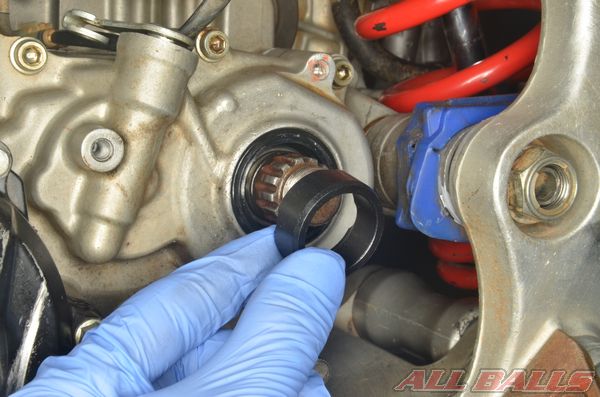
Install the new countershaft bushing.

Install the countershaft seal retainer as required.
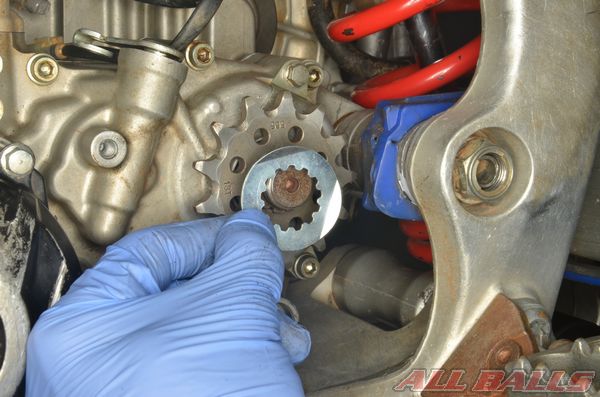
Install a new lock washer with the counter shaft sprocket.

Tighten the countershaft fastener to the torque specification given in the service manual. If the lock washer is a bending type, bend the tab of the lock washer against the countershaft sprocket nut/bolt with a punch and a hammer. Install the chain guides and sprocket covers as required. Adjust the drive chain slack to specification.

INSTALL ALL BALLS RACING STICKER!

