

SAFETY FIRST: Protective gloves and eyewear are recommended at this point.
Note: These instructions are very general, and you should have a service manual for your particular vehicle to get a better understanding of your particular setup and have factory recommended torque levels and specifications on hand.
Check out the Additional Service Information Resources for more information on finding service information for your specific vehicle.
Prep
Thoroughly clean the vehicle to make the job easier and prevent contamination of the new components during installation.
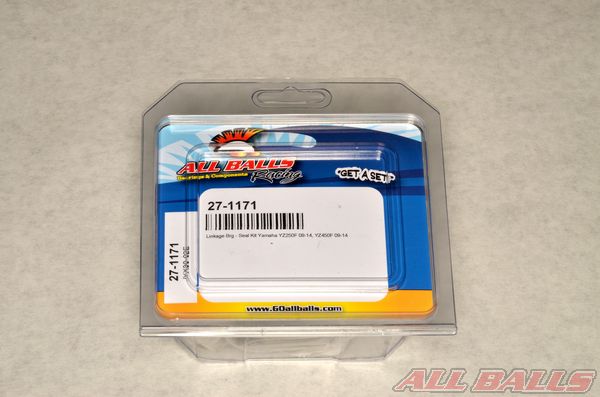
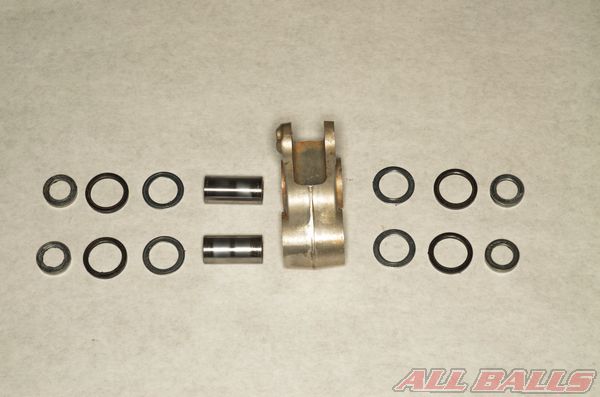
Get your linkage rebuild kit from ALL BALLS RACING.
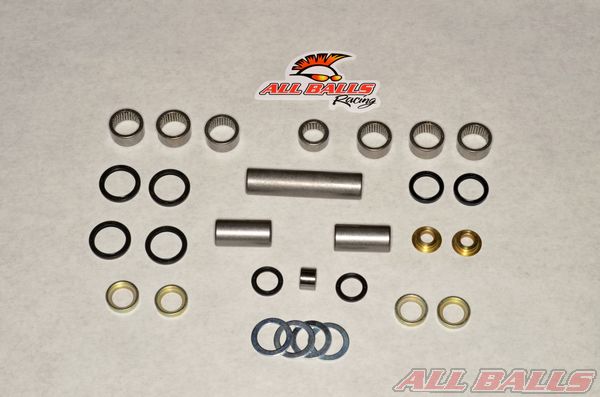
Remove the contents of your ALL BALLS RACING linkage rebuild kit. Layout the components in an organized manner for easy installation. Note: wait to do this until the old parts are removed and you are ready to begin installing the new components.

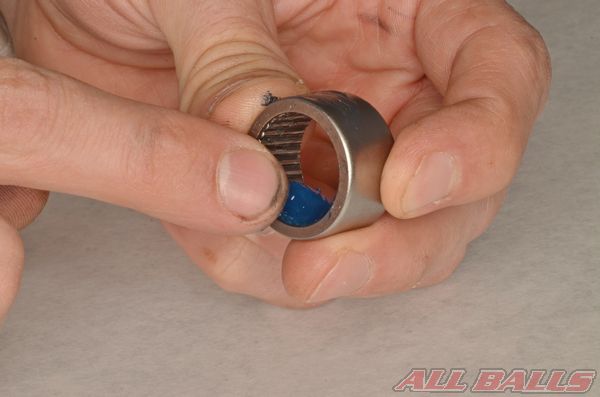
Remove the plastic wrapper from needle bearings and push it into the inside of the bearing to retain the needles.
Removal

Support the vehicles frame and swingarm so the vehicle weight is not supported by the linkage. Follow any specific instructions in the vehicle’s specific service information.
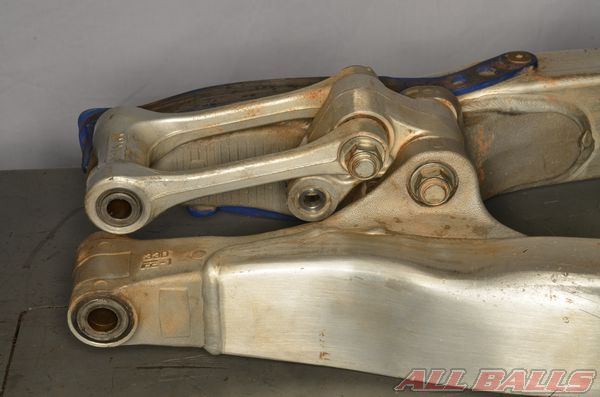
Free the linkage components from the swingarm and frame. Check for swingarm and frame damage and excessive wear. Check the pivot bolts for damage and excessive wear. Replace any worn or damaged components as necessary.
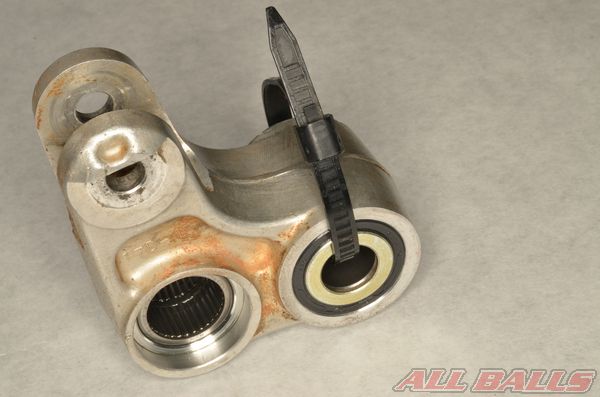
Relay Arm

Inspect the relay arm for damage and excessive wear.
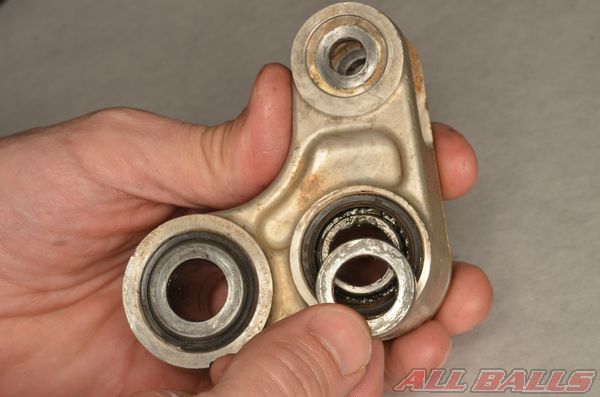
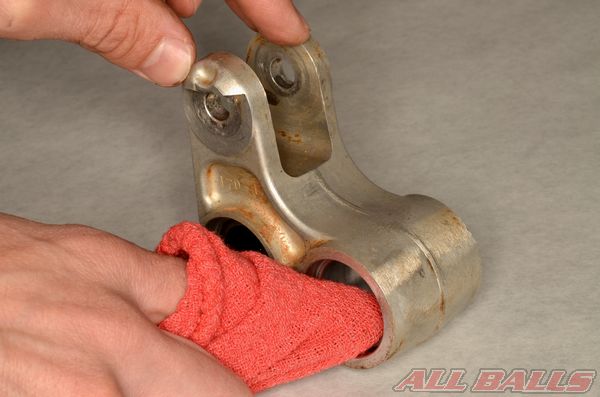
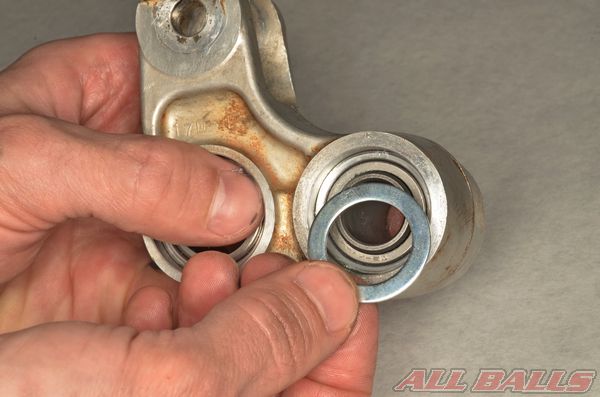
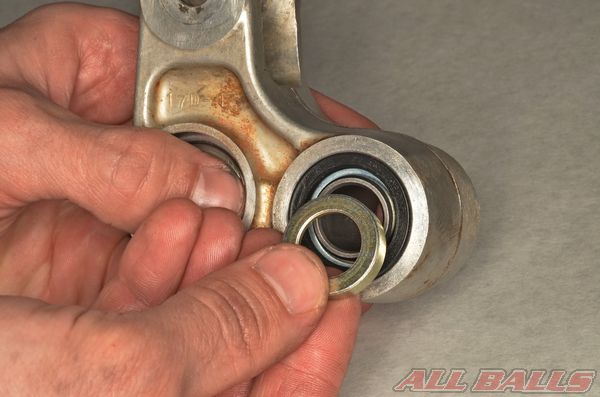
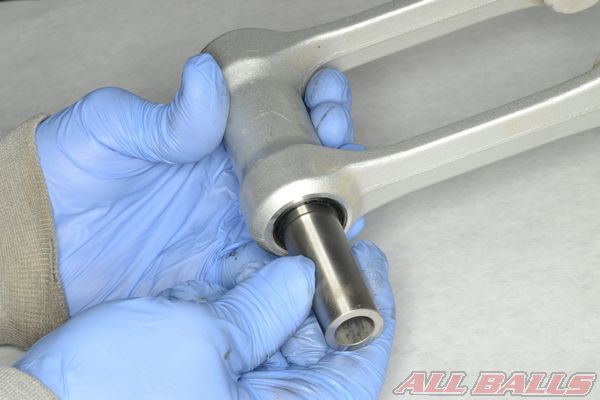
Remove the old side collars from the relay arm.

Remove the dust seals.

Remove the old washers.
Note the position of the removed components to aid in installation.
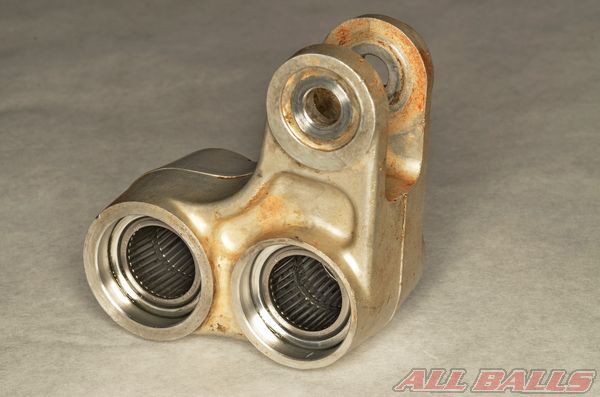
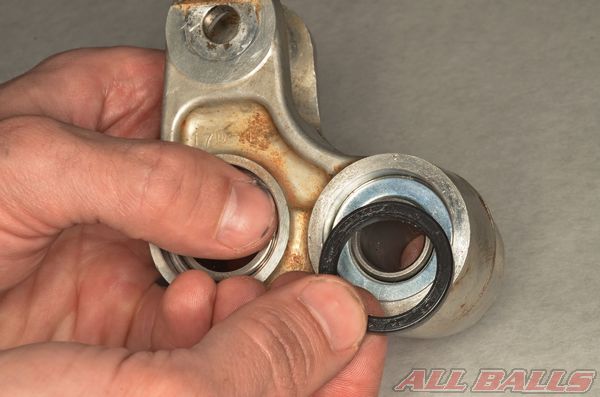
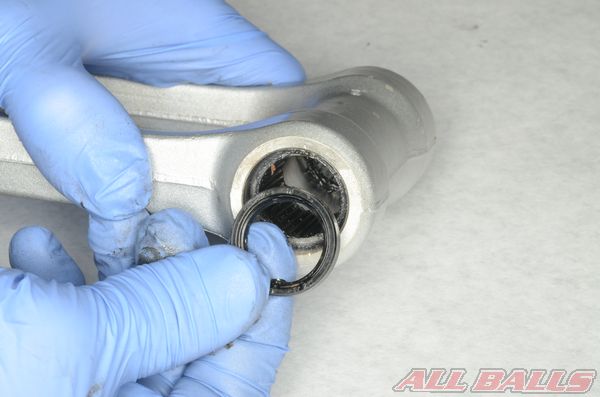
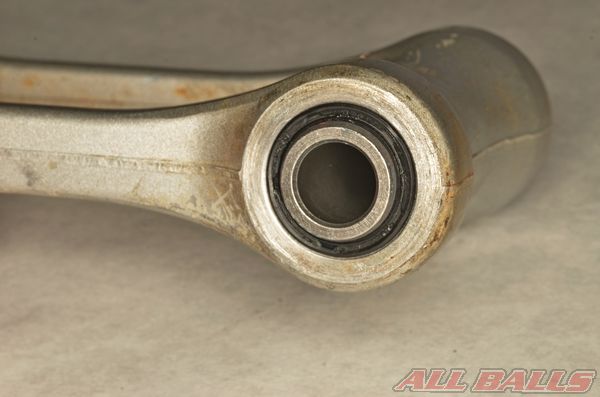
Check the condition of the bearings. If the bearings are loose, damaged or corroded, they must be replaced with new bearings.
Note the location and depth when removing the bearings to help with installation.
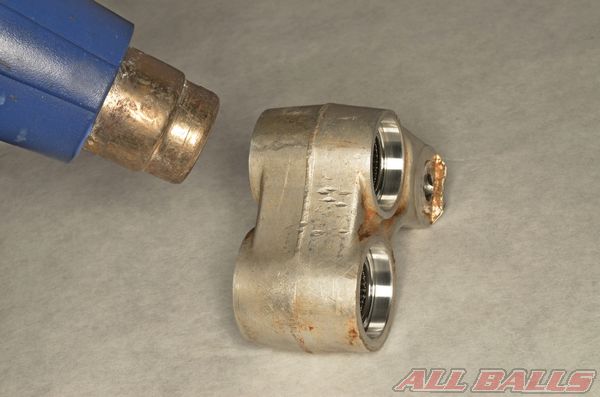
Heat the relay arm with a heat gun prior to removing and installing the bearings. This will expand the metal to aid in bearing removal and installation.
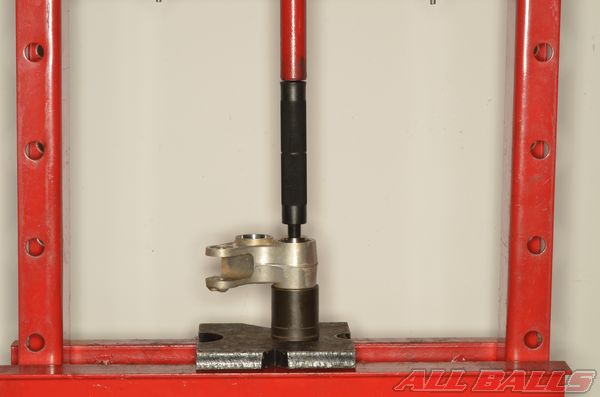
Press the bearings out of the relay arm. Make sure to allow room for the bearing to exit the opposite side of the relay arm.
Clean away all of the old grease, grime, and rust from the bearing bores.
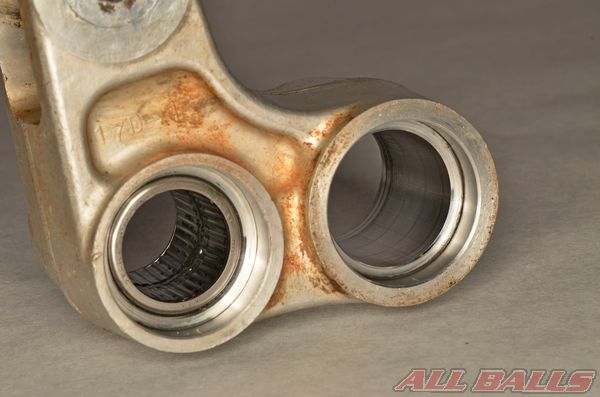
Inspect the bearing bores for wear and damage. Make sure the bores are free of damage or burrs that may cause the new bearings to hang during installation.
Lubricate the bearings with grease.
Apply a light coat of grease to the outside of the outer bearing race for smooth installation.
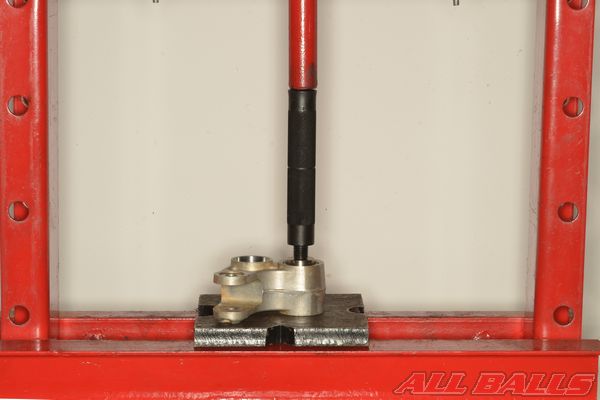
Press the bearings into the relay arm. Install the bearings rounded end first. Use a suitable driver that is slightly smaller than the outside diameter as the bearing.
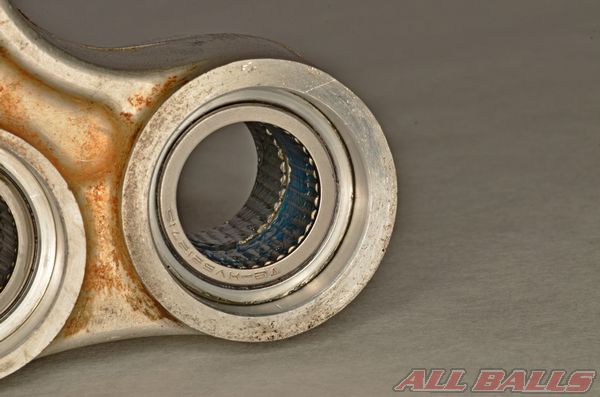
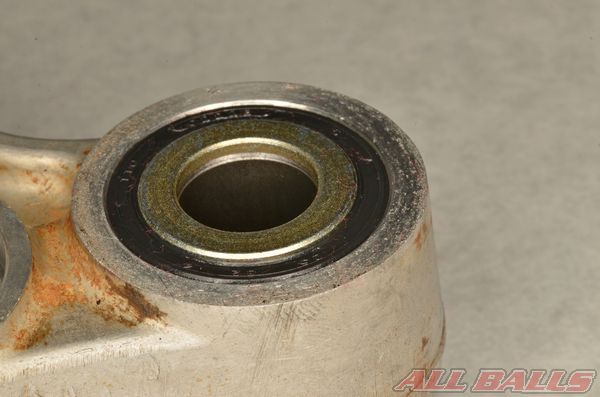
Position the bearings at the proper depth inside the relay arm. In the case of our example, a 2010 Yamaha YZ450F, the bearings are required to be flush with the outer edge of the bore. Make sure the bearings are properly greased.
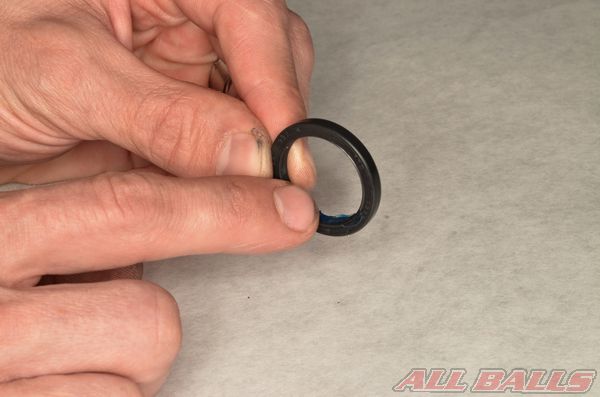
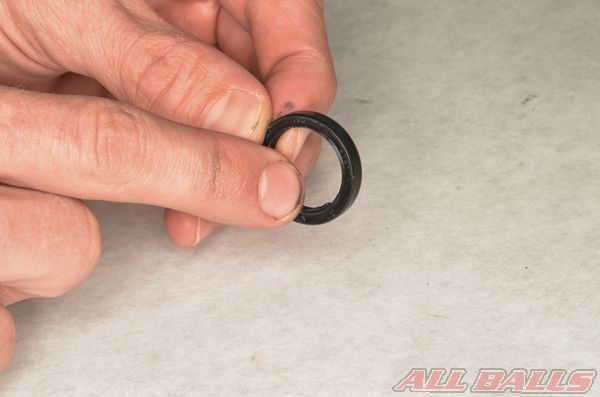
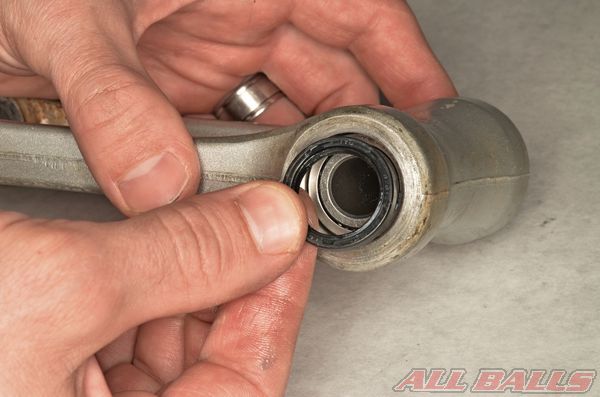
Lubricate the lips of the dust seals with grease.
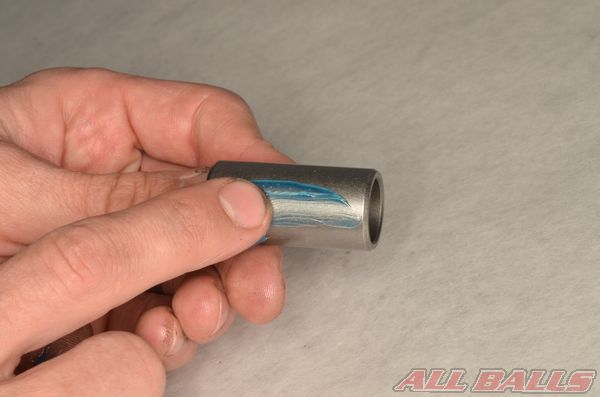
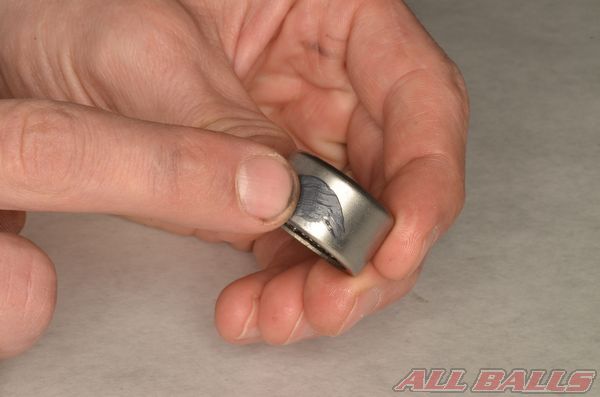
Lubricate the new collars with grease.

Install the new collars into the bearings.
Install the new washers.
Install the dust seals with the markings facing out. Often the dust seals can be gently pressed in by hand. If needed use a suitable driver with the same outside diameter as the seal to to press the seal into the bore. Position the seal as indicated in the service manual. The seals should be flush with the edge of the relay arm on our 2010 Yamaha YZ450F.
Install the side collars.
Use zip ties to hold the new linkage components in place if the rear suspension is not going to be installed to the vehicle right away.
Connecting Link

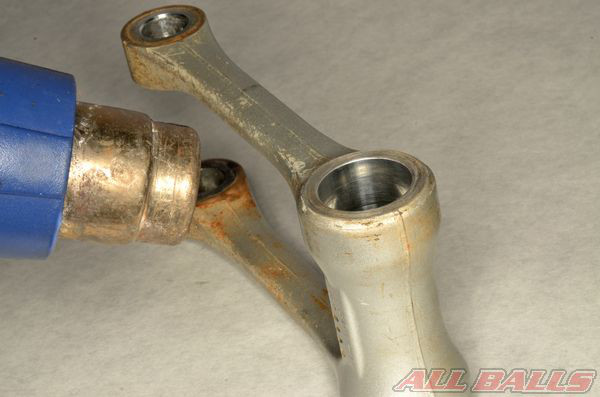
Inspect the connecting link for damage and excessive wear.
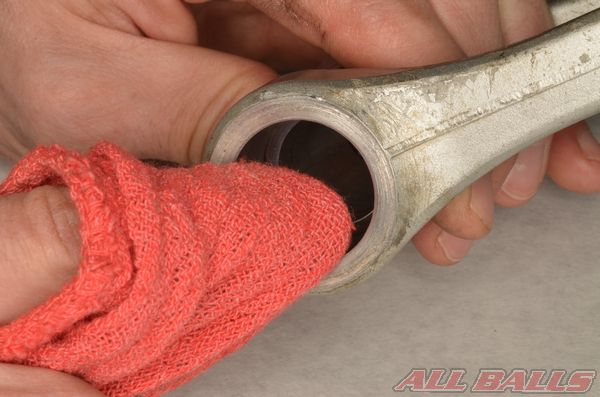
Remove the collar from the connecting link.
Remove the seals from the connecting link.

Check the condition of the bearings. If the bearings are loose, damaged or corroded, they must be replaced with new bearings.
Note the location and depth when removing the bearings to help with installation.
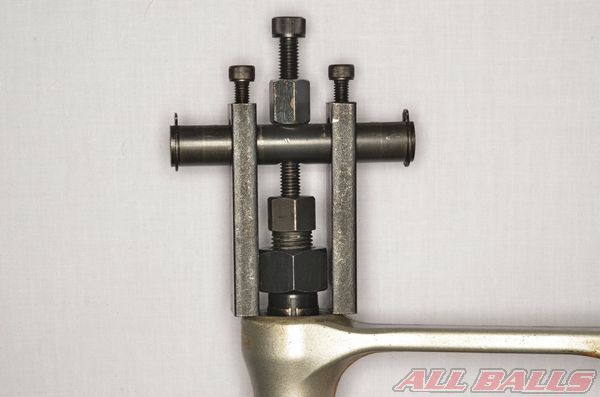
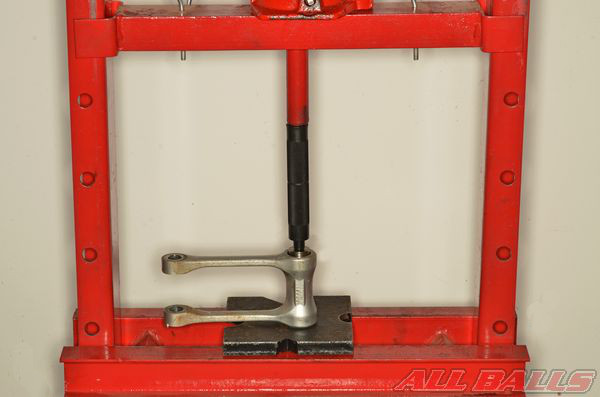
Use an internal bearing puller to pull the old bearings out of the connecting link.
Clean away all of the old grease, grime, and rust from the bearing bores.

Inspect the bearing bores for wear and damage. Make sure the bores are free of damage or burrs that may cause the new bearings to hang during installation.
Lubricate the bearings with grease.
Apply a light coat of grease to the outside of the outer bearing race for smooth installation.
Heating the bearing bores will cause them to expand slightly and will make bearing installation easier.
Press the bearings into the connecting link. Install the bearings rounded end first. Use a suitable driver that is slightly smaller than the outside diameter as the bearing.
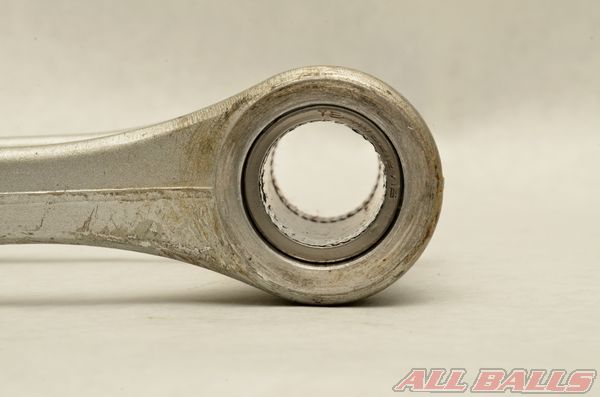
Position the bearings at the proper depth inside the connecting link. In the case of our example, a 2010 Yamaha YZ450F, the bearings are required to be fully seated inside their bores. Make sure the bearings are properly greased.
Lubricate the lips of the dust seals with grease.
Install the dust seals with the markings facing out. Often the dust seals can be gently pressed in by hand. If needed use a suitable driver with the same outside diameter as the seal to to press the seal into the bore. Position the seal as indicated in the service manual. On our 2010 Yamaha YZ450F the seals should be flush with the edge of the connecting link.

Lubricate the new collar with grease.
Install the new collar into the connecting link.
Shock Absorber Bearings

Some linkage kits may include a shock absorber bearing. See the Shock Absorber Bearings Guide for more information.
Installation
Apply a light coat of grease to the linkage pivot bolts. Install the linkage to the swingarm and frame. Take care to properly support the vehicles frame and swingarm so the vehicles weight is not applied to the linkage until all of the pivot fasteners are installed.
Return the vehicle to the ground so that its weight is supported by the rear suspension, and tighten the fasteners to the correct torque specifications. Follow any specific instructions in the vehicle’s service manual. Tighten the fasteners to the correct torque specifications. Follow any specific insurrections in the vehicle’s service manual.
To make your bearings last longer- avoid pressure washing around the bearing seals for extended periods of time. Pressure washers will push water right around seals causing premature rusting of the bearings.
INSTALL ALL BALLS RACING STICKER!