

SAFETY FIRST: Protective gloves and eyewear are recommended at this point.
Warning: Brake fluid is very caustic and can damage paint, chrome and plastic. Wipe up any spills immediately.
Note: These instructions are very general, and you should have a service manual for your particular vehicle to get a better understanding of your particular setup and have factory recommended torque levels and specifications on hand.
Check out the Additional Service Information Resources for more information on finding service information for your specific vehicle.
Prep
Thoroughly clean the vehicle to make the job easier and prevent contamination of the new components during installation.
Get your master cylinder rebuild kit from ALL BALLS RACING.
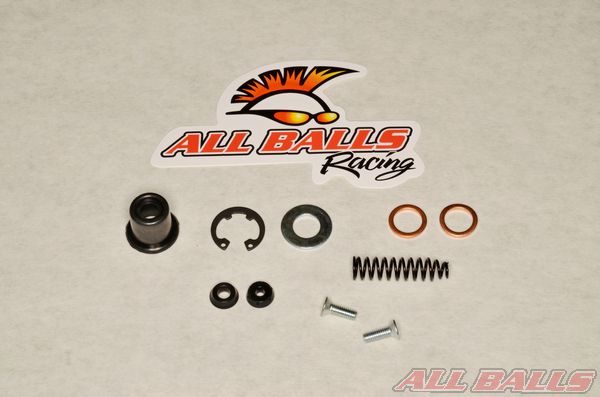
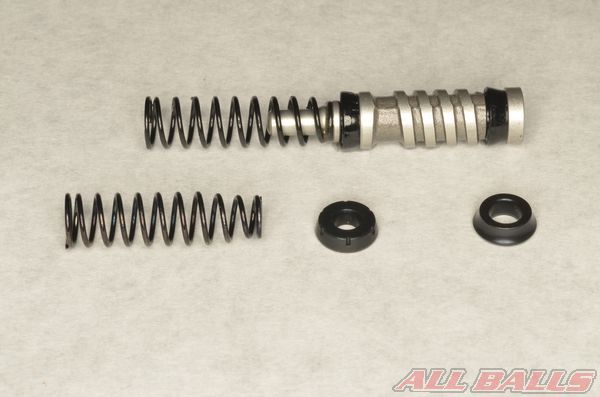
Remove the contents of your ALL BALLS RACING master cylinder rebuild kit. Layout the components in an organized manner for easy installation. Note: wait to do this until the old parts are removed and you are ready to begin installing the new components.
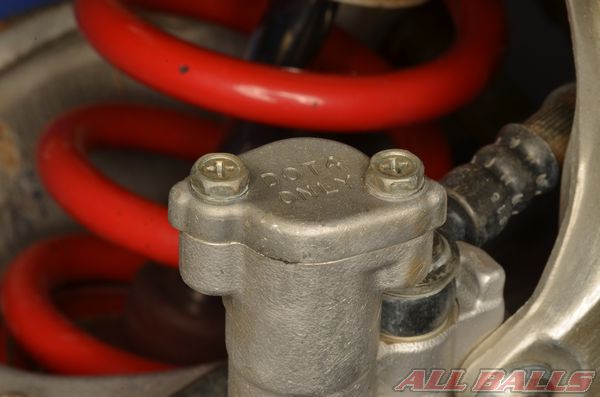
Have an unopened container of fresh brake fluid of the correct type on hand to replace the old brake fluid. Most power sports vehicles use DOT 4 brake fluid, but be sure to check the requirements for the specific model. Often the required brake fluid will be indicated on the master cylinder reservoir cap.
Drain the brake fluid from the system. See the Hydraulic Brake Fluid topic in the Cyclepedia.com General Service Manual for more information on brake fluid and brake fluid draining.
http://www.cyclepedia.com/manuals/online/free/brakes
Avoid spilling brake fluid if possible, and clean up any spilled brake fluid quickly with water and a damp rag.
Standard Hand Lever Master Cylinder
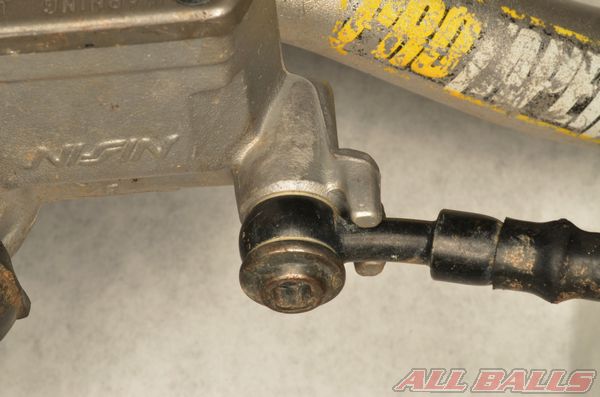
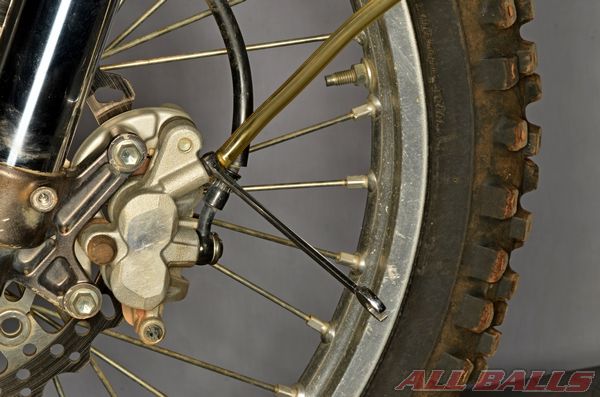
Loosen the banjo bolt and be prepared to deal with any remaining brake fluid. Free the brake hose from the master cylinder and discard the sealing washers.

Disconnect the brake light switch if applicable.

Remove the two master cylinder mounting bolts.

Free the master cylinder from the handlebar.
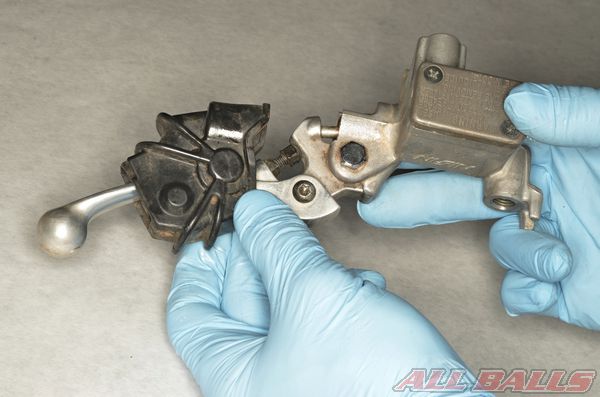
Remove the rubber lever cover.
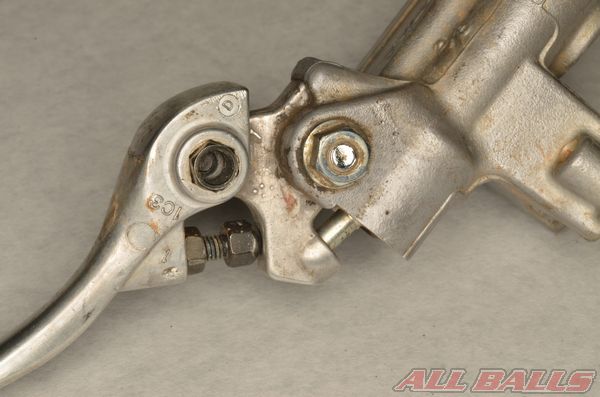
Remove the brake lever pivot nut.
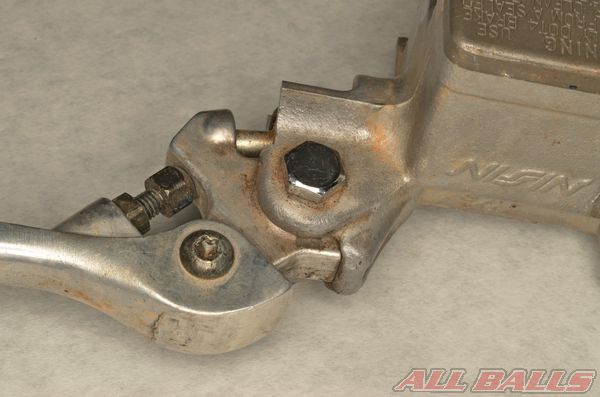
Remove the brake lever pivot bolt.
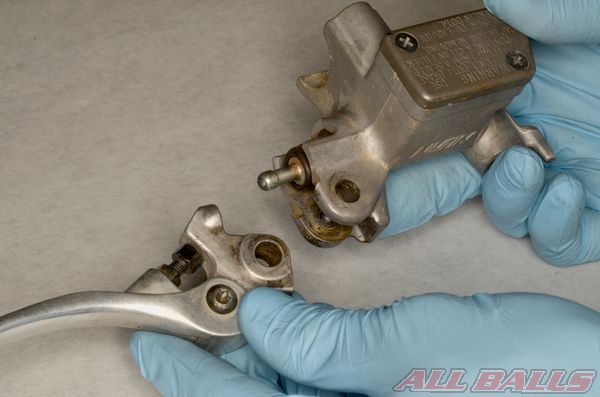
Remove the brake lever.

Remove the rubber cover, and lever rod if applicable.
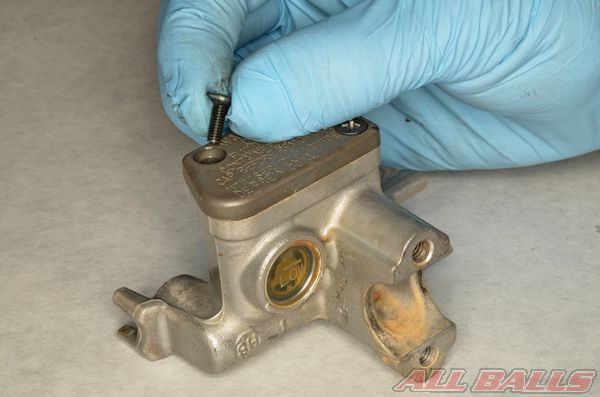
Remove the reservoir cap screws.
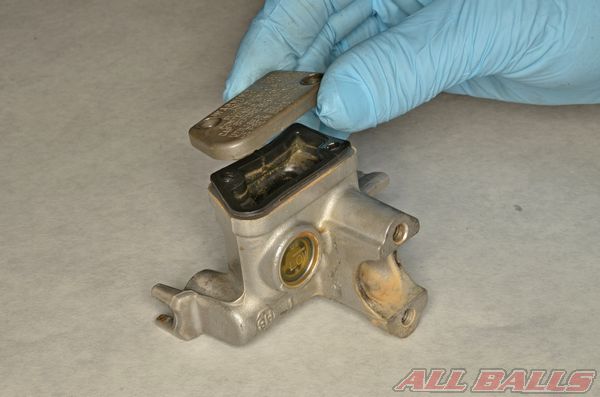
Remove the reservoir cap.

Remove the rubber diaphragm and plastic cap if applicable.
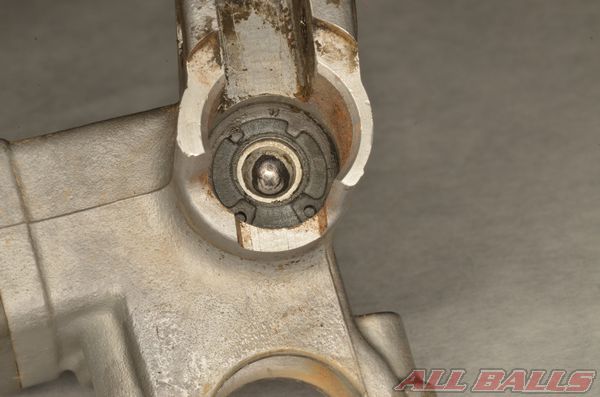
The master cylinder piston is spring loaded and held in the cylinder by a snap ring.
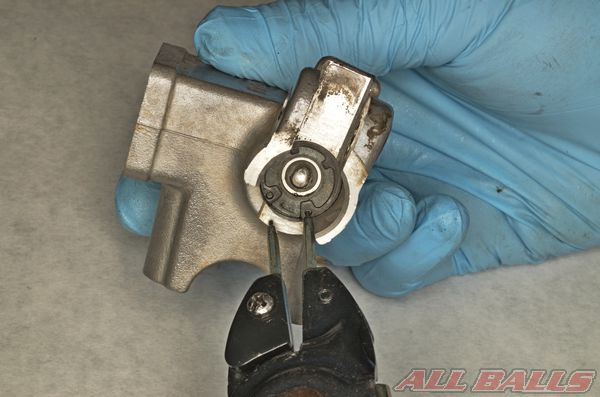
Free the snap ring from its groove with snap ring pliers.
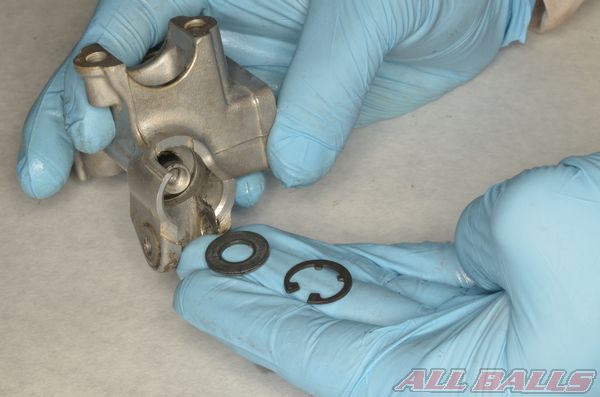
Remove the snap ring and washer.
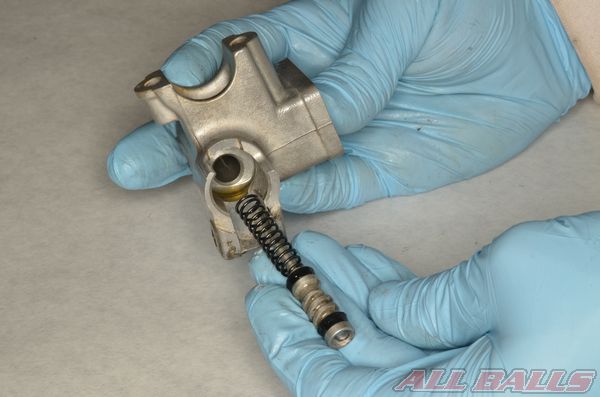
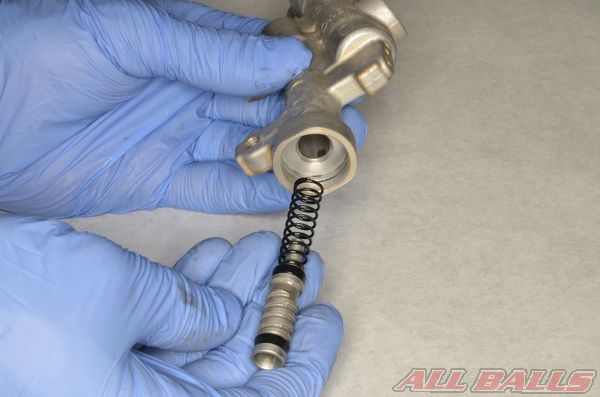
Remove the piston, seals, and spring from the master cylinder bore.
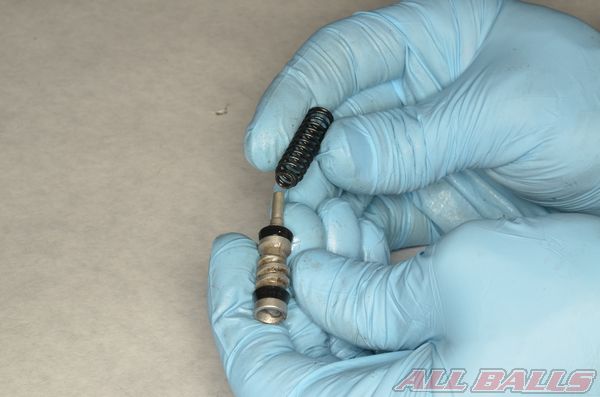
Remove the spring from the piston.
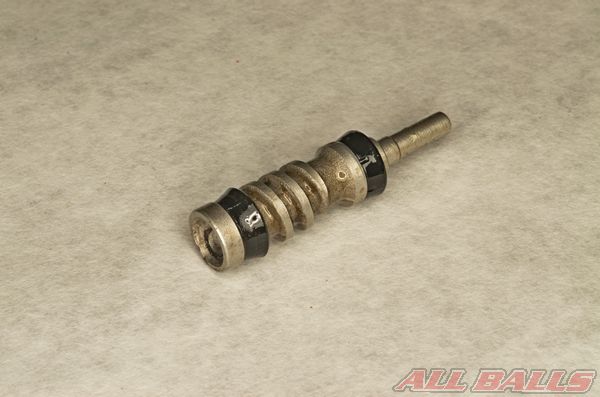
Inspect the piston for wear and damage. Measure the outside diameter of the piston in accordance with the specification in the model’s service manual.
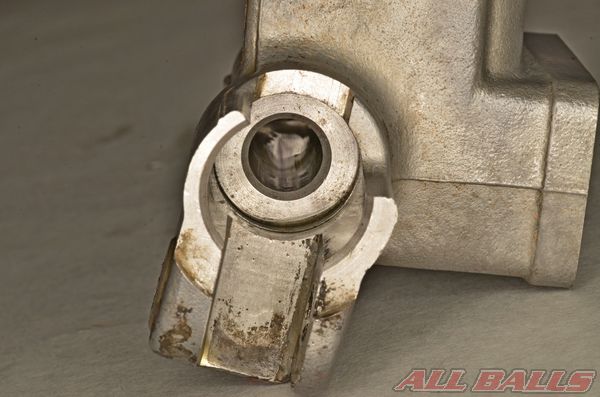
Inspect the master cylinder bore for wear and damage. Measure the inside diameter of the bore in accordance with the specification in the model’s service manual. Clean the master cylinder bore and reservoir with an aerosol brake cleaner and compressed air.
Note the position and orientation of the cup seals on the piston.
Remove the old seals from the piston, and clean the piston with an aerosol brake cleaner and compressed air.
Coat the piston, seals, and bore in fresh brake fluid.
Install the new cup seals onto the piston.
Install the spring and piston into the bore together.
Install the washer and new snap ring.
Install the snap ring with snap ring pliers. Make sure the snap ring is fully seated in its groove.
Note: wait to install the reservoir cap until the system has been fully reconnected, filled with fluid and air bubbles removed by bleeding.
Install the rubber boot and lever rod if applicable.
Fit the brake lever into the master cylinder.
Apply a light coat of grease to the pivot section of the brake lever pivot bolt. Install the brake lever pivot bolt.
Install the brake lever pivot nut.
Install the master cylinder to its correct position on the handlebar. Install the perch in the correct position, and tighten the fasteners as indicated in the service manual.
Connect the brake hose to the master cylinder.
Use the two new sealing washers, one to each side of the banjo fitting. Tighten the banjo bolt to specification according to the service manual.
Fill the brake system with fresh brake fluid and bleed air bubbles from the system. See the Brake System Bleeding topic in the the Cyclepedia.com General Service Manual for more information.
Install the rubber diaphragm and plastic cap if applicable.
Install the reservoir cap and screws. Tighten the small screws securely while being careful to not strip them.
Install the brake lever rubber cover.
Connect the front brake light switch if applicable.
Make sure the brake system functions correctly before returning the vehicle to service.
Rear Brake Pedal Master Cylinder
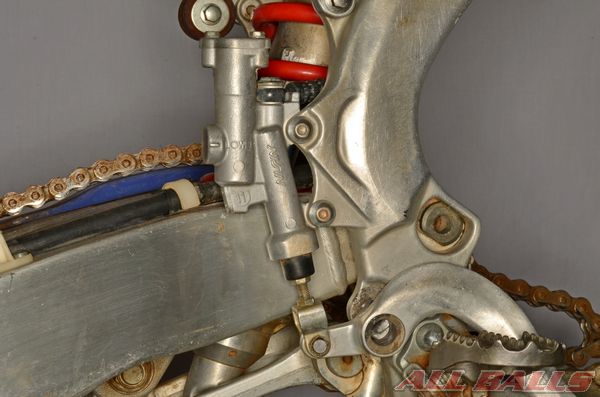
A pedal activated master cylinder should be rebuilt in the same manner as a lever activated master cylinder, but the removal and installation will be different. You may be required to free the brake pedal from its pivot.
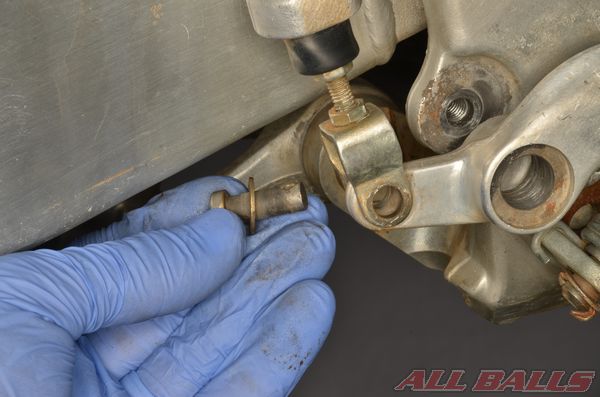
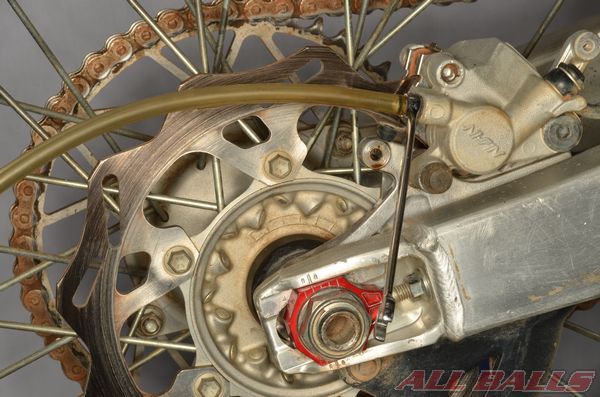
Remove the cotter pin from the master cylinder pedal pivot. Free the pivot joint from the master cylinder.
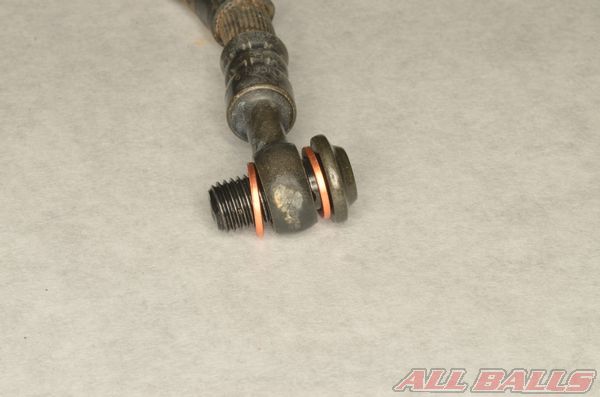
Free the master cylinder from the brake hose. Discard the sealing washers. Be prepared to deal with any remaining brake fluid that may spill when the hose is disconnected.
Remove the reservoir cap.
Remove the rubber diaphragm and plastic cap if applicable.

Remove the master cylinder from the frame.
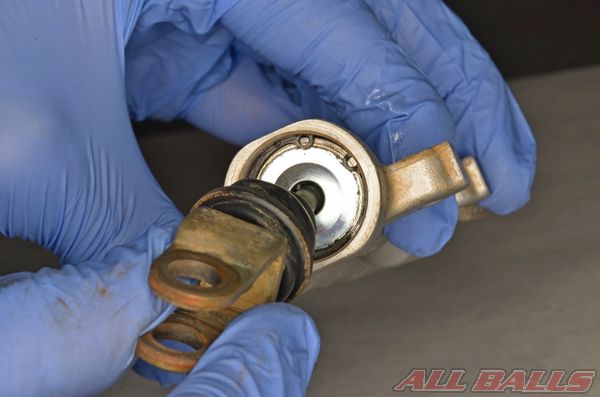
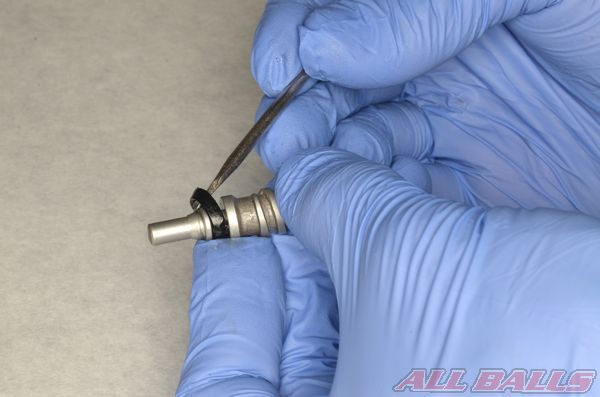
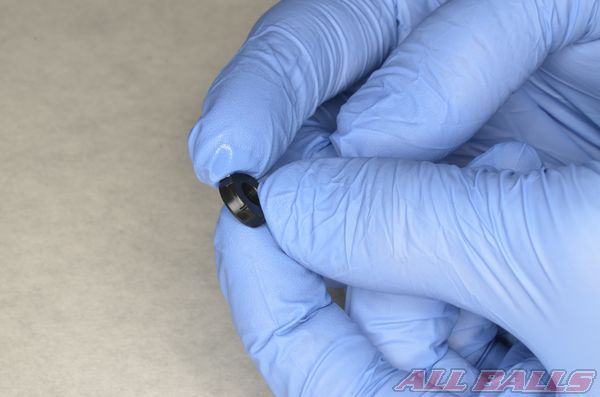
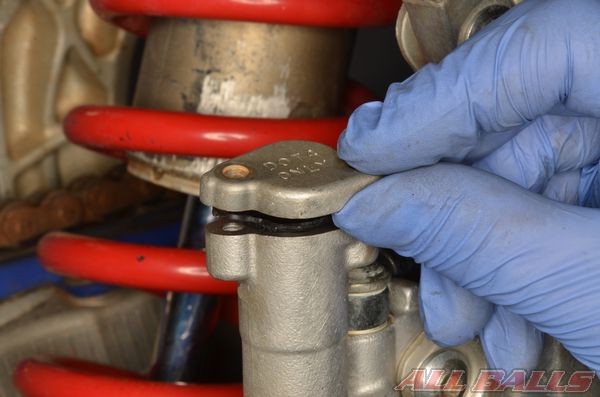
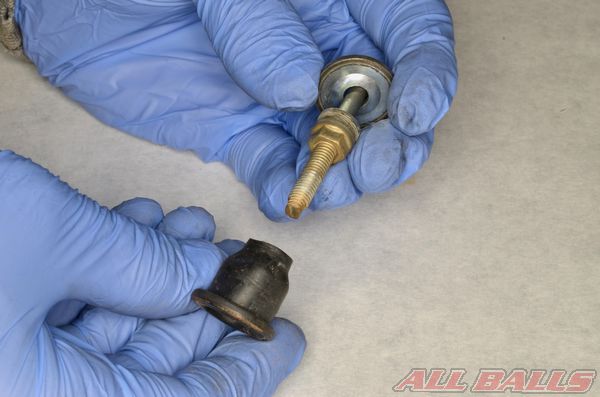
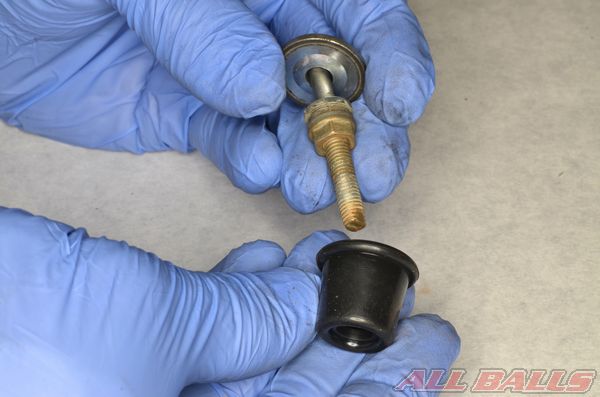
Pull down the rubber cover to access the snap ring.
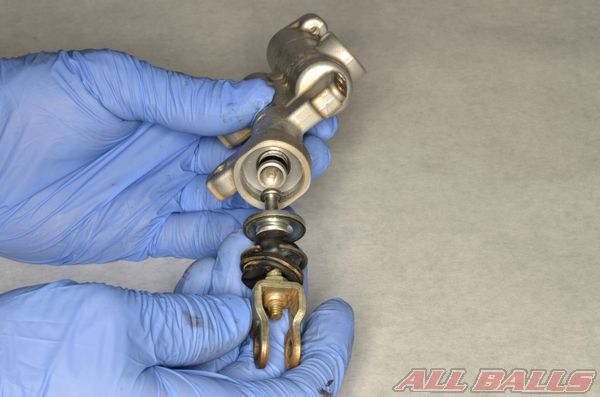
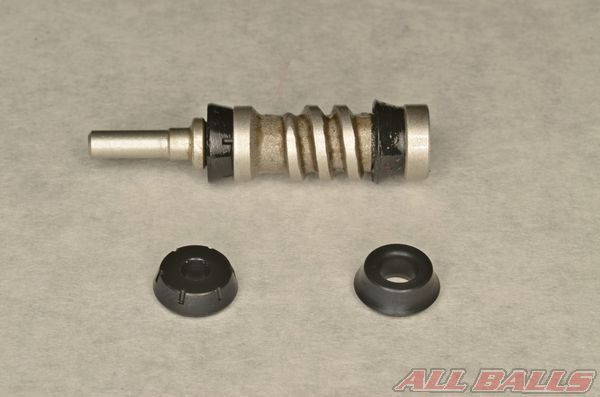
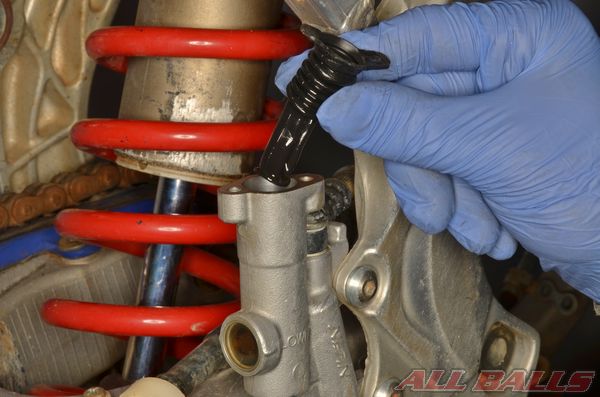
Free the snap ring from the groove with snap ring pliers. Remove the pivot rod, rubber cover, snap ring, and washer from the master cylinder.
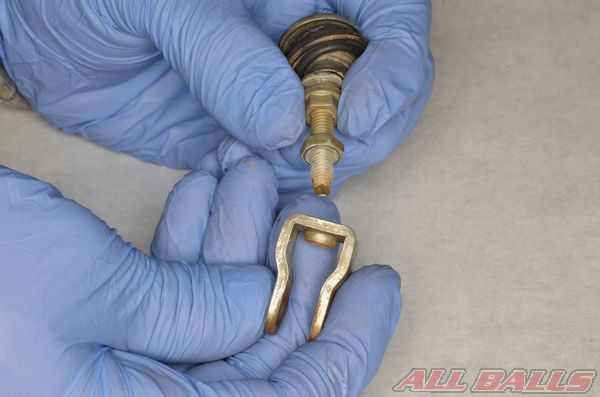
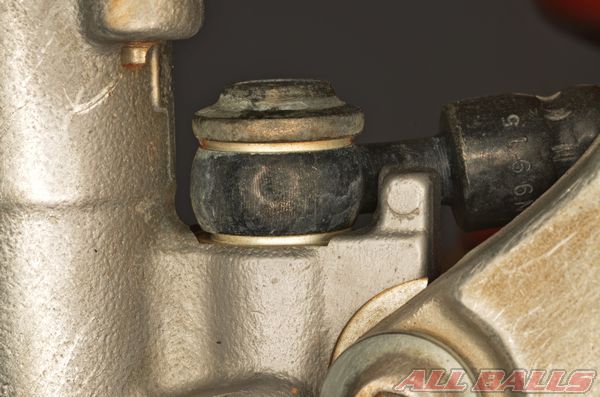
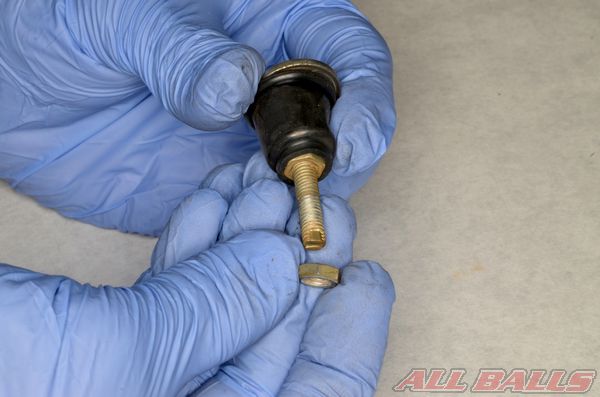
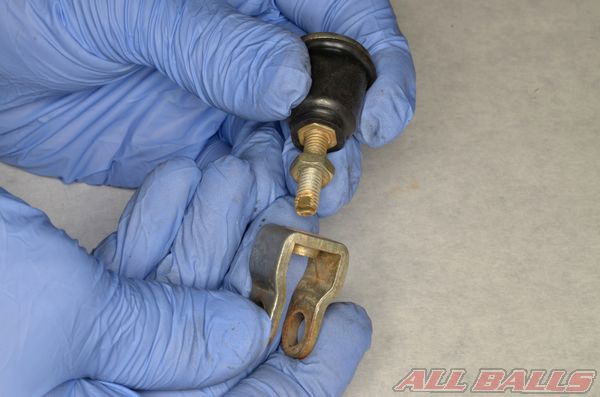
Note the position of the brake pedal height adjuster nuts. Remove the master cylinder pedal pivot.
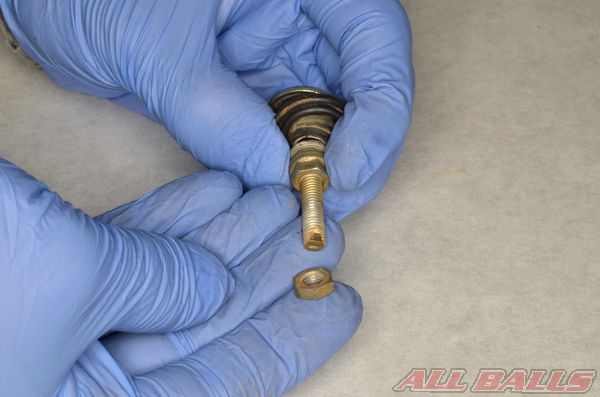
Remove the brake pedal height adjuster nuts.
Remove the rubber cover.
Install the new rubber cover.
Install the the brake pedal height adjuster nuts to their original positions.
Install the master cylinder pedal pivot.
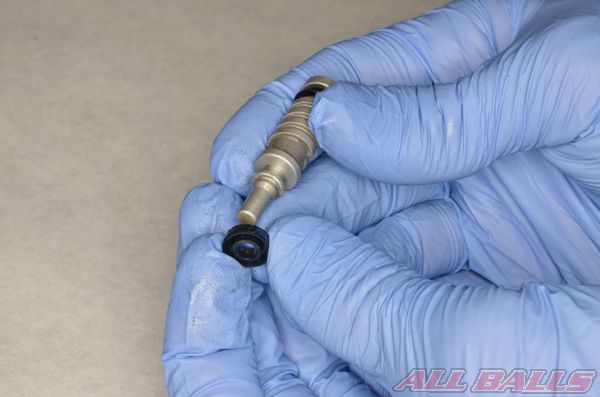
Remove the piston, seals, and spring from the master cylinder bore.
Inspect the piston for wear and damage. Measure the outside diameter of the piston in accordance with the specification in the model’s service manual.

Inspect the master cylinder bore for wear and damage. Measure the inside diameter of the bore in accordance with the specification in the model’s service manual. Clean the master cylinder bore and reservoir with an aerosol brake cleaner and compressed air.
Note the position and orientation of the cup seals on the piston.
Remove the old seals from the piston, and clean the piston with an aerosol brake cleaner and compressed air.
Coat the piston, seals, and bore in fresh brake fluid.
Install the new cup seals onto the piston.
Install the spring and piston into the bore together.
Install the pivot rod, rubber cover, snap ring, and washer into the master cylinder.
Install the snap ring into its groove with snap ring pliers. Move the rubber cover into place.
Install the master cylinder to the frame.
Apply a light coat of grease to the master cylinder and brake pedal pivot. Install the master cylinder pivot joint.
Secure the master cylinder pedal pivot joint with a new cotter pin.
Connect the brake hose to the master cylinder.
Use the two new sealing washers, one to each side of the banjo fitting. Tighten the banjo bolt to specification according to the service manual.
Fill the brake system with fresh brake fluid and bleed air bubbles from the system. See the Brake System Bleeding topic in the the Cyclepedia.com General Service Manual for more information.
http://www.cyclepedia.com/manuals/online/free/brakes
Install the rubber diaphragm and plastic cap if applicable.
Install the reservoir cap and screws. Tighten the small screws securely while being careful to not strip them.
Adjust the brake pedal height to specification as indicated in the service manual. Make sure the rear brake light switch activates correctly if equipped.
Make sure the brake system functions correctly before returning the vehicle to service.

INSTALL ALL BALLS RACING STICKER!