SAFETY FIRST: Protective gloves and eyewear are recommended at this point.
Removal
Sometimes it becomes necessary to replace a damaged stud. Here is how to do it.
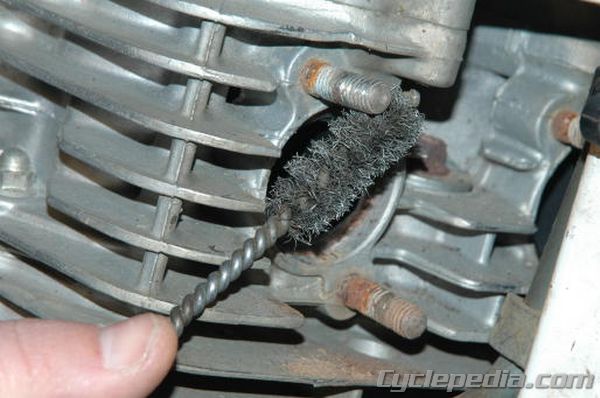
Clean the stud with a wire brush or steel wool.
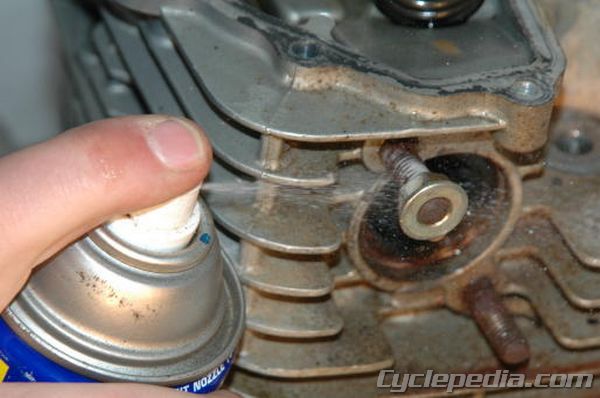
Spray the stud where it enters the component with penetrating oil such as WD-40 or PB Blaster and let it soak in for 15 to 20 minutes.
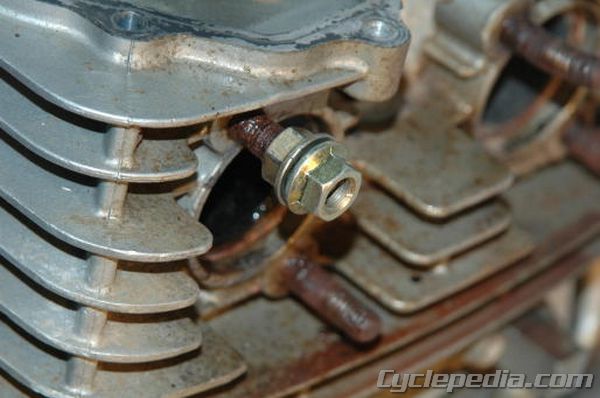
Thread one flange nut onto the exhaust stud backwards and another flange nut onto the stud correctly, this is called “double nutting the stud.”
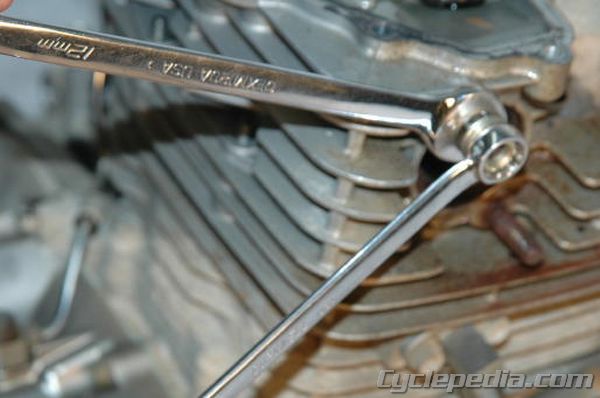
Tighten the two nuts against each other with two wrenches.
Once the nuts are tightened against one another you should be able to loosen the stud by turning the inner nut counter-clockwise. If the stud does not work free you may need to apply heat to the outer area of the component to help release the stud using a heat gun or propane torch.
Note; If using a propane torch, be careful not to ignite any penetrating fluid or other combustible materials that are nearby.
Installation
Make sure the threads of the component are in good condition, if in doubt run a tap of the correct size in and out of the hole.
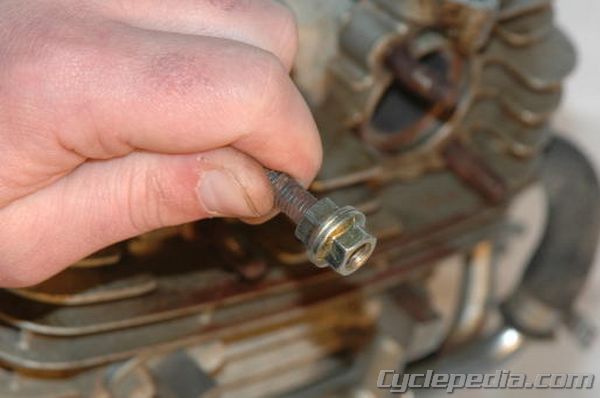
Double nut the new stud as during removal of the old stud. If a thread locking compound is called for in the service manual, apply it to the threads going into the component and install the stud by turning the outer nut clockwise until the stud is completely seated. Loosen and remove the double nuts using two wrenches.

