SAFETY FIRST: Protective gloves and eyewear are recommended at this point.
If you need to replace your valve guides we recommend taking your cylinder head to a machine shop that specializes in motorcycle cylinder head work.
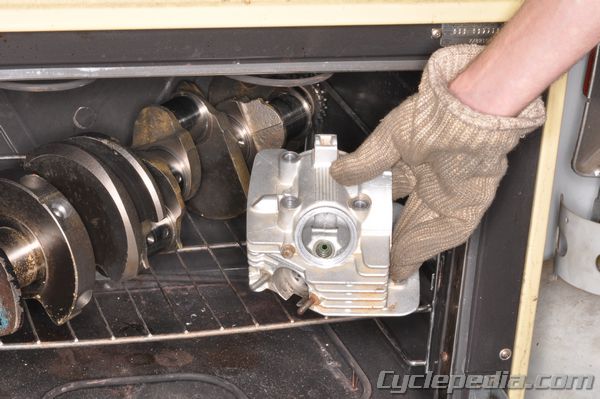
You will need to resurface the valve seats when you replace the guides. To remove the valve guides you must heat the area around the valve guide to 100°C (212°F) with an oven. Do not use a torch because of the possibility of warping the head.
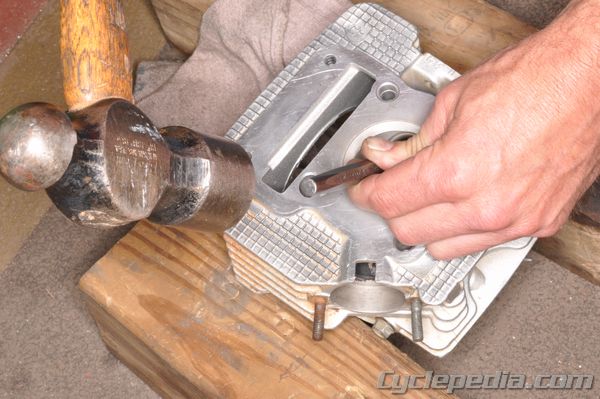
Gently hammer out the valve guide using a valve guide driver, available from most manufacturers as a special tool specific to the engine being worked on. Insert the driver through the valve opening and drive out the guide towards the top of the cylinder head. Be very careful to avoid damaging the cylinder head.
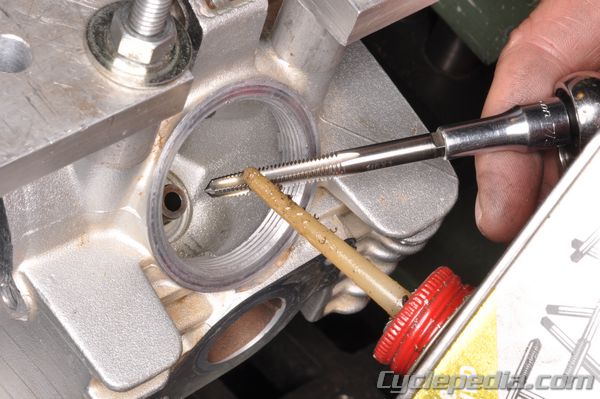
If a valve guide arbor is unavailable, an alternate method is available using a tap.
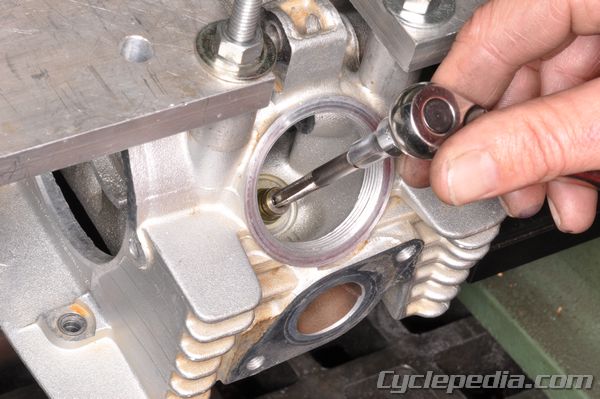
Run a suitable sized tap into the valve guide from the top. Clean away any metal shavings with compressed air.
NOTE: Always wear safety glasses when using compressed air and never point it directly at yourself or anyone else.
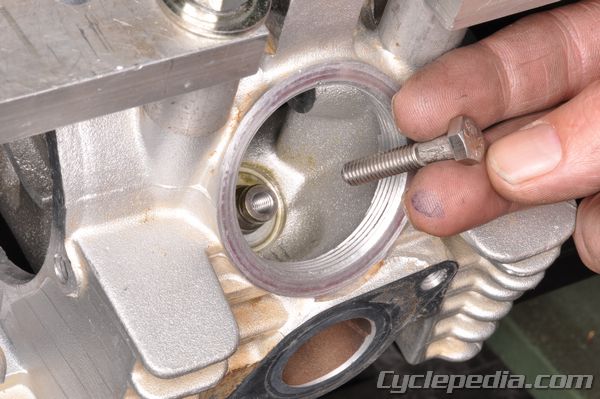
Thread a bolt into the recently tapped valve guide.
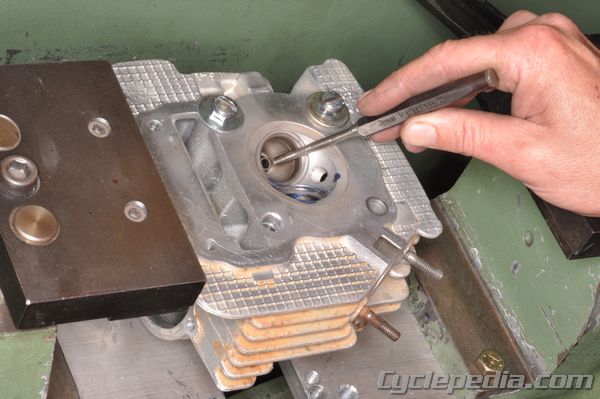
Insert a punch into the valve guide from the combustion chamber side.
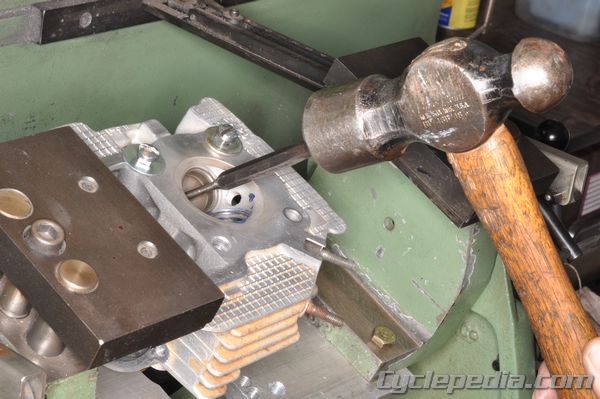
Knock the valve guide out with a hammer.
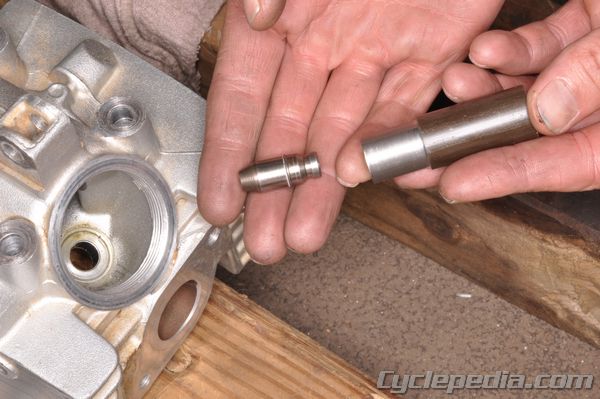
Drive in the new valve guide with the special valve guide driver. Drive in the guides from the top of the cylinder head, and take care to avoid damaging the head.
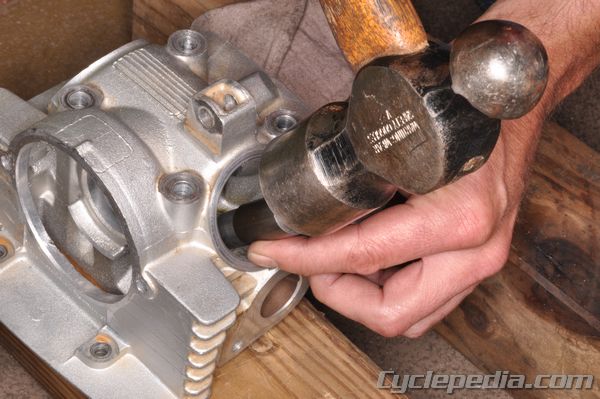
Using the factory valve guide driver, the guide will be at the correct height when the tool touches the cylinder head.
When the valve guides have been installed you must ream them to be ready to accept the valves. Use a valve guide reamer with cutting oil. Insert the reamer through the valve opening in the combustion chamber. Only turn the reamer clockwise. It is also necessary to ream the valve guides when installing a new valve.

