SAFETY FIRST: Protective gloves and eyewear are recommended at this point.
Motorcycle Tube Tire Replacement
Removal
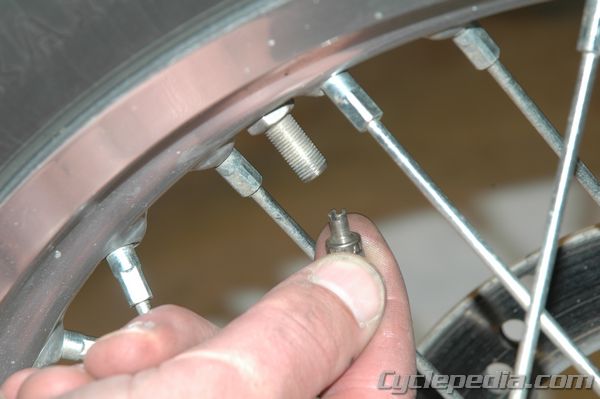
Release the air from the tube by removing the valve stem core. Loosen the lock nut that holds the inner tube in place.
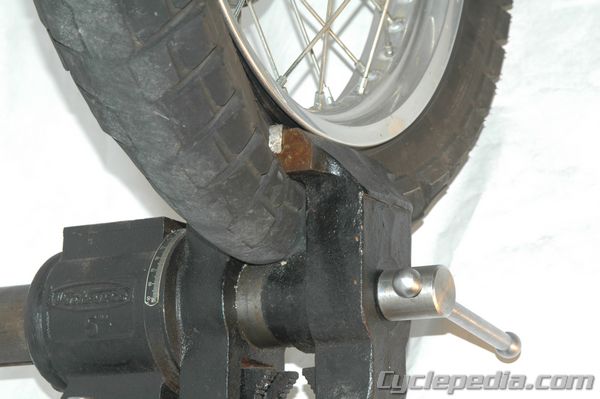
Using a bead breaker or a suitable tool break the bead on both sides of the tire. Be careful not to damage the rim.
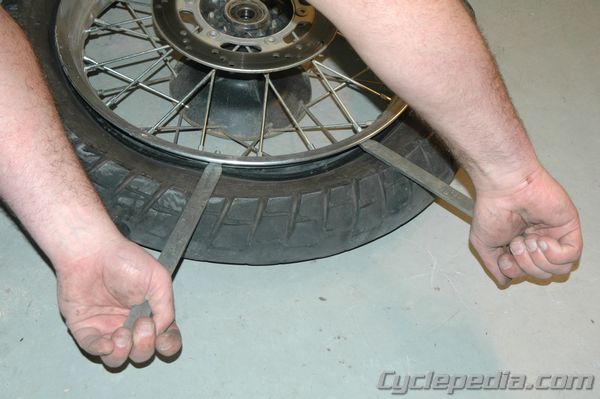
Install two tire irons just under the bead of the tire about three or four inches apart. Make sure not to pinch the tube with the tire irons.

Push the tire bead into the drop center portion of the rim opposite the tire irons using your knees, as shown in the photo. Pull the tire irons towards you until the tire starts coming over the rim.

Pull out one tire iron while holding the other one down. Re-insert the tire iron 2 or 3 inches away from where it was and pull it back towards you again. Repeat until the one side of the tire is off the rim completely.
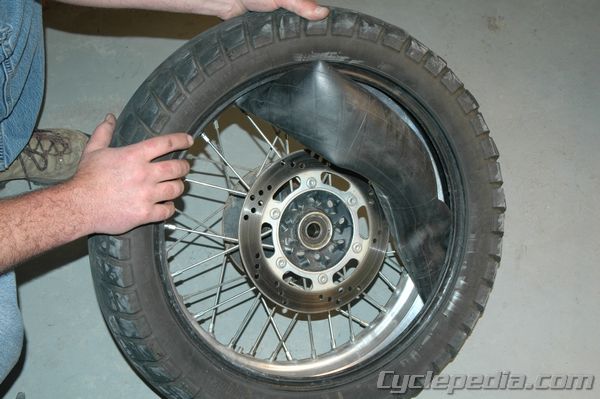
With the bead off of one side of the rim, remove the inner tube from the tire.
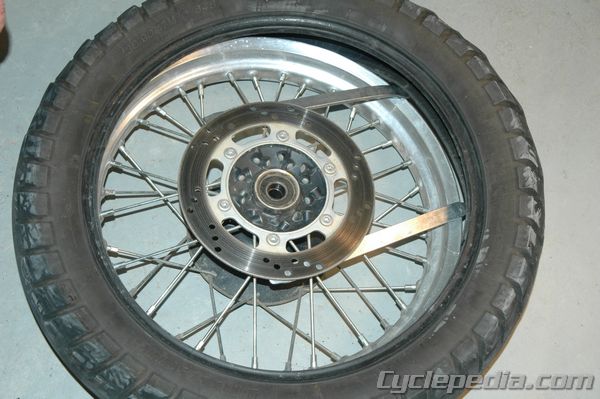
Insert your two tire irons under the second bead and pull them towards you.

Leave one tire iron under the bead to hold the tire from slipping back onto the rim. As in the photo above, you can trap the tire iron under the brake disc to hold it in place while you work with the other tire iron.
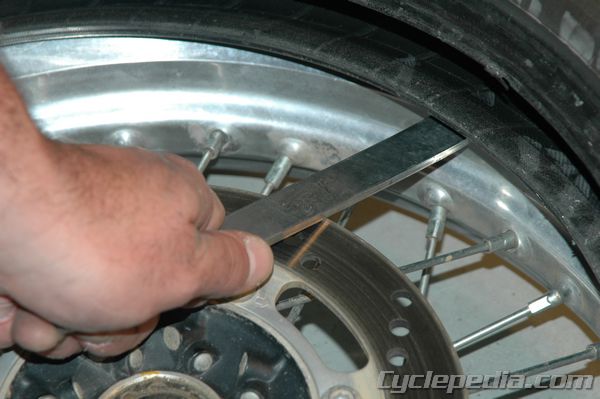
Remove the other tire iron and start working your way around the tire until it is removed from the rim.
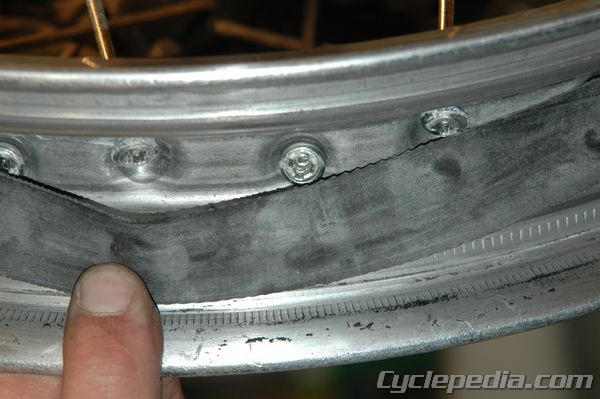
Inspect the rim strip. If worn out or torn, replace it. Now is a good time to spray a penetrating oil such as WD 40 on the spoke nipples to keep them from corroding. Wipe all the excess oil off before continuing.
Installation
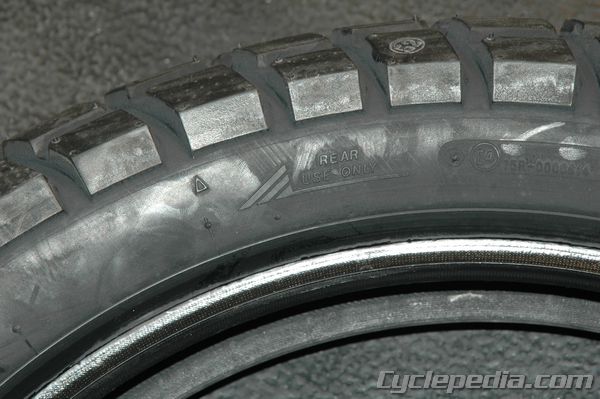
Before installing the new tire, check to see if it is a directional tire. If the tire is directional it will have an arrow molded into it, like the one shown in the photo, indicating the direction of rotation.
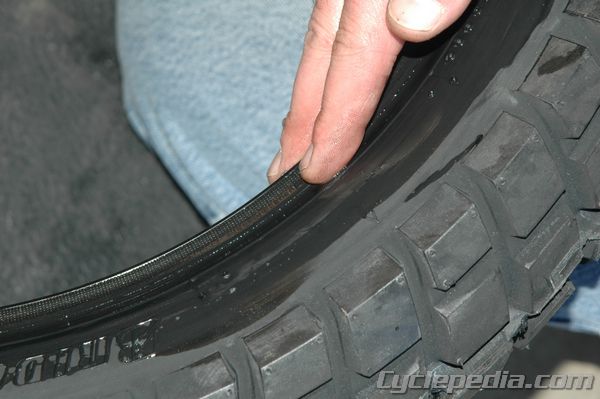
Lube both tire beads with soapy water before installing. This will make installation much easier.
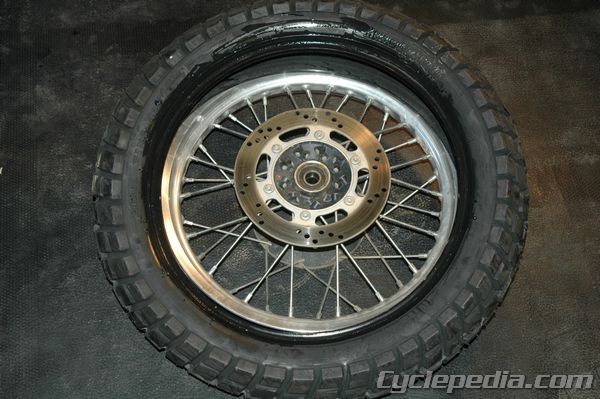
Wedge one side of the tire onto the rim using your hands. If the tire won’t go on all the way by hand, use your tire irons to help install it.
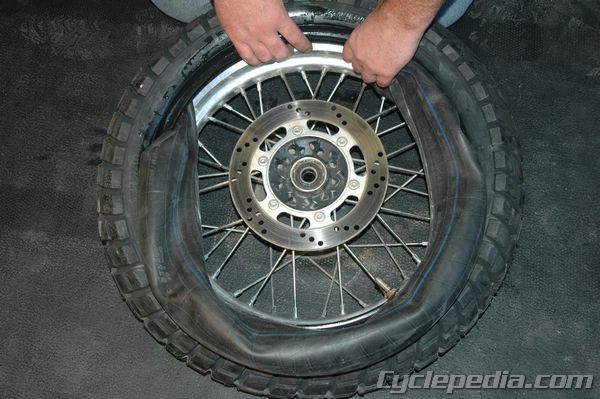
Install the inner tube into the tire at this time. If installing a new inner tube, remove the valve stem core. Do not allow the tube to become twisted.
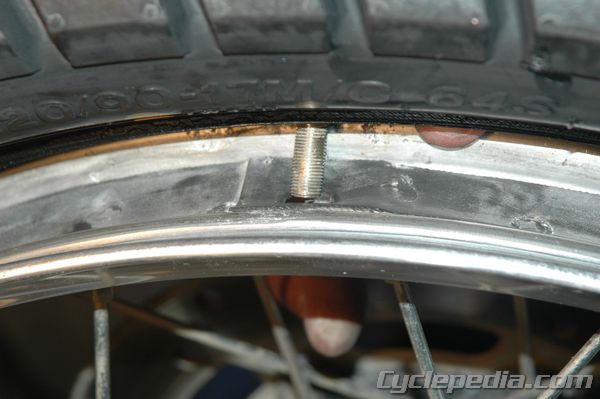
Align the valve stem and insert it into its hole. Thread the nut onto the valve stem.

Apply just enough air to the tube to straighten it out and then let the air back out.

Use the flat side of the tire iron for installation. Compress the second bead down with your knees so that it is in the drop center portion of the rim and carefully insert your tire iron under the tire. When installing the tire iron, try to feel where the tube is before inserting the tire iron, this will help prevent pinching the inner tube.
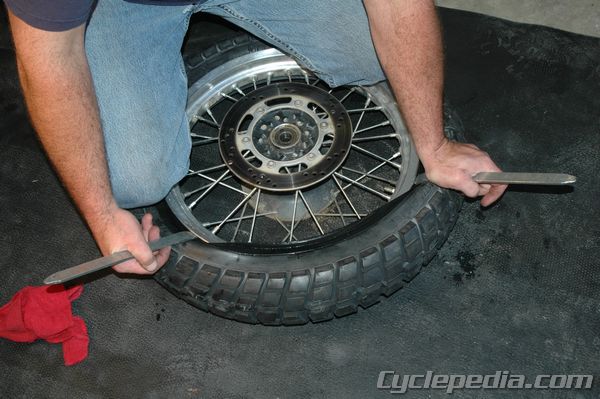
Use one tire iron to hold the tire in place so the bead doesn’t work its way off.
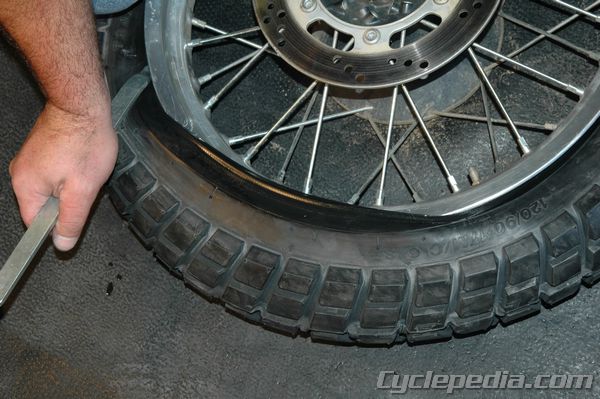
Keep working around the tire carefully until the tire is all the way on. Move the tire iron a small amount at a time.

Temporarily inflate the tube with the valve core removed to seat the tire bead. Install the valve core and inflate the tire so that the bead is evenly seated against the rim edge on both sides. If you’re having trouble seating the bead, deflate the tube and press the tire into the rim and reapply soapy water to the bead.
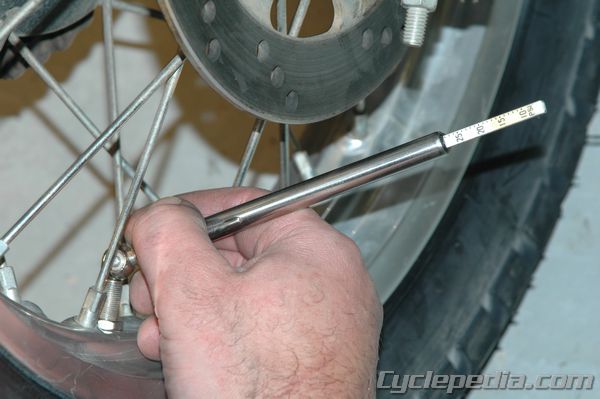
Install the valve stem core and tighten it completely. Set the tire pressure to the manufacturer’s recommendation.

