
 Like this Manual?
SAFETY FIRST: Protective gloves and eyewear are recommended at this point.
Pressure Testing
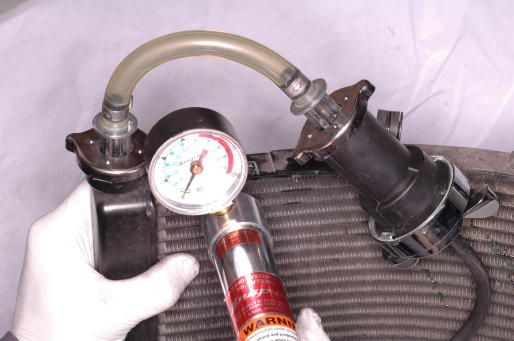
When checking the cooling system for leaks you will need a pressure tester. Remove the radiator cap and install the end of the pressure tester onto the radiator. Pump the tester up until the gauge reads 18 psi. The cooling system should hold this pressure for at least six seconds. If it does not you will need to inspect the entire system for leaks. Do not pressurize the cooling system more than 18 psi.
CAUTION: Never remove the radiator cap when the engine is hot.
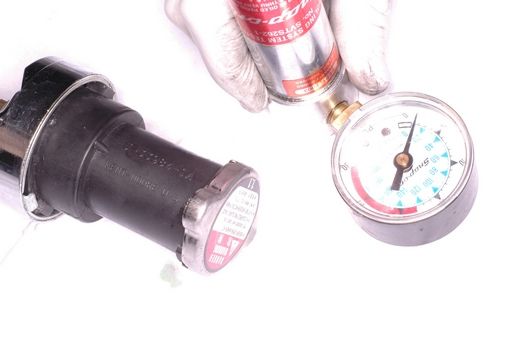
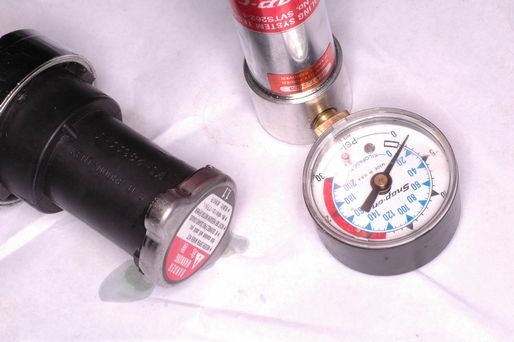
The radiator cap test is similar to the radiator test. Wet the seal on the radiator cap and install it to the pressure tester. Pump up the pressure tester until it reads 93 – 123 kPa or 14 – 18 psi. The radiator cap should hold this pressure for at least six seconds. If it does not, replace the radiator cap with a new one.
Removal
Drain the coolant. See the Coolant topic for more information.
Remove the front bumper. See the Bumpers and Carriers topic for more information.
Remove the front fender. See the Front Fender topic for more information.
Remove the front inner cover and front lower shroud. See the Inner Covers topic for more information.
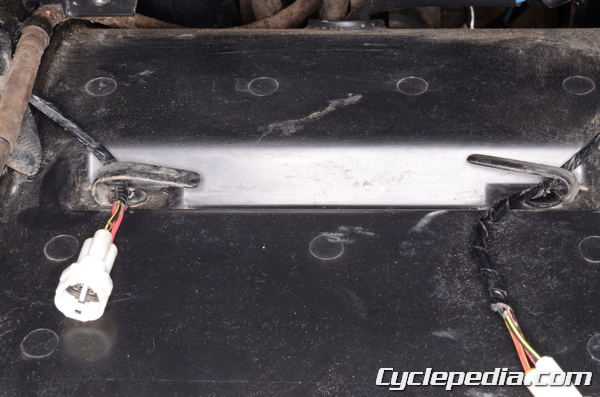
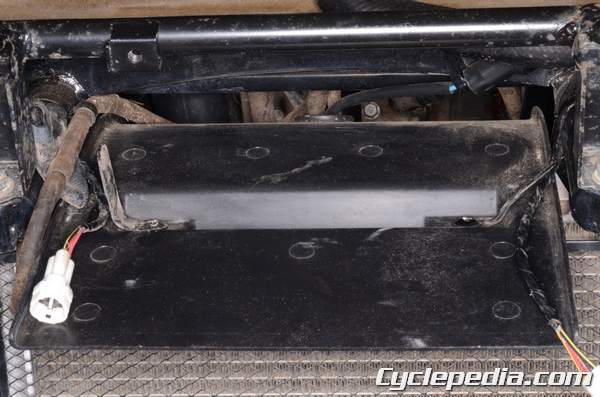
Bend back the wire retaining tabs and remove the two screws.
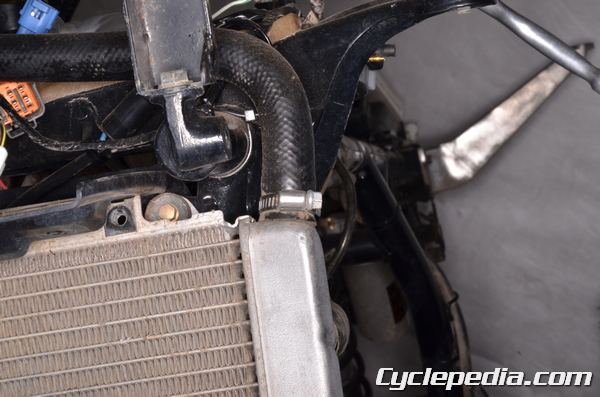
Remove the top radiator hose clamp using a #2 Phillips screwdriver. Free the top radiator hose from the radiator.
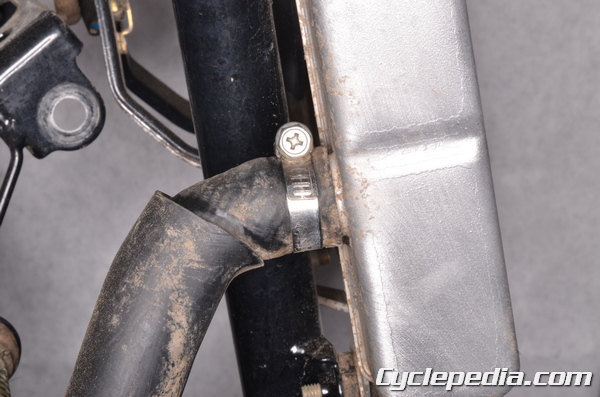
Loosen the lower radiator hose clamp with a #2 Phillips screwdriver. Free the lower radiator hose from the radiator.
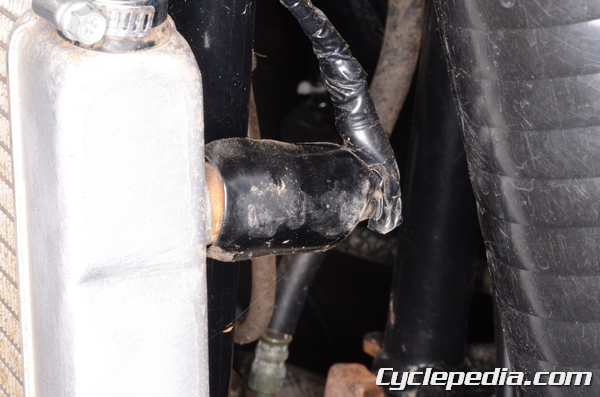
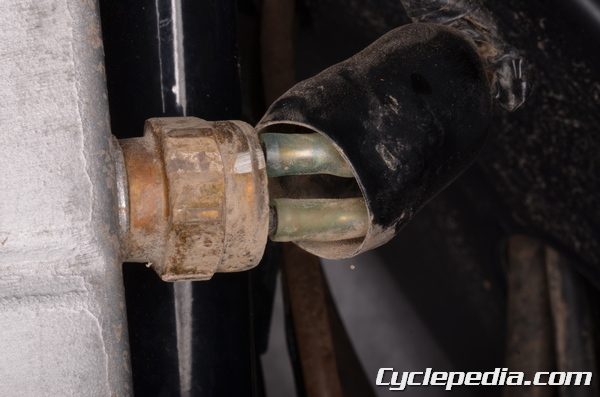
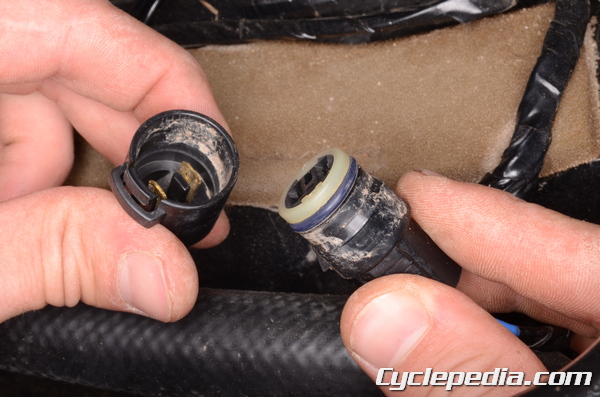
Slide back the rubber cover from the fan switch connector.
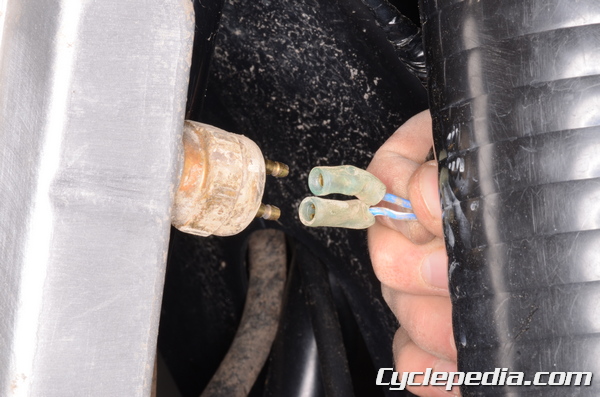
Unplug the fan switch connectors.
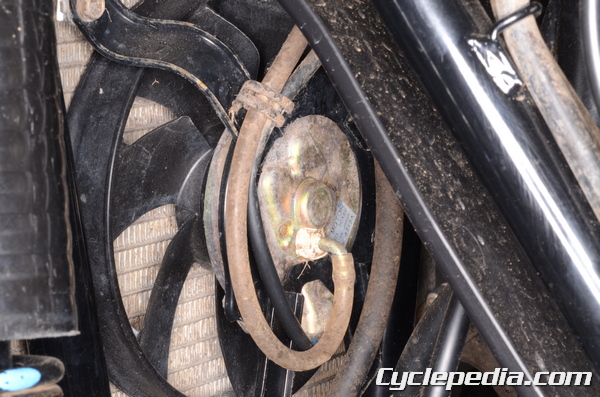
Open the clamp and free the fan motor vent hose from the motor.
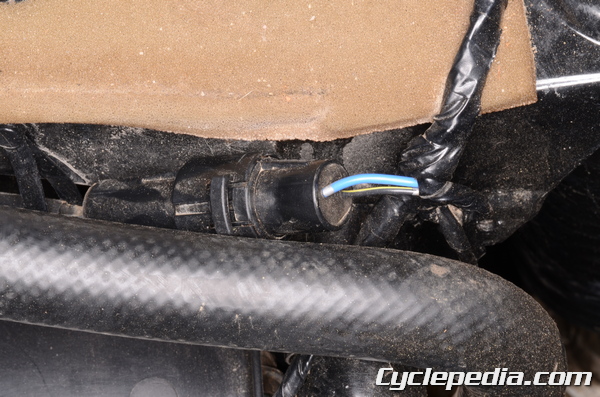
Unplug the radiator fan connector.
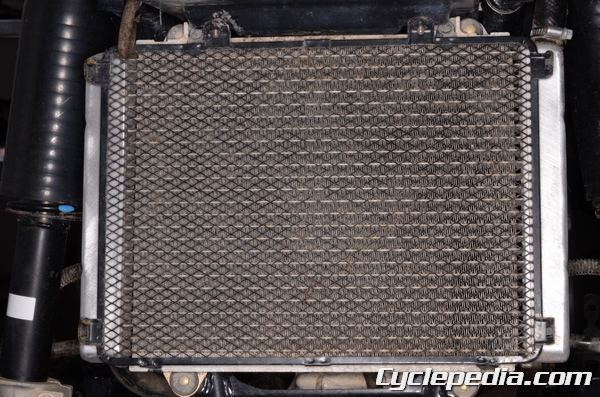
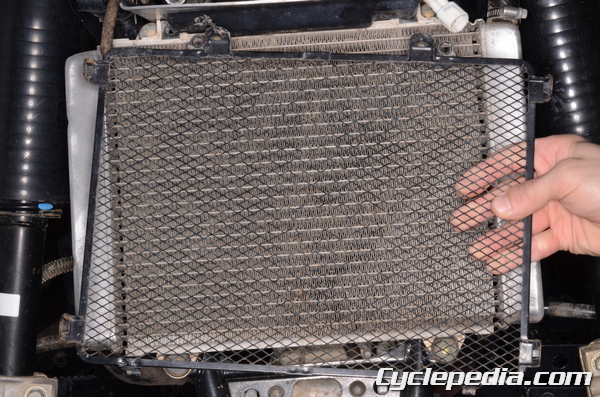
Remove the radiator screen.
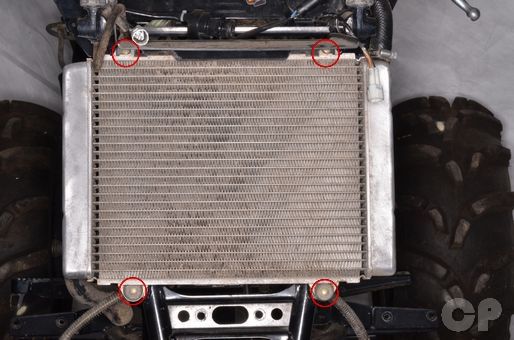
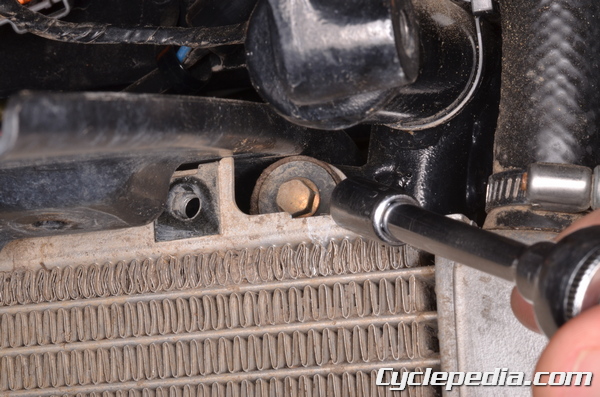
Remove the four radiator mounting bolts.
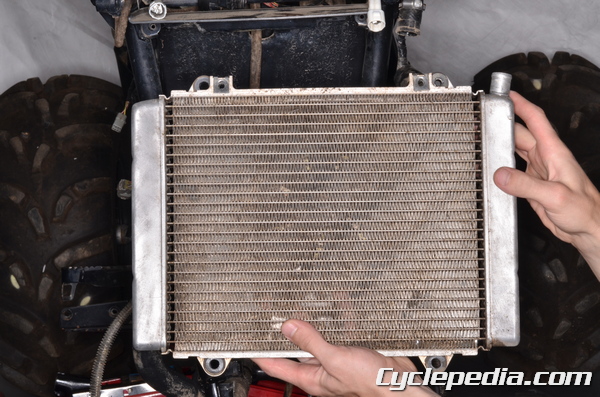
Remove the radiator.
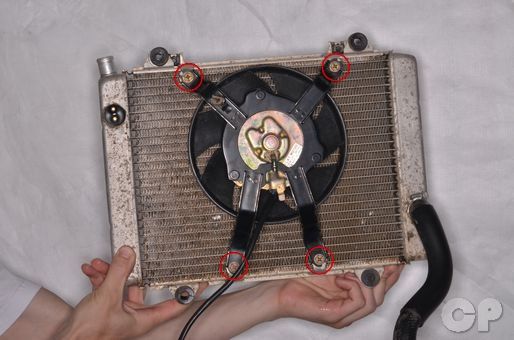
Remove the four mounting bolts to free the fan from the radiator.
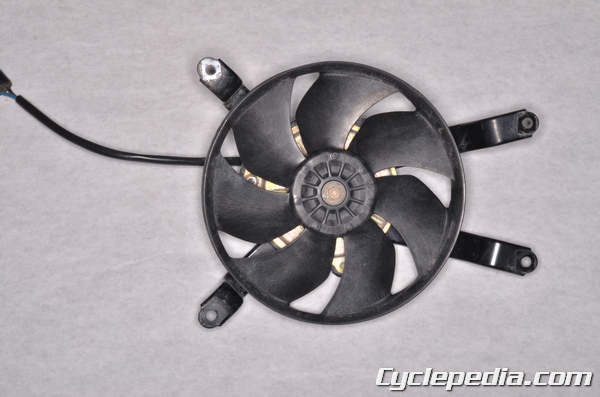
Remove the single bolt with an 8 mm socket to remove the fan blades from the motor.
Inspection
Inspect the radiator cap seals and spring for damage and deterioration. Replace the radiator cap as needed.
Check the radiator for any bent or damaged fins. You can use a small flat blade screwdriver to straighten them out, but be careful not to puncture the radiator. Clean any bugs or debris using a soft bristle brush and/or compressed air. Only direct compressed air straight at the radiator perpendicular to the surface. Compressed air at an angle or too close to the radiator can cause damage.
NOTE: Always wear safety glasses when using compressed air and never point it directly at yourself or anyone else.
Radiator Fan Switch
To check the radiator fan switch, fill a pan with coolant and suspend the switch -connectors up, with a piece of wire, completely immersing it in the coolant.
Place a thermometer in the pan and heat the water on a burner. Gently stir the water and notice what the temperature is when the thermostat starts to open. Measure the resistance of the fan switch connector with a digital multimeter set to ohms of resistance (Ω).
| Radiator fan switch resistance: | ON: Less than 0.5 Ω OFF: More than 1 MΩ |
| Rising temperature | From OFF to ON at 96 ~ 100°C (205 ~ 212°F) |
| Falling temperature | From ON to OFF at 91 ~ 95°C (196 ~ 203°F) |
Replace the radiator fan switch as needed.
| Fastener | Torque | ||
| N-m | kgf-m | ft-lb | |
| Radiator fan switch | 18 | 1.8 | 13 |
Installation
Apply a non-permanent thread locking agent (Blue Loctite) to the threads of the fan bolt. Install the bolt and tighten it securely with an 8 mm socket.
Install the three or four mounting bolts and tighten them to specification.
| Fastener | Torque | ||
| N-m | kgf-m | ft-lb | |
| Radiator fan assembly bolts | 8.8 | 0.9 | 78 in-lb |
Install the radiator.
Install the four radiator mounting bolts and tighten them to specification.
| Fastener | Torque | ||
| N-m | kgf-m | ft-lb | |
| Radiator mounting bolts | 8.8 | 0.90 | 78 in-lb |
Install the radiator screen.
Plug in the fan switch connectors.
Slide the rubber cover over the fan switch connector.
Plug in plug the radiator fan connector.
Connect the fan motor vent hose to the fan motor. Secure the vent hose and the fan motor wire with the clamp.
Connect the lower radiator hose to the radiator. Secure the hose with the clamp and tighten the clamp securely with a #2 Phillips screwdriver.
Install the top radiator hose and clamp. Tighten the clamp securely using a #2 Phillips screwdriver.
Install the two screws and secure the headlight wires with the clamps.
Install the front inner cover and front lower shroud. See the Inner Covers topic for more information.
Install the front fender. See the Front Fender topic for more information.
Install the front bumper. See the Bumpers and Carriers topic for more information.
Fill and bleed the coolant. See the Coolant topic for more information.