
 Like this Manual?
SAFETY FIRST: Protective gloves and eyewear are recommended at this point.
Preload
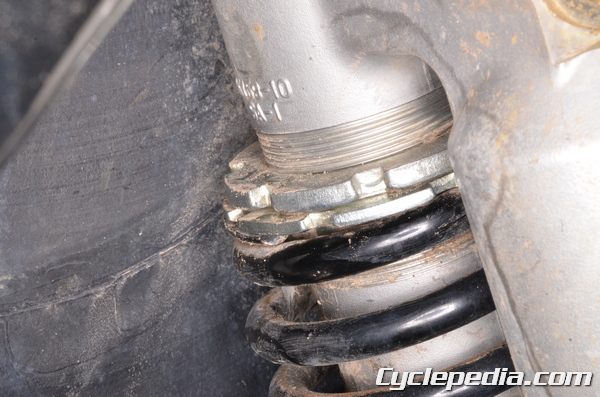
Use the Owner’s tool hook wrench or a pin spanner to adjust the preload. Loosen the lock nut and turn the adjusting nut to adjust the pre-load of the rear shock spring. Measure the length of the shock spring to record the setting and make sure it is within specification. Compressing the spring more makes the rear suspension stiffer.
Rear Shock Absorbers
Spring Preload Setting Position
2002 – 2003: Spring free length minus 29.9 mm (1.18 in.)
Usable Range: Spring free length minus 22.9 mm (0.90 in.) to 36.9 mm (1.45 in.)
Rear Shock Spring Set Length
2004 and Newer: 308 mm (12.1 in)
Usable Range: 301 – 315 mm (11.9 – 12.4 in.)
Tighten the lock nut to specification.
Rear Shock Absorber Spring Locknut: 88 N-m, 9.0 kgf-m, 65 ft-lb
Removal
Remove the rear fender. See the Rear Fender topic for more information.
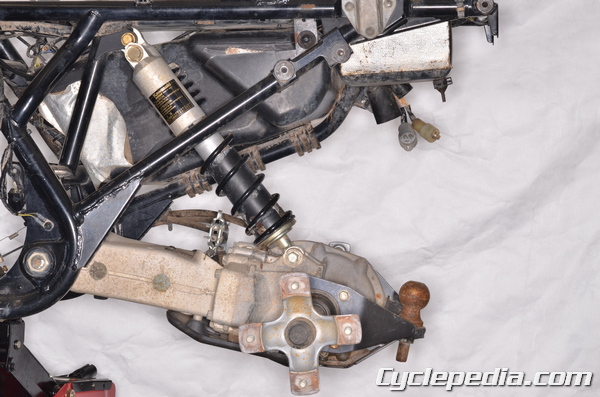
Support the back of the frame with a suitable stand or jack. Support the swingarm as the shock absorber mounting bolts are removed.
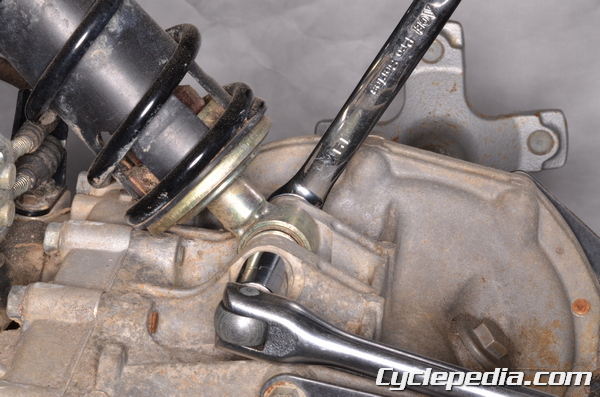
Loosen the lower rear shock absorber mounting bolt and nut with a 17 mm socket and a 19 mm wrench.
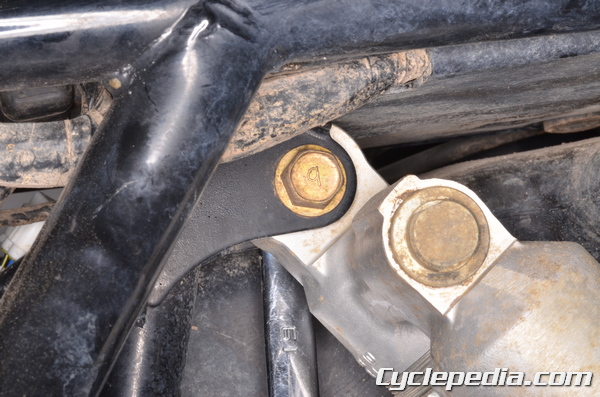
Remove the upper shock absorber mounting nut and bolt with a 17 mm and 19 mm socket.
Remove the rear shock absorber.
Spring Replacement
Set the special holder tool and shock absorber in a vise.
Special Tool – Holder and Guide Arbor: 57001-1476
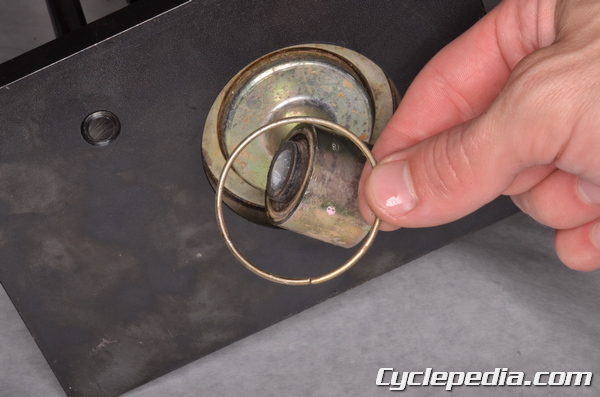
Install the holder and spacer tool onto the arbors and compress the spring by tightening the tool nuts evenly. Remove the circlip with outside circlip pliers.
Remove the special tools.
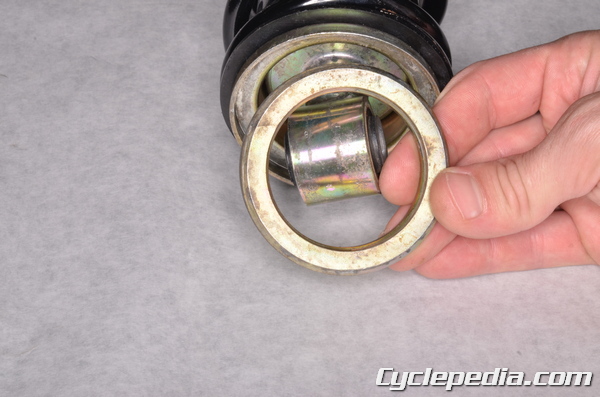
Remove the collar.
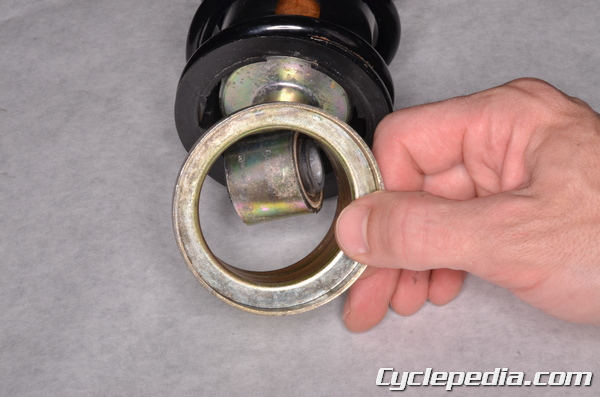
Remove the spring seat.
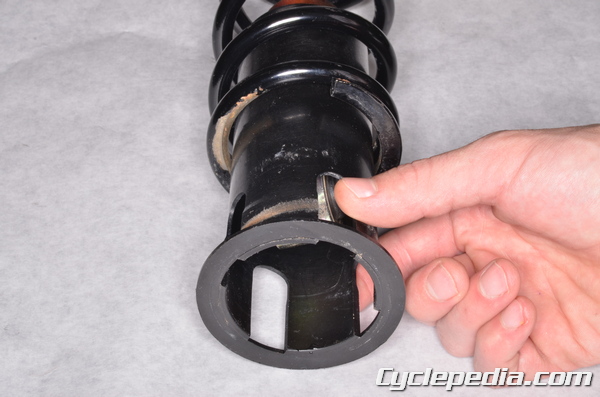
Remove the cover.
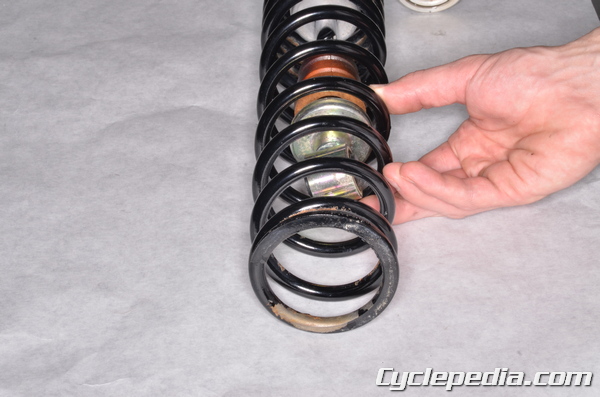
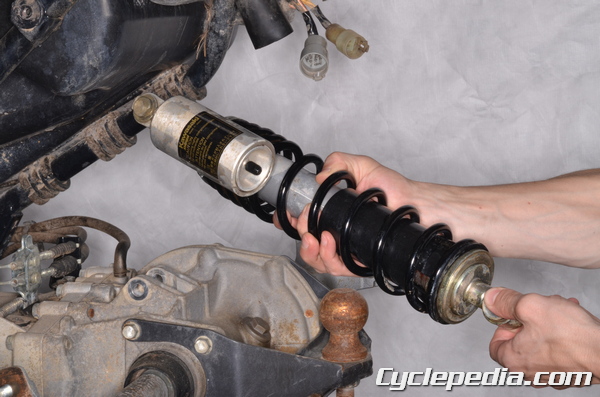
Slide off the spring.
To reassemble, slide the cover back on. Install the spring with its small diameter end facing up. Install the spring seat and collar.
Set the special holder tool and shock absorber in a vise.
Special Tool – Holder and Guide Arbor: 57001-1476
Install the holder and spacer tool onto the arbors and compress the spring by tightening the tool nuts evenly. Install the circlip with outside circlip pliers. Gradually release the pressure on the spring and make sure the circlip holds.
Inspection

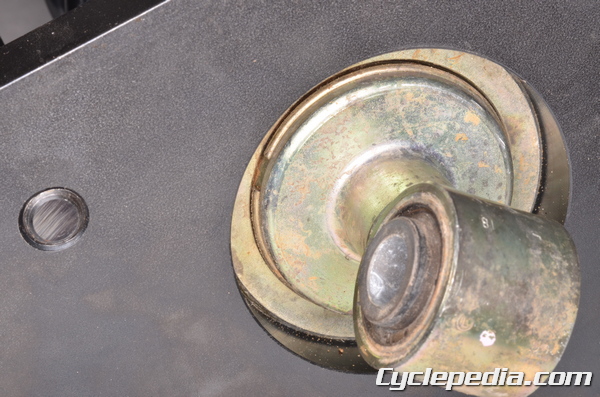
Inspect the shock absorber for damage and leaks. Replace as needed.
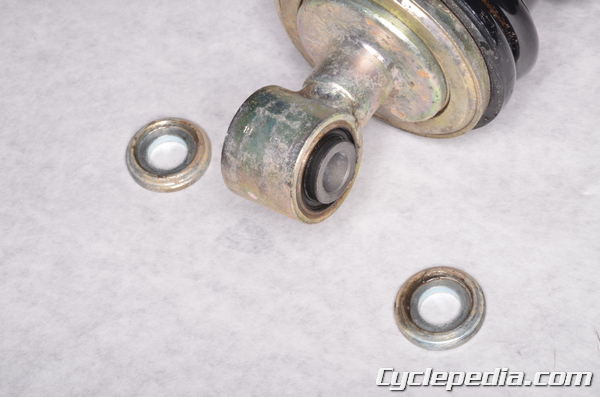
Remove the collars from the shock absorber mounts. Inspect the mounting bushings and replace them as needed.
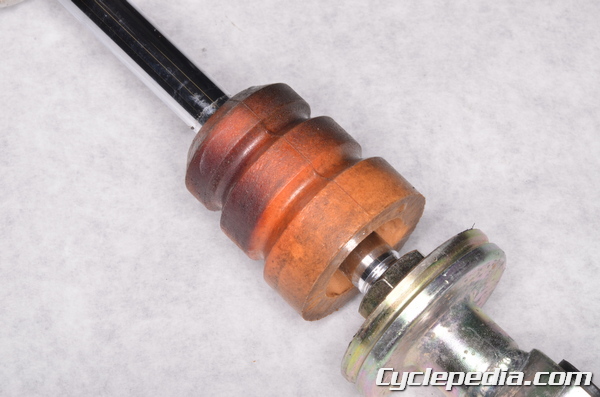
Inspect the rubber bumper for damage and deterioration.
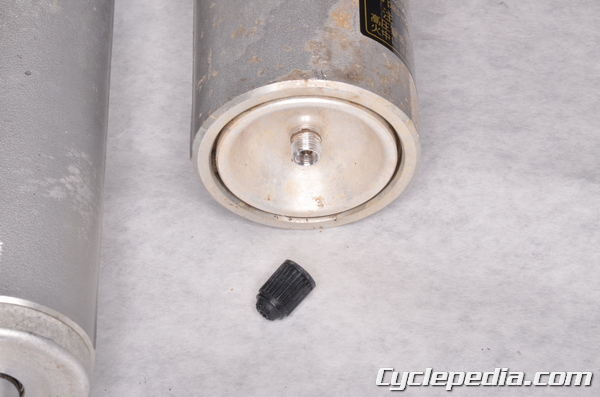
If the shock absorber is to be disposed of first vent the gas charge from the valve on the reservoir.
Installation
Install the shock absorber into place.
Install the upper shock absorber mounting nut and bolt. Insert the bolt from the left side. Tighten the nut and bolt to specification with a 17 mm and 19 mm socket.
Upper Mounting Bolt: 62 N-m, 6.3 kgf-m, 46 ft-lb

Install the lower rear shock absorber mounting bolt and nut. Insert the bolt from the left side. Tighten the nut and bolt to specification with a 19 mm wrench and a 17 mm socket.
Lower Mounting Bolt: 62 N-m, 6.3 kgf-m, 46 ft-lb
Install the rear fender. See the Rear Fender topic for more information.