
 Like this Manual?
SAFETY FIRST: Protective gloves and eyewear are recommended at this point.
Warning: Brake fluid is very caustic and can damage paint, chrome and plastic. Wipe up any spills immediately.
Removal
Drain the brake fluid if the master cylinder is to be disassembled. See the Brake Fluid topic for more information.
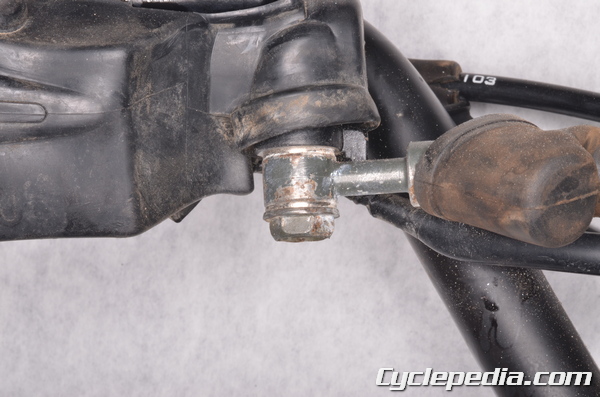
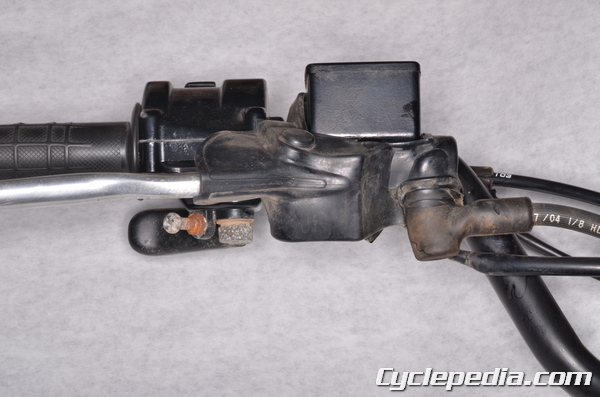
Slide the rubber hose fitting and brake lever covers out of the way. To remove the front brake hose loosen the banjo bolt with a 12 mm socket.
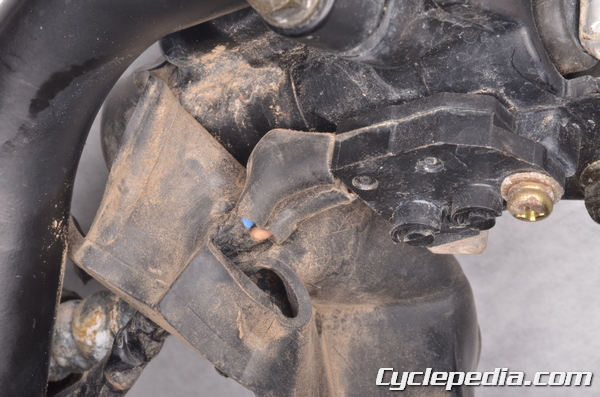
Unplug the front brake light switch from the front brake lever perch.
Remove the two front brake master cylinder perch bolts with an 8 mm socket. Remove the master cylinder with brake lever from the handle bar.
Brake Lever
Hold the brake lever bolt with a 10 mm wrench and loosen the nut with a 10 mm socket. Remove the brake lever pivot bolt and nut.
Apply a light coat of grease to the brake lever pivot bolt. Fit the brake lever into place and insert the pivot bolt from above. snug down the picot bolt with a 10 mm socket. Thread on the nut and tighten the nut securely with a 10 mm socket while holding the pivot bolt from turning.
Disassembly
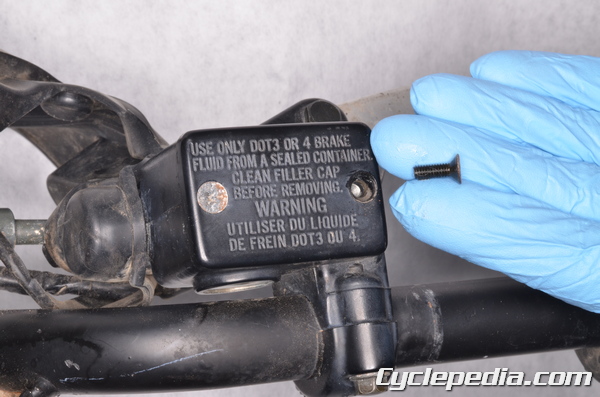
To remove the master cylinder cover loosen the screws to with a #2 Phillips screwdriver.
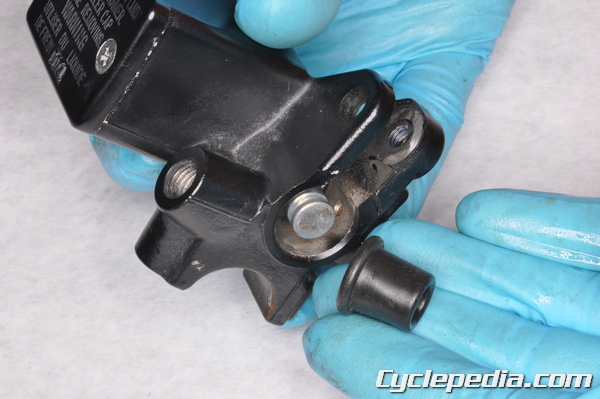
Remove the dust boot.
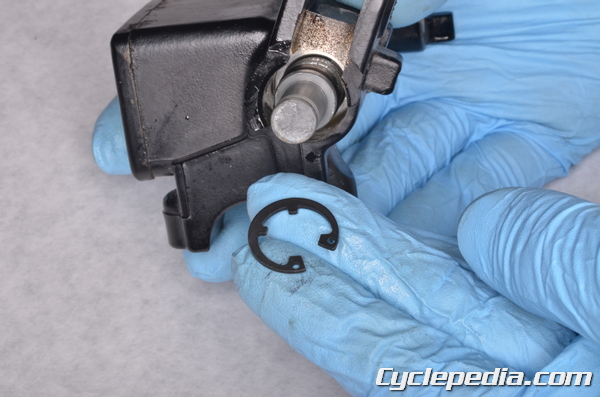
Remove the snap ring using a pair of internal snap ring pliers. Use a suitable tool to hold back the plunger as it can spring out.
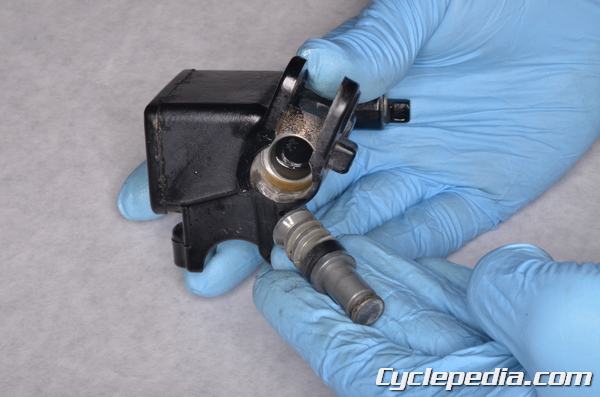
Remove the piston. Inspect the piston and seal for damage.
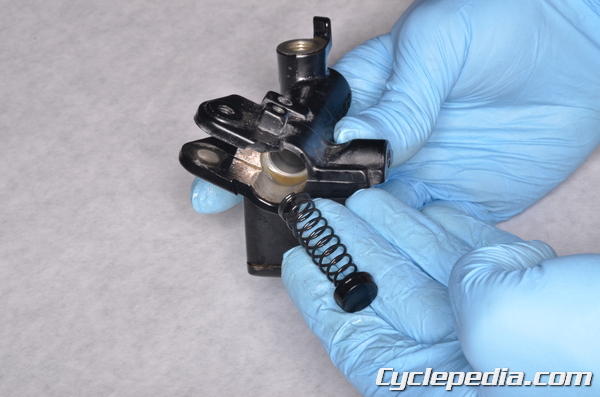
Remove the spring and cup. Inspect the cup for damage.
Remove the front brake light switch with a #2 Phillips if needed.
Inspection
Clean the master cylinder components with fresh brake fluid.
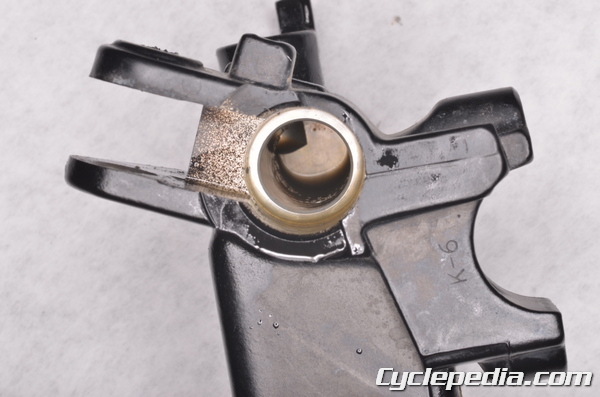
Check the master cylinder bore for damage, scratches or excessive wear.
Reassembly
Install the brake switch and tighten the screws securely with a #2 Phillips.
Place a film of clean DOT 4 brake fluid on the piston, spring, cups, and master cylinder bore.
Install the spring into the master cylinder bore.
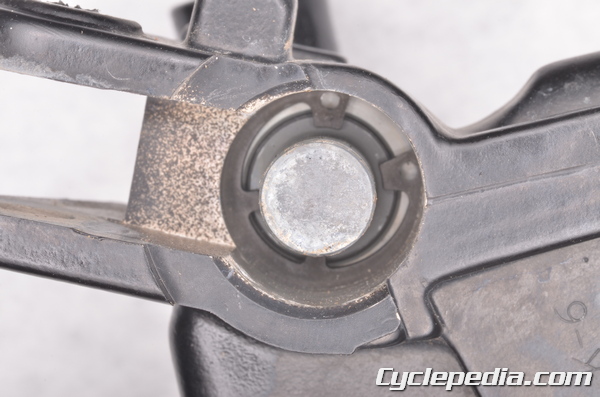
Install the piston. While pushing the plunger in against the spring tension, install the snap ring, making sure it is fully seated in its groove.
Install the dust boot.
Installation
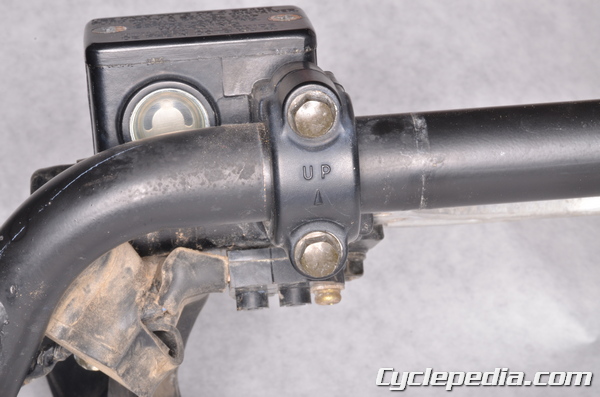
Install the master cylinder onto the handlebar at the punch mark. The right side of the front brake master perch should sit 70 mm to the left of the inside of the right grip. Make sure the “UP” mark on the perch is facing up.
Tighten the master cylinder perch bolts to specification with an 8 mm socket. Tighten the upper bolt before the lower.
Master Cylinder Clamp Bolts
2002 – 2003: 11 N-m, 1.1 kgf-m, 95 in-lb
2005 – 2011, 700cc: 8.8 N-m, 0.90 kgf-m, 78 in-lb
Connect the brake light switch.
Connect the brake hose to the master cylinder. Use new sealing washers on each side of the banjo bolt. Torque the banjo bolt to specification with a 12 mm socket.
Brake Hose Banjo Bolt
2002 – 2003: 25 N-m, 2.5 kgf-m, 18 ft-lb
2005 – 2011, 700cc: 34 N-m, 3.5 kgf-m, 25 ft-lb
Slide the rubber hose fitting and brake lever covers back into place.
Fill the master cylinder with fresh brake fluid from a tightly sealed container and bleed the brakes. See the Brake Fluid topic for more information.
Check that the brakes work properly before riding.