
 Like this Manual?
SAFETY FIRST: Protective gloves and eyewear are recommended at this point.
NOTE: Always wear safety glasses when using compressed air and never point it directly at yourself or anyone else.
Remove the carburetors. See the Carburetor Removal topic for more information.
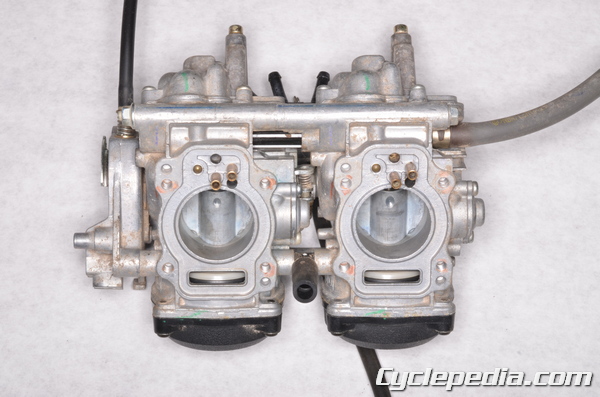
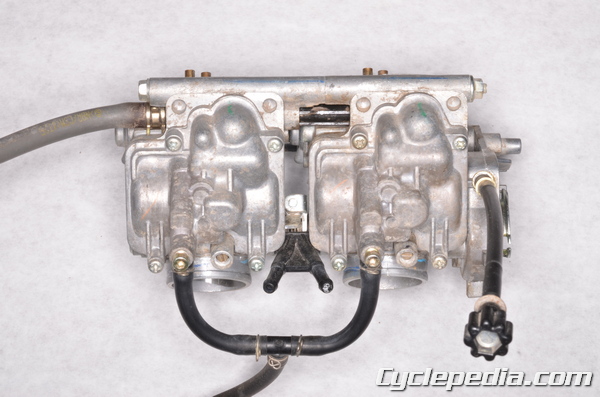
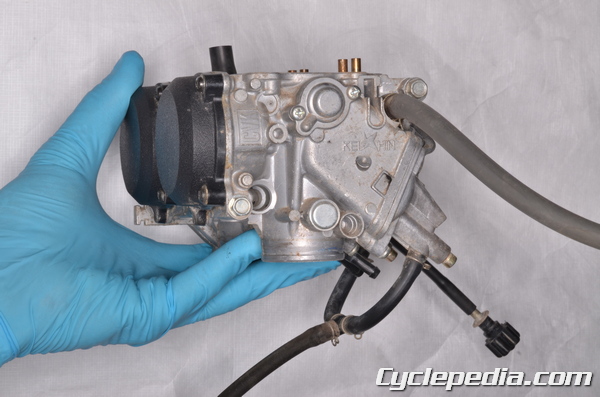
The Carburetors will need to be separated to access the fuel, vent and coolant pipes in between the carburetors. See the Carburetor Separation topic for more information. Basic Carburetor disassembly and cleaning as described in this chapter can be done without separating the carburetors.
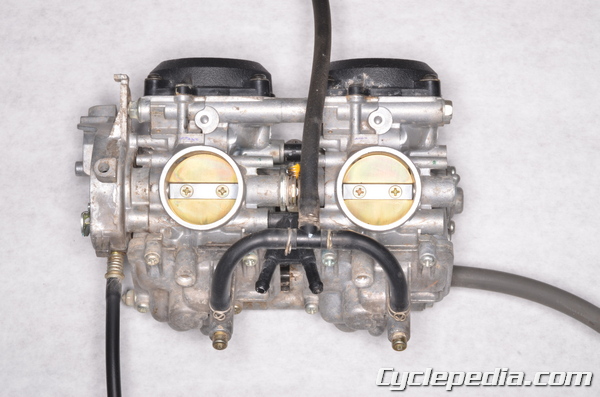

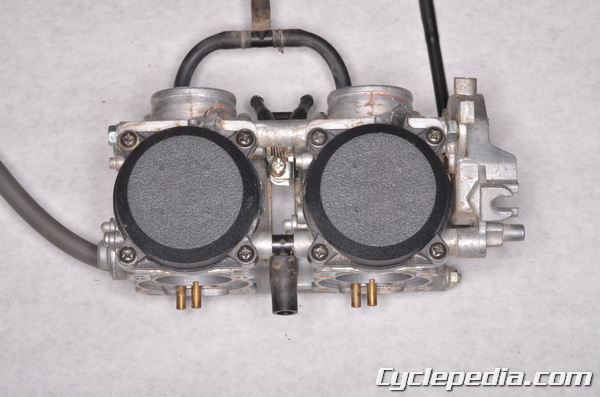
Inspect the carburetor hoses for damage. Remove them when cleaning the carburetor.
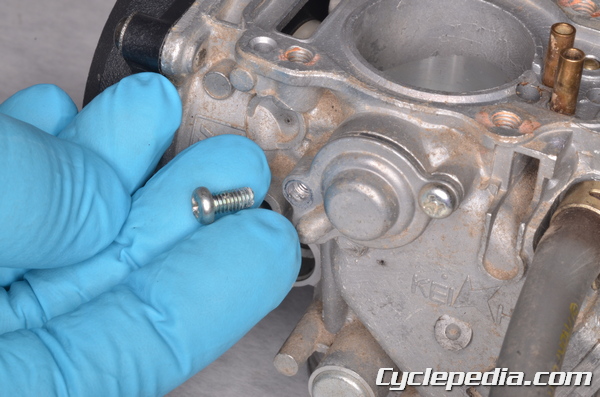
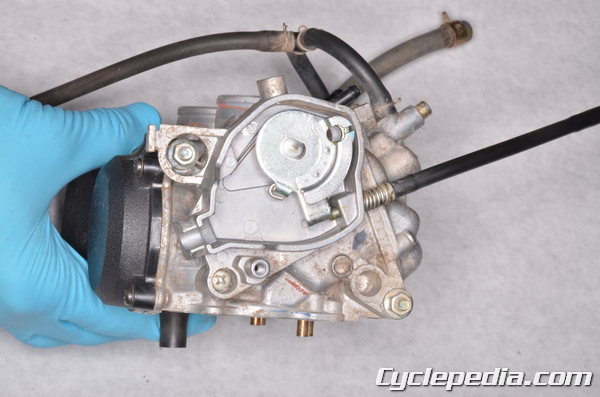
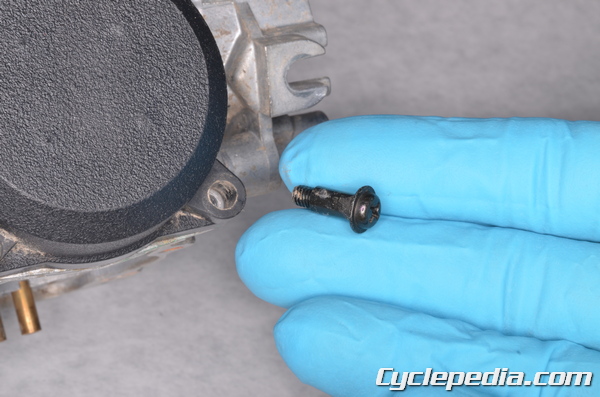
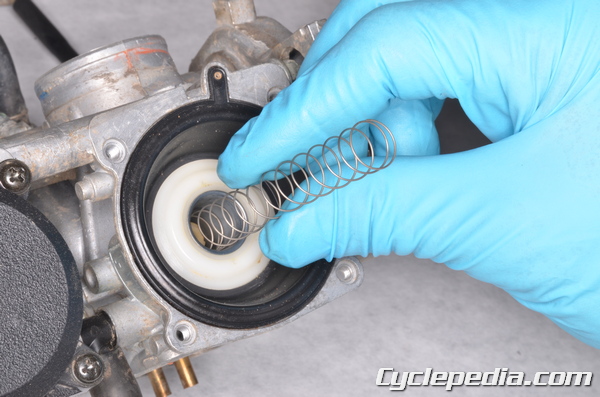
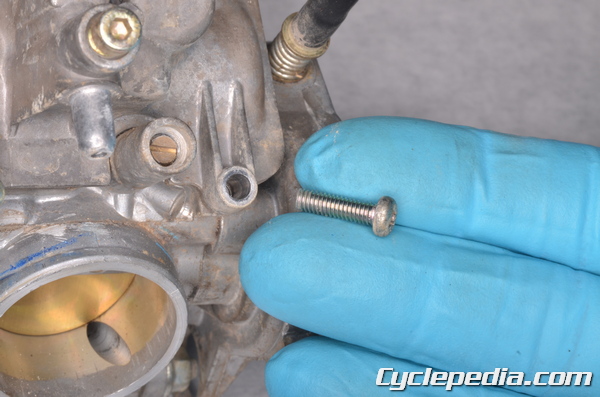
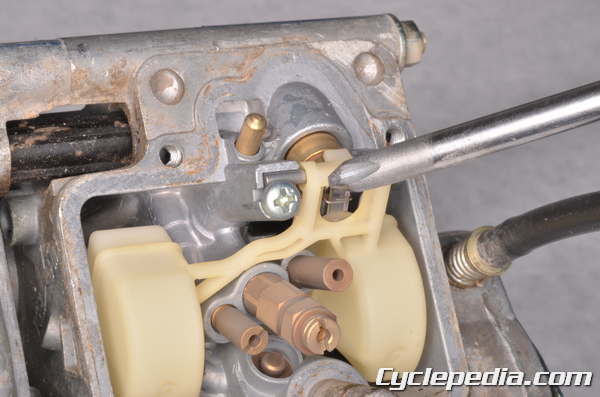
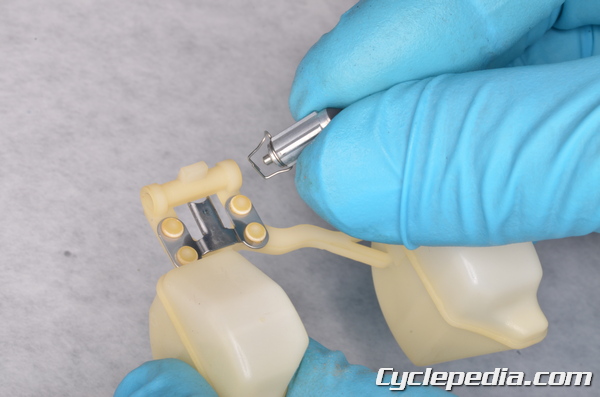
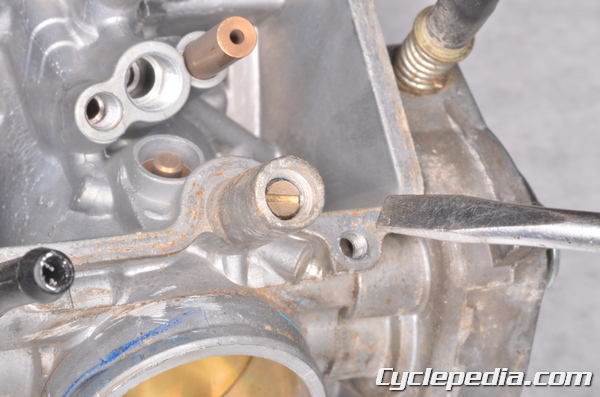
Remove the two coasting enrichment valve cover screws with a #2 Phillips screwdriver.
Note: To get to both coasting enrichment valves the carburetors need to be separated. See the Carburetor Separation topic for more information.
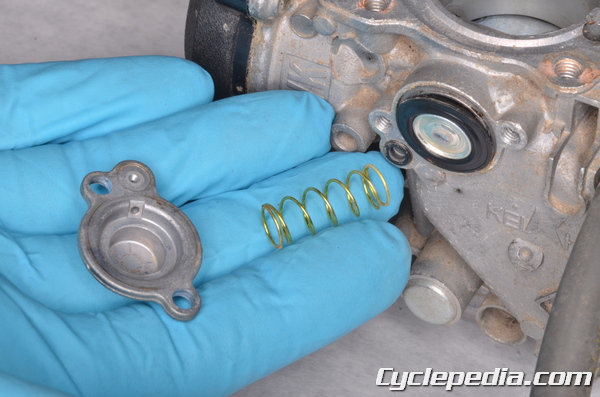
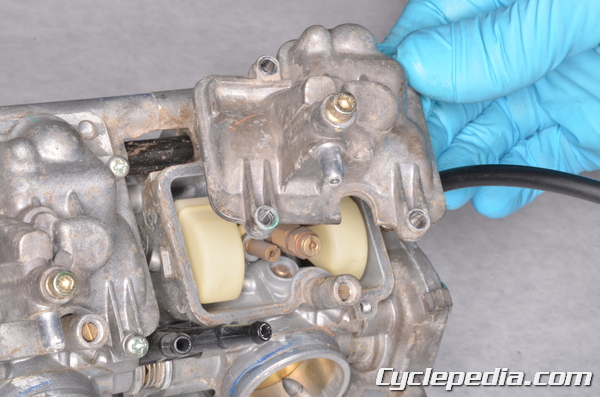
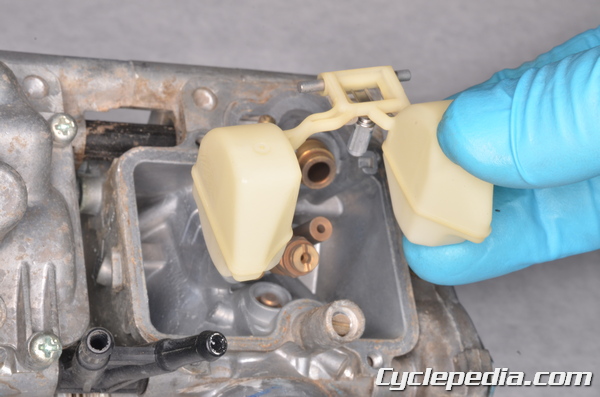
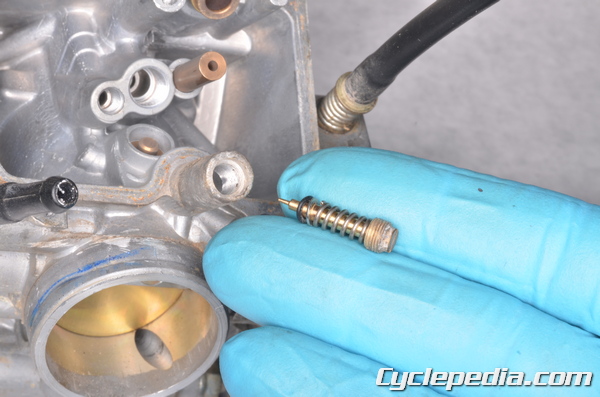
Remove the cover and spring.
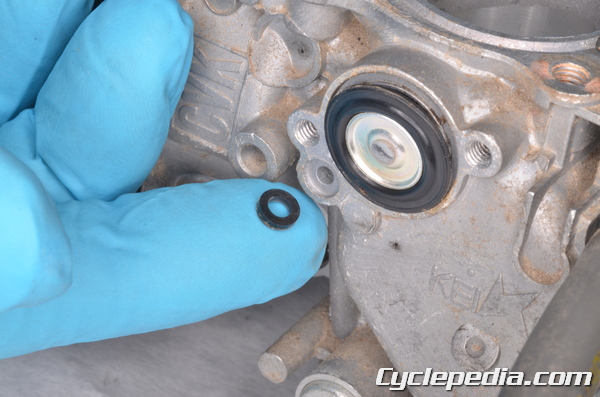
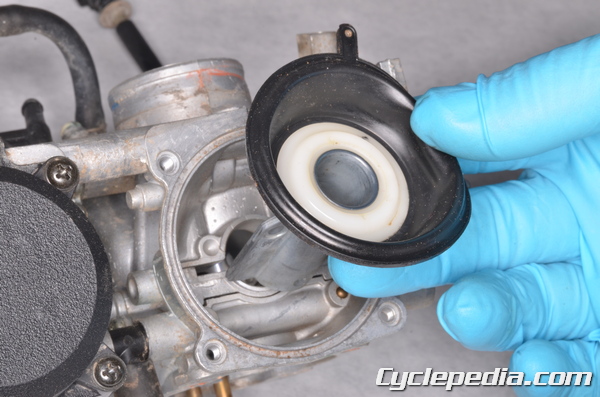
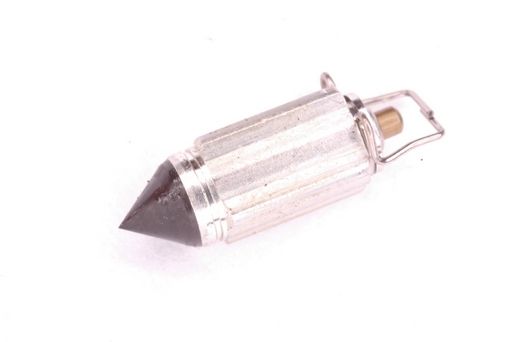
Remove the enrichment valve O-ring from the carburetor body.
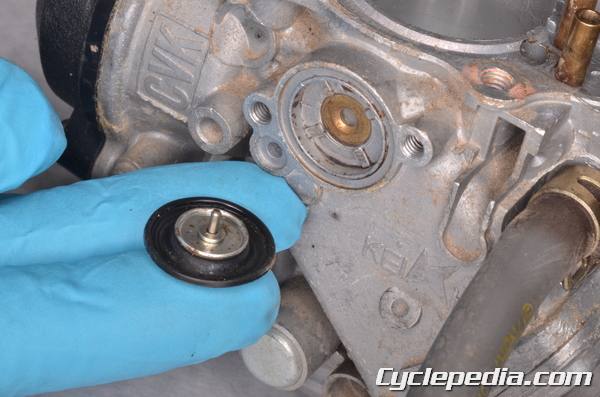
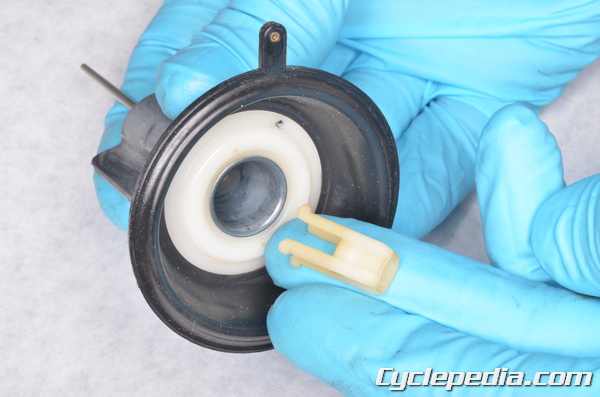
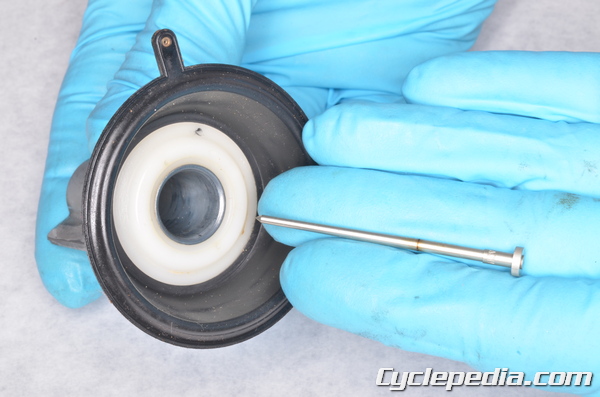
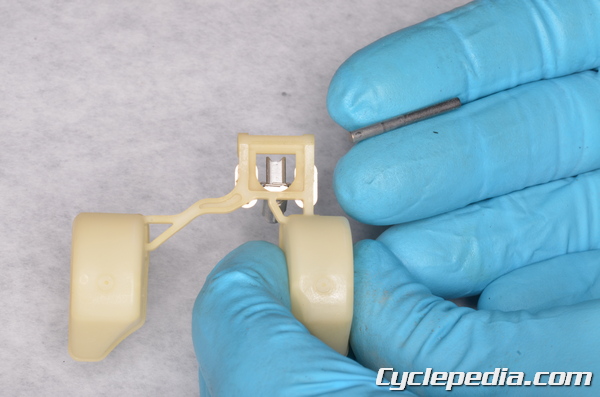
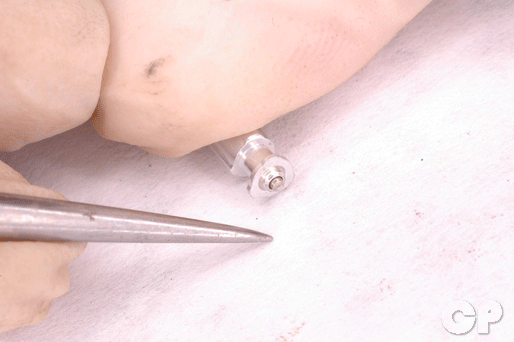
Remove the enrichment valve diaphragm. Inspect the diaphragm and valve plunger for wear and damage. Replace the diaphragm as needed.
Remove the four carburetor cap screws with a #2 Phillips screwdriver.
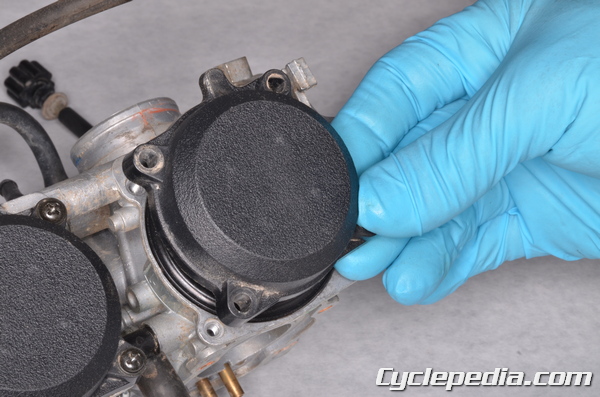
Remove the carburetor cap.
Take out the spring.
Lift out the piston valve diaphragm with the jet needle.
Remove the spring seat from the piston valve diaphragm.
Remove thejet needle from the piston valve diaphragm.
Inspect the piston diaphragm for wear and damage. If the diaphragm is punctured, torn, or will not seal correctly it must be replaced.
Inspect the jet needle for wear and deposits. Clean any deposits and replace the needle if it is worn.
Remove the four float bowl screws with a #2 Phillips screwdriver.
Lift off the float bowl. Remove the float bowl O-ring seal and discard it.
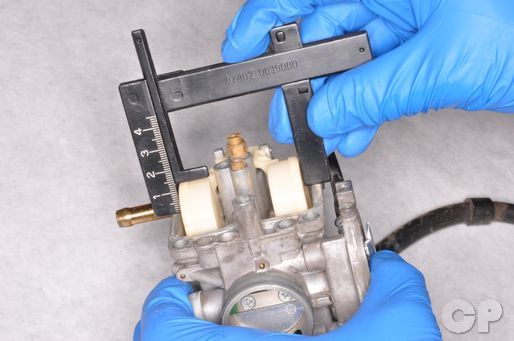
This is a good time to check the float height. Check the float height from the mating surface of the float bowl. Tilt the carburetor so the float tang is resting on the needle rod, but the float rod does not compress it. Measure the distance from the float bowl mating surface and the highest point on the float. Compare your reading with the specification.
Float level: 4.0 ± 1.0 mm (0.157 ± 0.04 in)
If the float height is out of specification the tang on the floats can be bent slightly to adjust the float height.
Remove the float pin screw with a #2 Phillips screwdriver.
Lift out the float. The float valve needle should come out with the float. Inspect the float for damage. Replace the float if it has fuel in it.
Slide out the float pin.
Remove the float valve needle from the float tang.
Inspect the needle for wear or damage to the rubber tip. Replace the needle if it develops a stepped wear ring on the tip. Inspect the float valve orifice for damage and clogs.
Make sure the spring loaded plunger on the other end pushes in and springs back freely.
Note: Be gentle when removing the jets from the carburetor.
Remove the pilot jet with a suitable flat blade screwdriver.
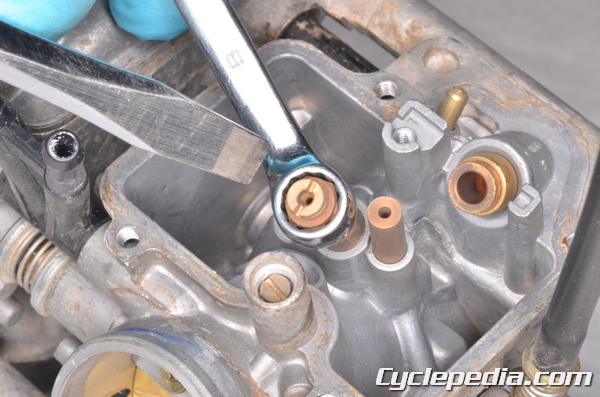
Use an 8 mm wrench to hold the needle jet and loosen the main jet with a small flat blade screwdriver.
Remove the main jet.
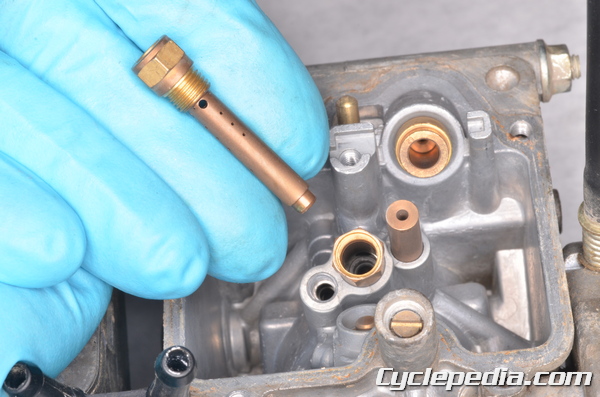
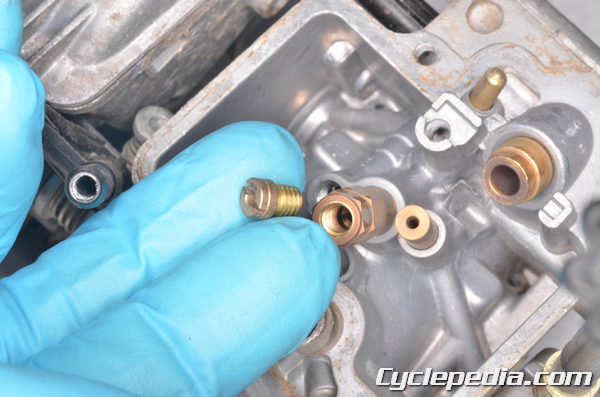
Remove the needle jet with an 8 mm wrench.
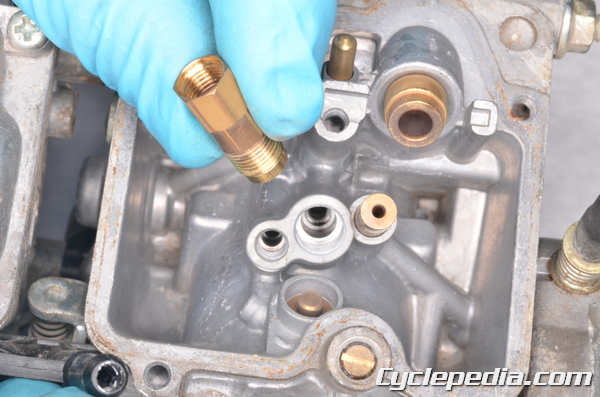
Remove the needle jet holder.
Turn the pilot screw clockwise, while counting the number of turns it takes to lightly seat it.
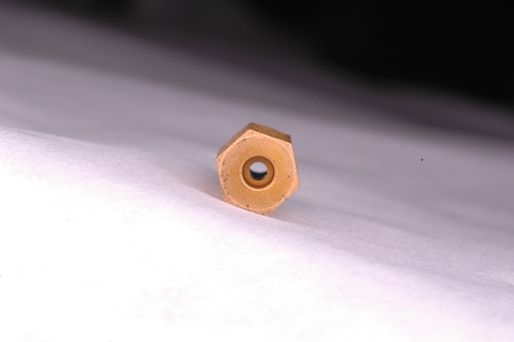
Remove the pilot screw, spring, washer, and O-ring. Inspect the pilot screw components for damage. Discard the O-rings in favor of new ones.
Note: On some models it may be necessary to remove the pilot screw plug using a punch.
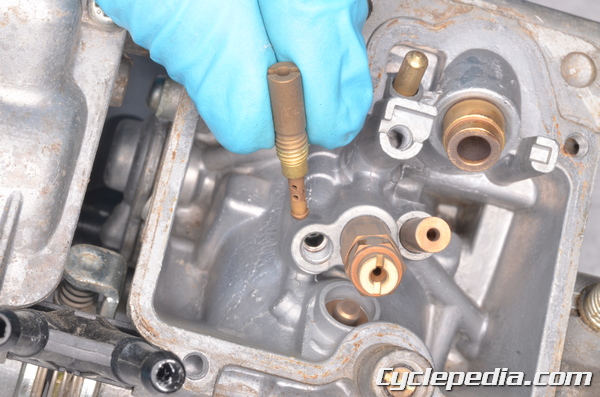
Hold all of the jets up to a light, you should see a clear, round opening. Clean any jets that are blocked or restricted using aerosol carburetor cleaner and/or compressed air. Do not clean jets with wire.
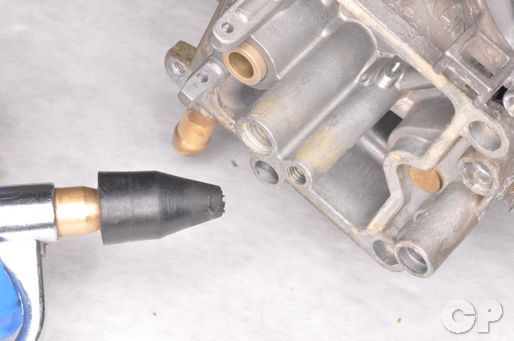
Clean out the passages in the carburetor with an aerosol carburetor cleaner and compressed air. If necessary use a soft pipe cleaner, but never use a wire.
NOTE: Always wear safety glasses when using compressed air and never point it directly at yourself or anyone else.
To assemble the carburetor see the Carburetor Assembly topic.