
 Like this Manual?
The Kawasaki KVF650/KVF700 and Suzuki LT-V700F uses DOT 3 or DOT 4 brake fluid. Do not mix the brake fluid types. The system should be flushed and bled every year, whenever the brakes feel spongy, or if the brake system has been taken apart and rebuilt. Always use fresh brake fluid from a tightly sealed container.
SAFETY FIRST: Protective gloves and eyewear are recommended at this point.
Warning: Brake fluid is very caustic and can damage paint, chrome and plastic. Wipe up any spills immediately.
Inspection

Turn the handlebars until the top of the front master cylinder reservoir is level with the ground. Check the level of brake fluid.
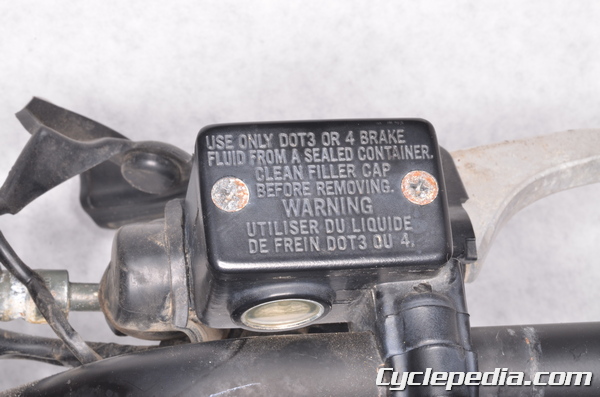
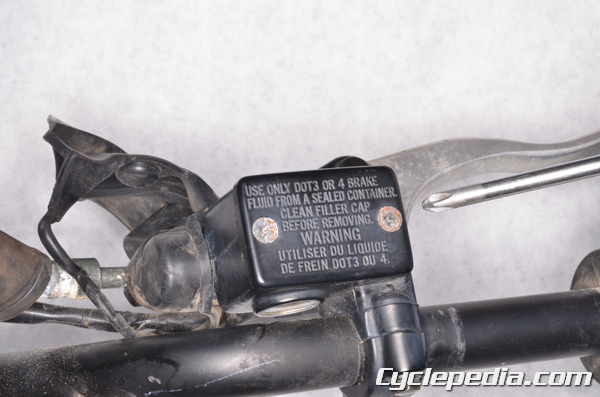
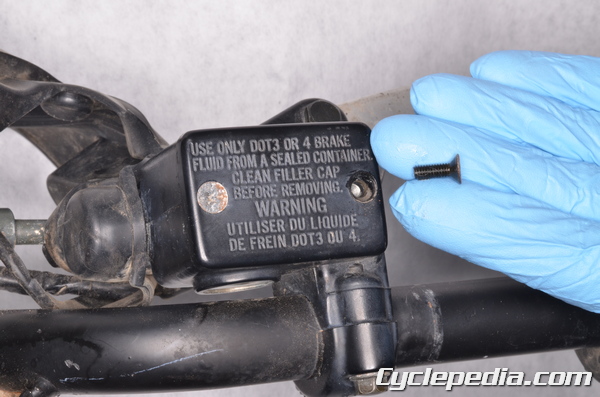
To remove the master cylinder cover loosen the screws to with a #2 Phillips screwdriver.
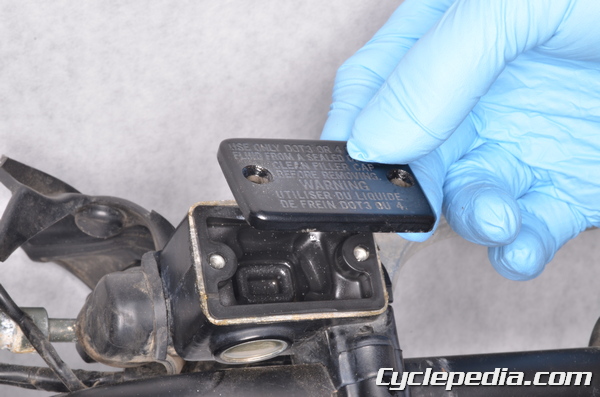
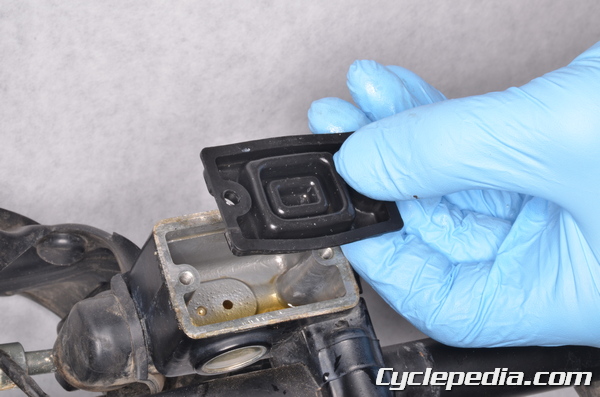
Remove the cover and rubber diaphragm. Inspect the diaphragm for tears or damage and replace as needed.
Bleeding
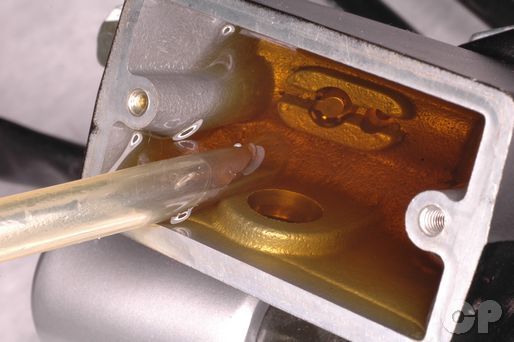
If removing the old brake fluid go ahead and remove the fluid from the reservoir with a mighty-vac or similar device.
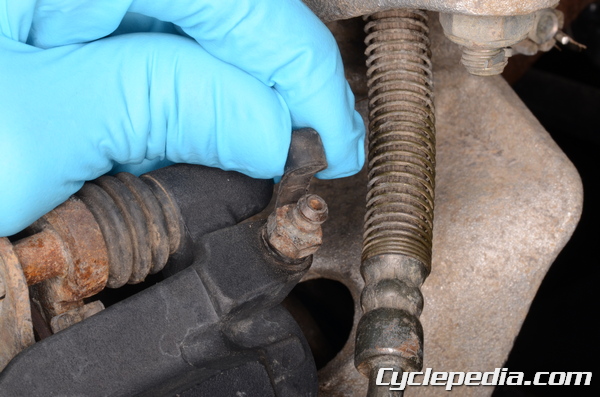
Pull off the rubber cap over the bleeder valve.
Crack open the bleeder valve on the brake caliper using a 10 mm wrench. This valve is usually very tight so use a box end wrench or a 6 point socket and ratchet to prevent rounding off the head. Snug the bleeder valve back down.
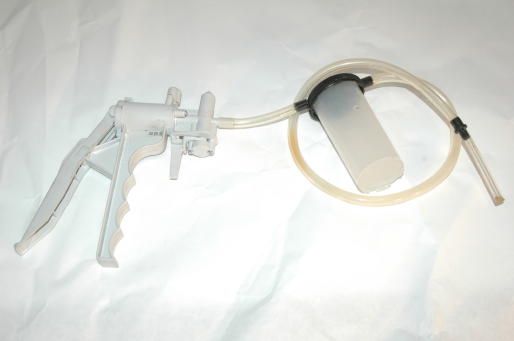
Open the bleeder valve and remove as much of the old brake fluid with a Mighty -Vac or a similar device.
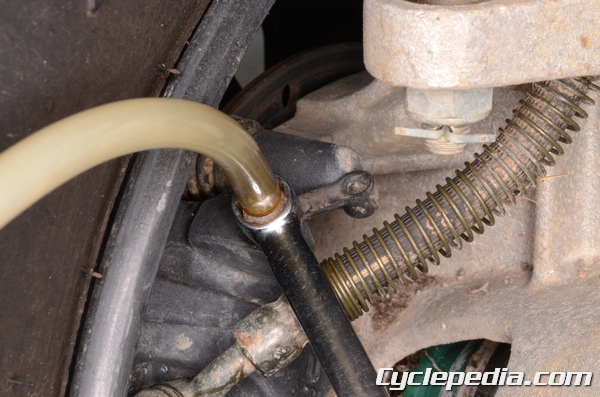
Place a length of 6 mm inside diameter clear hose on the bleeder valve and place the other end in a container.
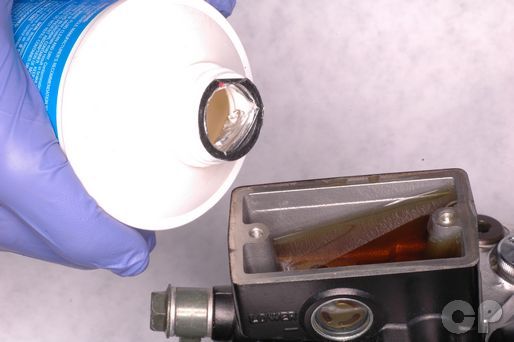
Fill the brake fluid with the proper type from a fresh, newly opened container.
Pump the front brake lever several times and hold the lever in. While holding the lever in, crack open the bleeder valve. The front brake lever will travel all the way to the throttle grip and brake fluid and/or air will come out of the bleeder valve into the 6 mm hose. Tighten the bleeder valve before releasing the front brake lever. Pump the lever several times again and repeat the process.
Be certain to check the master cylinder reservoir occasionally to make sure the reservoir doesn’t run dry. Add more brake fluid as necessary. Continue this process until clean brake fluid comes out of the bleeder valve and there are no air bubbles. The front brake lever should feel firm.
Tighten the bleeder valves and push their rubber covers over the nipples.
| Fastener | Torque | ||
| N-m | kgf-m | ft-lb | |
| Bleed valves | 7.9 | 0.8 | 69 in-lb |
Make sure the reservoir has the proper amount of fluid and install the rubber diaphragm and cap.
Install the master cylinder cover screws and tighten them to specification with a #2 Phillips screwdriver.
| Fastener | Torque | ||
| N-m | kgf-m | ft-lb | |
| Reservoir cap screws | 1.5 | 0.15 | 13 in-lb |
Check the function of the brakes before operating the machine.