
 Like this Manual?
SAFETY FIRST: Protective gloves and eyewear are recommended at this point.
Removal
Remove the front fender. See the Front Fender topic for more information.
Remove the suspension arm. See the A-arms topic
Remove both front shock absorbers in the same manner.
Do not allow the knuckle to flop loose during the removal of the shock absorber.
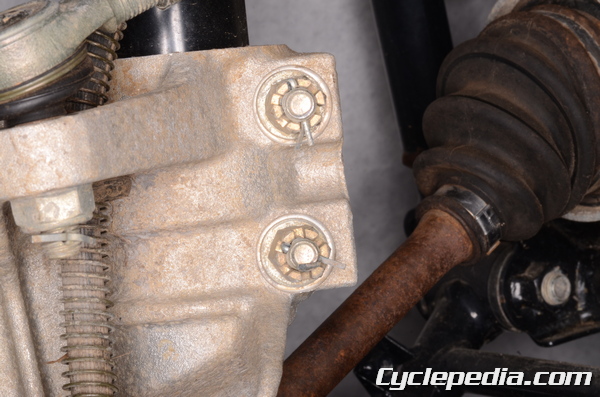
Remove the cotter pins from the front shock absorber clamp nuts and bolts.
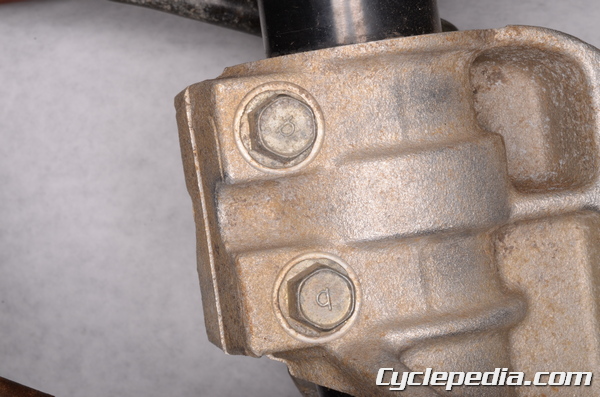
Hold the clamp bolts with a 14 mm socket.
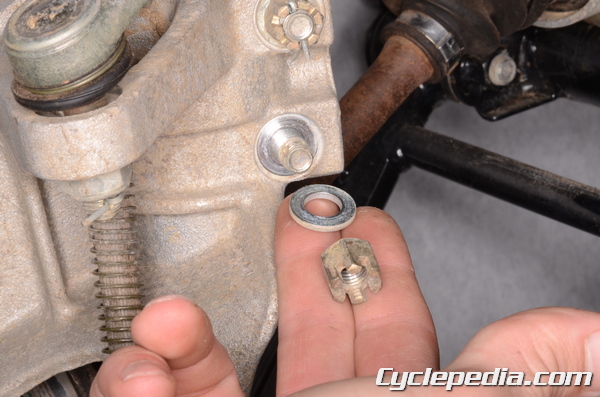
Remove the nuts and washers with a 14 mm socket.
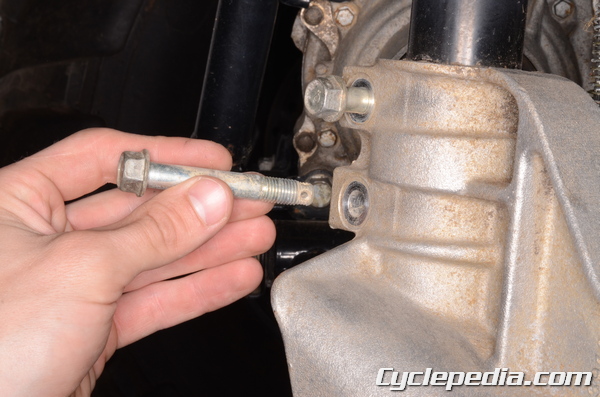
Remove the clamp bolts.
Support the front of the frame with a jack.
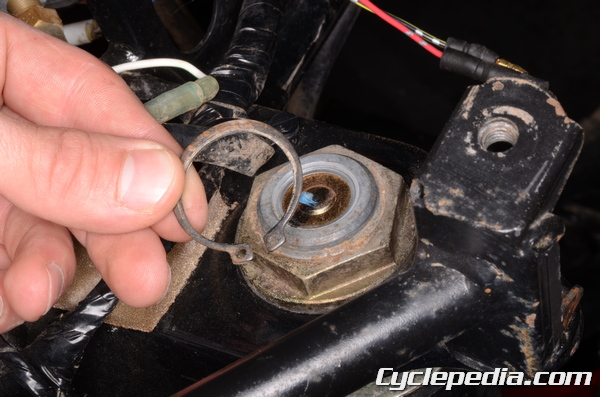
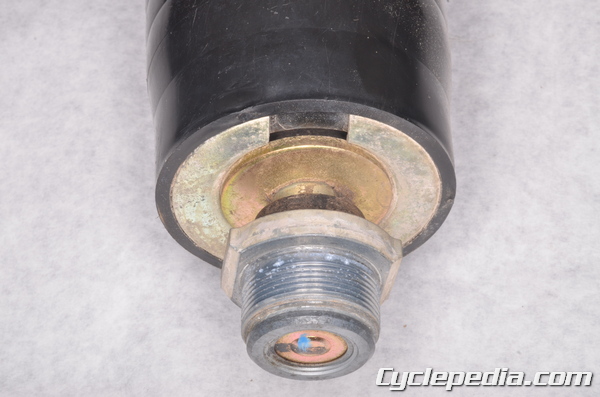
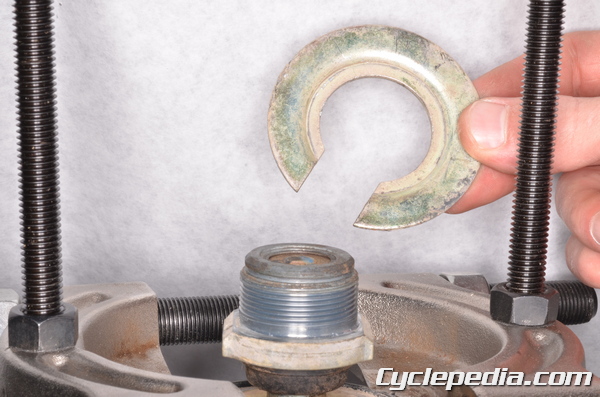
Remove the snap ring from the ball joint with snap ring pliers.
Hold the ball joint with a crescent wrench from below.
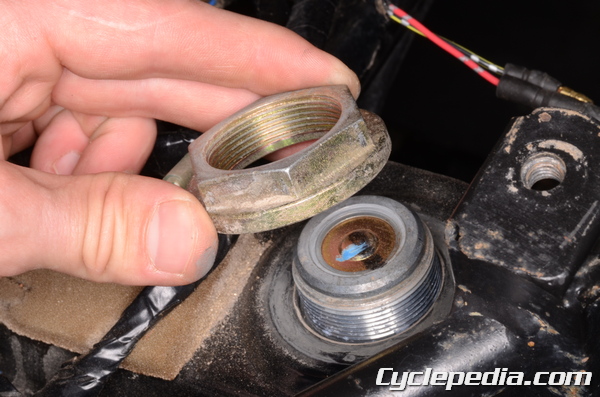
Loosen the ball joint nut.
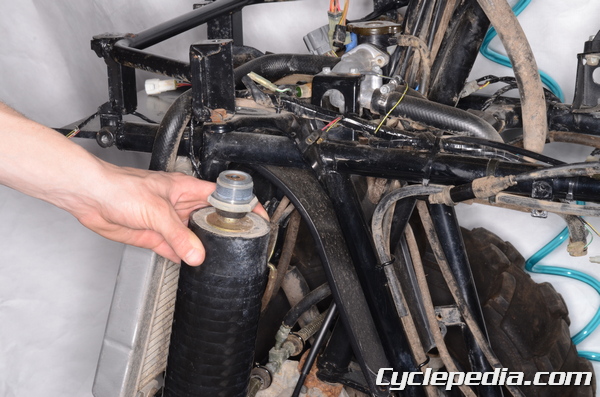
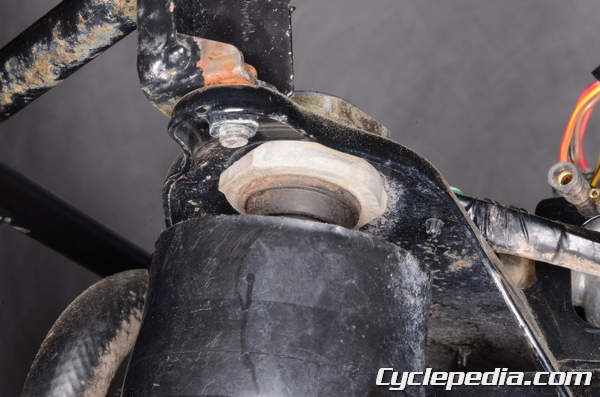
Lower the shock absorber and free it from the frame.
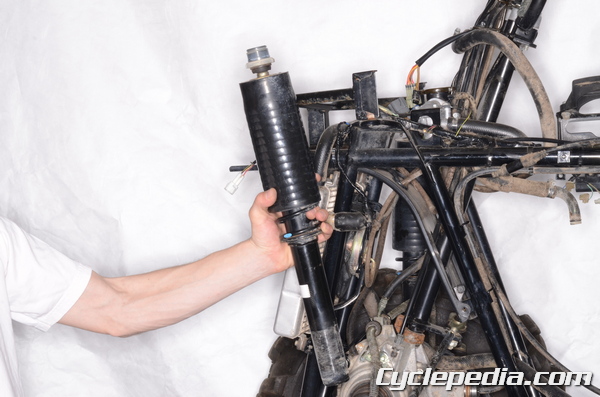
Lift the shock absorber up and remove it from the knuckle. Inspect the shock absorber for damage, leaks or other wear. Replace the shock absorber with a new one as needed.
Disassembly
Use the special tools to compress the spring. Fit the recessed side of the spring compressor against the upper edges of the spring cover. Do not compress the spring so far as the spring cover will touch the bottom plate of the spring compressor.
Special Tools
Holder and Guide Arbor: 57001-1476
Holder and Spacer: 57001-1477
Remove the spring seat.
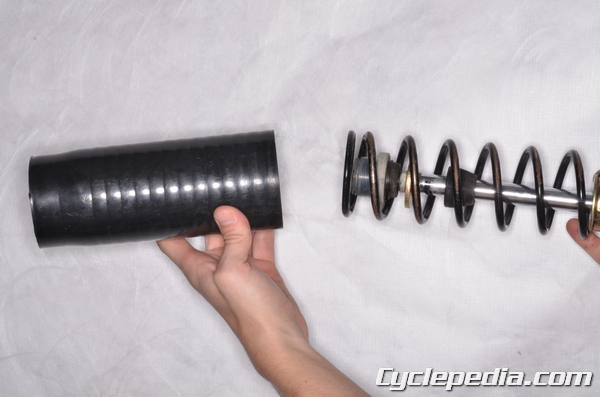
Remove the spring cover.
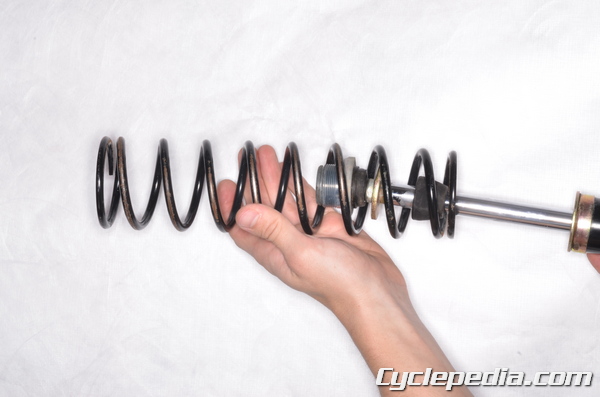
Remove the spring from the shock absorber.
Assembly
Place the spring on the shock absorber body so that the narrow end of the spring is facing down. Install the spring cover.
Use the special tools to compress the spring. Fit the recessed side of the spring compressor against the upper edges of the spring cover. Do not compress the spring so far as the spring cover will touch the bottom plate of the spring compressor. Install the spring seat.
Special Tools
Holder and Guide Arbor: 57001-1476
Holder and Spacer: 57001-1477
Gradually ease off the spring compressor and make sure the spring seat is fully seated and the spring is secure.
Installation
When installing the shock absorber do not allow the knuckle to flop loosely.
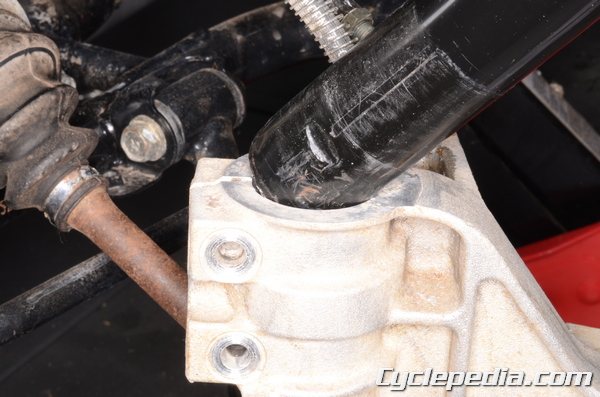
Fit the shock absorber into the knuckle so that the recess on the bottom of the shock absorber body lines up with the lower bolt hole of the shock absorber clamp on the knuckle.
Insert the two shock absorber clamp bolts from the front. The lower bolt must pass through the recess on the shock body.
Place the washers and nuts on the clamp bolts.
Hold the clamp bolts with a 14 mm socket.
Install the washers and nuts. Tighten the nuts to specification with a 14 mm socket. Install new cotter pins.
Front Shock Absorber Clamp Bolts/Nuts: 42 N-m, 4.3 kgf-m, 31 ft-lb
Guide the ball joint into the frame.
Thread the nut onto the ball joint.
Hold the ball joint with a crescent wrench from below.
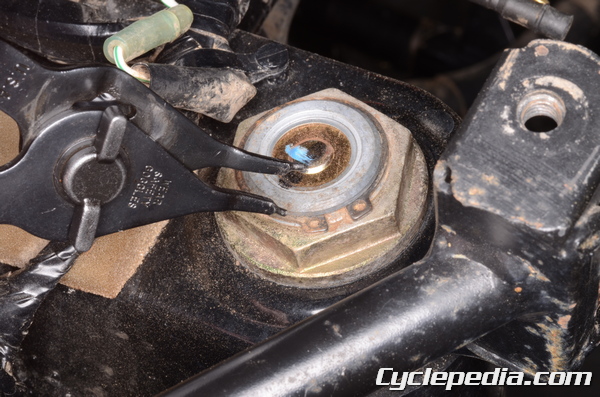
Tighten the ball joint nut to specification and install a new snap ring onto the ball joint making sure its securely seated into the groove.
Front Shock Absorber Mounting Nut: 74 N-m, 7.5 kgf-m, 54 ft-lb
Install the suspension arms. See the A-arms topic
Install the front fender. See the Front Fender topic for more information.