
 Like this Manual?
SAFETY FIRST: Protective gloves and eyewear are recommended at this point.
Removal
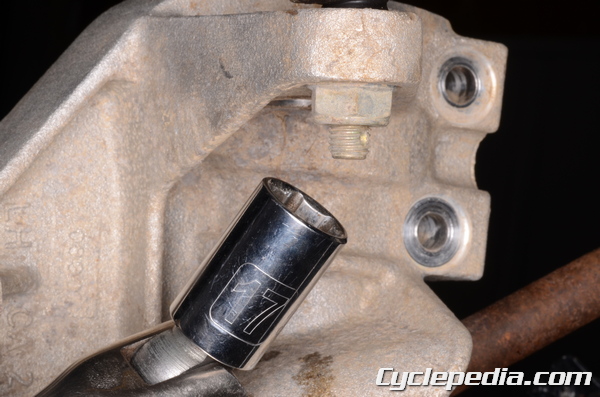
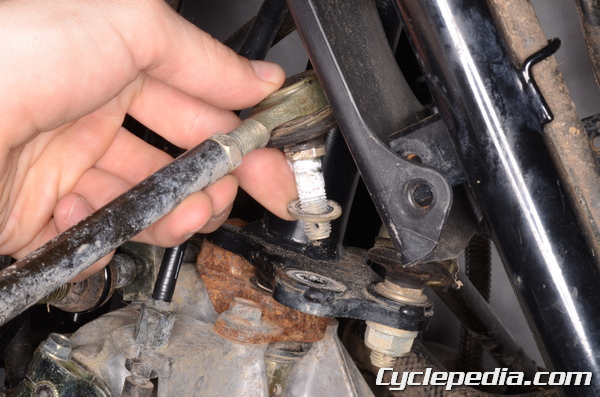
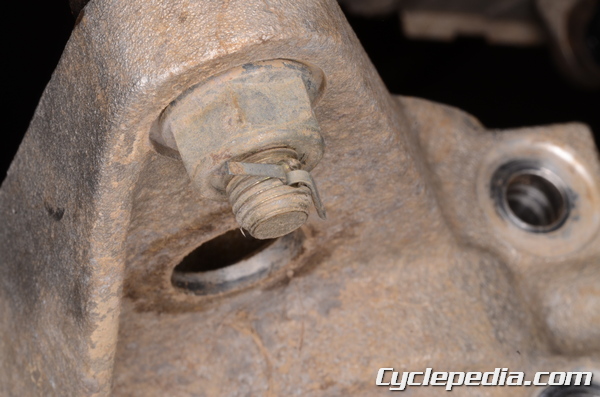
Remove the cotter pin from the outer tie-rod end bolt. Loosen the outer tie-rod nut with a 17 mm socket.
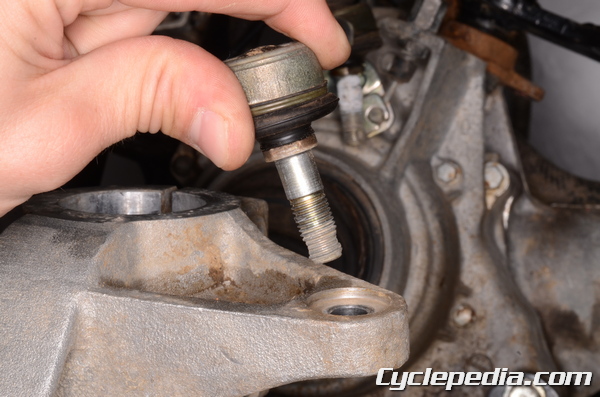
Free the outer end of the tie-rod from the knuckle.
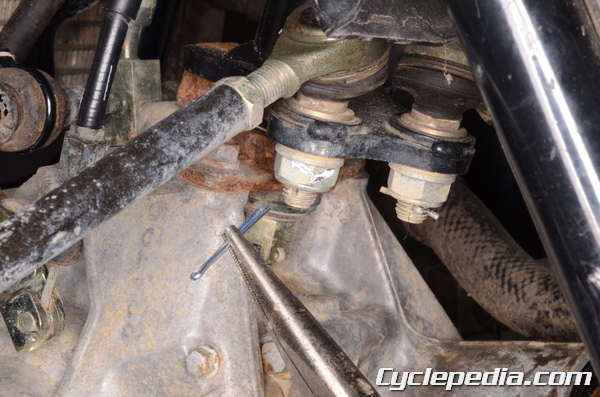
Remove the cotter pins from the inner tie-rods.
Hold the tie-rod with a 12 mm wrench and loosen the nut with a 17 mm socket.

Remove the nut and washer from the inner end of the tie-rod.
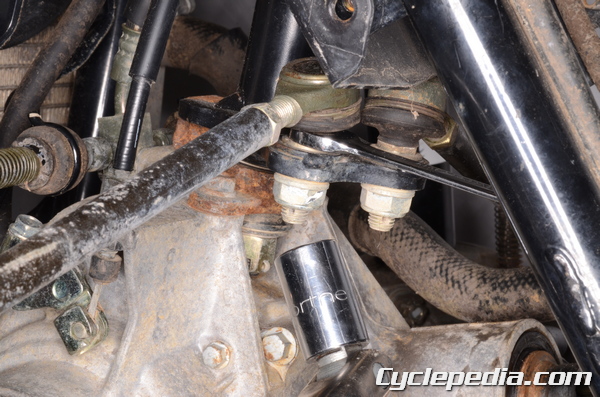
Remove the tie-rod and washer from the steering stem.
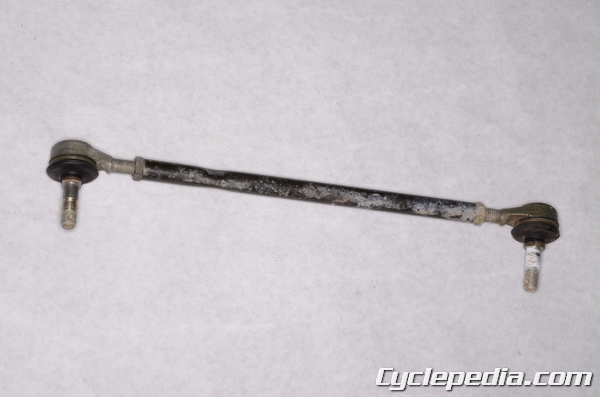
Insect the tie rod ball joints and boots for wear and damage. Move the ball joint by hand and make sure it moves smoothly. If the ball joints need to be replaced loosen the locknuts and then unscrew the ball joint from the tie-rod. Note the locknuts marked with white paint have left hand threads.
Installation
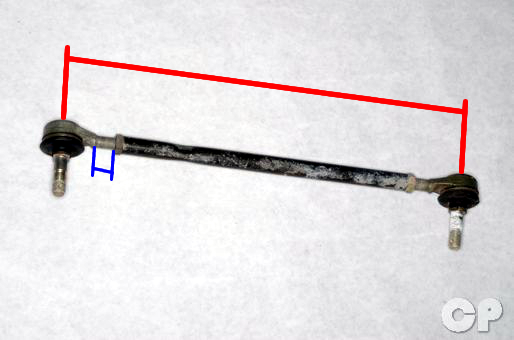
Make sure the tie-rod measures the correct length between the centers of the ball joints. Also, the amount of threads showing on each side of the tie rod should be even.
Tie-Rod Length: 315 mm (12.4 in.)
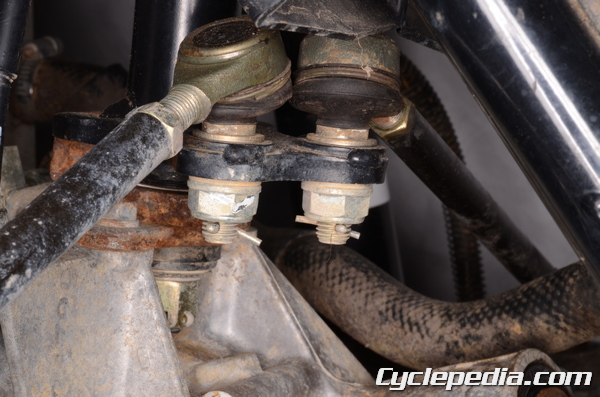
When installing the tie-rods the locknuts with left hand threads and white paint should be positioned on the knuckle side.
Fit the inner tie-rod ends with washers into the steering stem.
Place the washer and thread the nut onto the inner tie-rod end. Hold the tie rod with a 12 mm wrench and tighten the nut to specification with a 17 mm socket.
Tie-Rod End Nuts: 42 N-m, 4.3 kgf-m, 31 ft-lb
Install a new cotter pin on the inner tie-rod end and bend it to secure the nut.
Fit the outer end of the tie rod into the knuckle.
Install the outer tie-rod nut and torque it to specification with a 17 mm socket.
Tie-Rod End Nuts: 42 N-m, 4.3 kgf-m, 31 ft-lb
Install the new cotter pin into the outer tie-rod end bolt and bend it to secure the nut.
Adjust the toe-in. See the Toe-In Adjustment topic for more information.