
 Like this Manual?
SAFETY FIRST: Protective gloves and eyewear are recommended at this point.
The starter motor is slightly different on the 2009 and newer models. The terminal is on the right side instead of the front on the 2002 – 2008 models.
Removal
Remove the front fender. See the Front Fender topic for more information.
Remove the right inner covers. See the Inner Covers topic for more information.

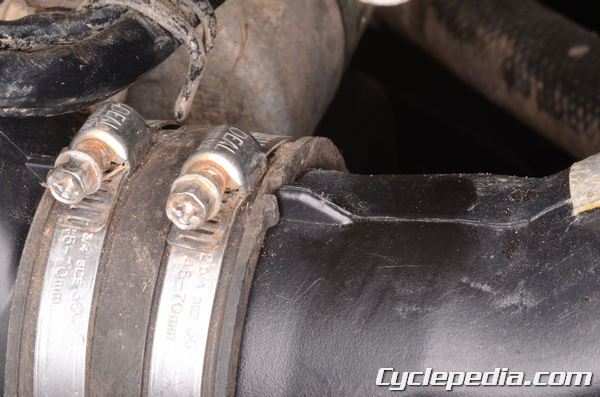
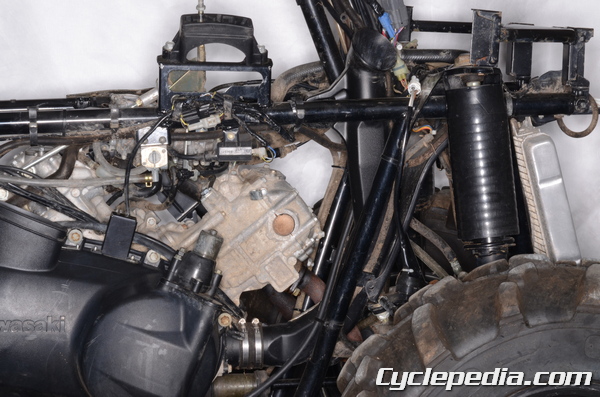
Loosen the clamps and remove the CVT air intake duct.
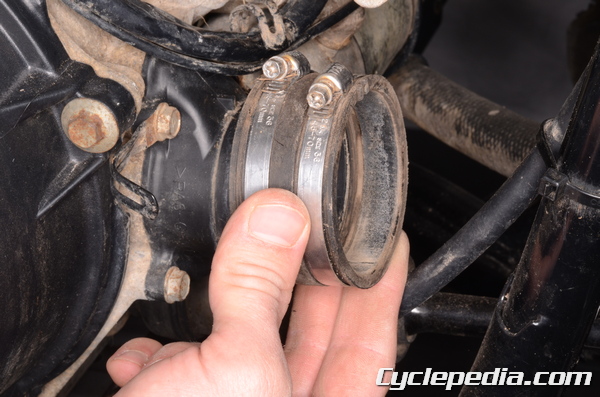
Remove the CVT air intake duct joint and clamps.
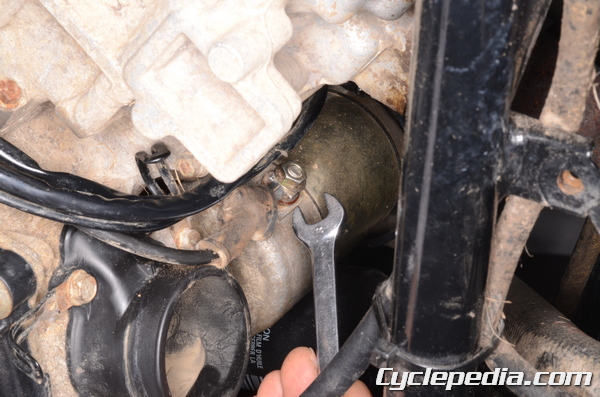
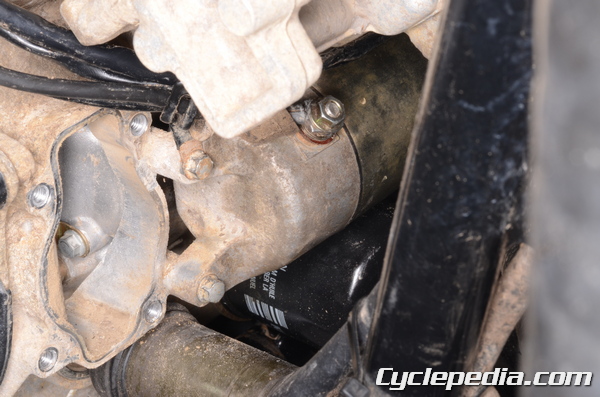
Open the wire clamp and pull back the rubber cover from the starter motor lead terminal. Remove the nut with a 10 mm wrench and free the lead from the starter motor terminal. Thread the nut back on. On the 2009 and newer models it will be easier to remove the starter motor terminal nut after the case duct is removed.
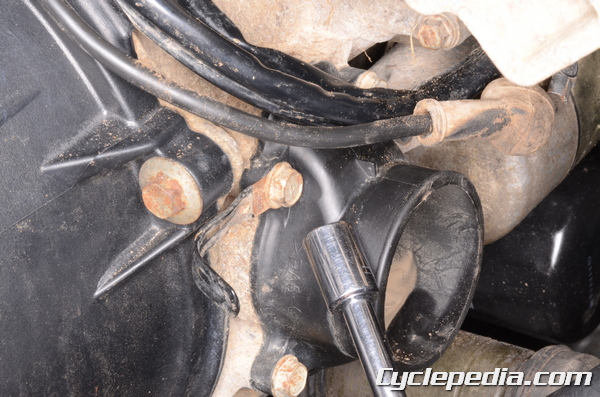
The case duct is held on by four bolts. Remove the case duct bolts with a 10 mm socket.
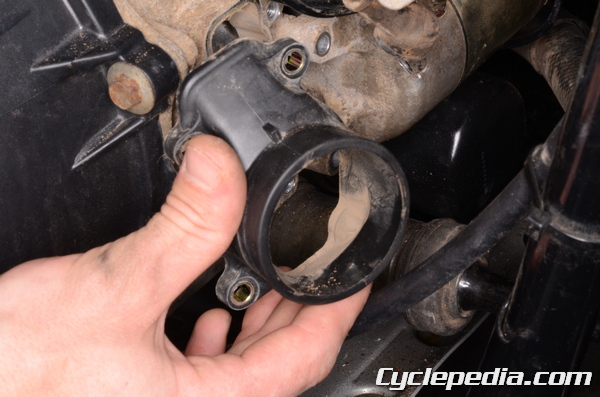
Remove the case duct and wire clamp. The 2002 – 2008 models have a dowel pin for the case duct, and the 2009 and newer models have two dowel pins.
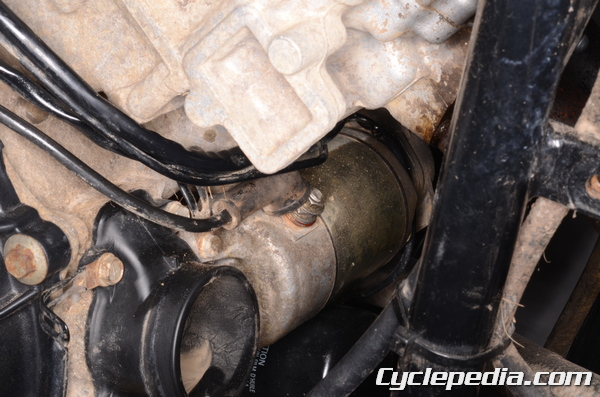
Free the wires from the wire clamp and remove the two starter motor mounting bolts with an 8 mm socket.
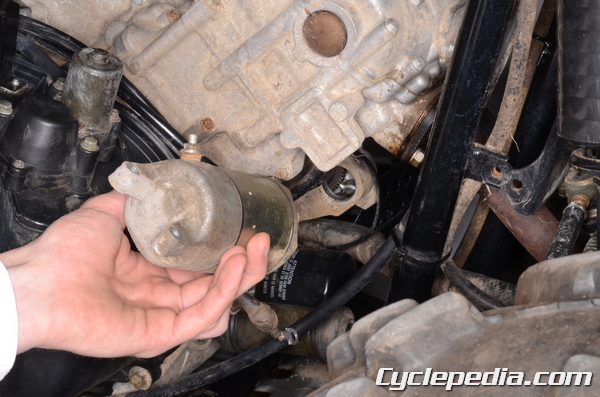
Remove the starter motor.
Inspection
To disassemble and inspect the starter motor see the Starter Motor Inspection topic.
Installation
Fit the starter motor into place at the front of the engine. Make sure the shaft engages well with the teeth of the torque limiter inside the crankcase. Insert the two starter motor mounting bolts. Install the wire clamp with the upper mounting bolt. Torque the bolts to specification with an 8 mm socket.
Starter Motor Mounting Bolts: 8.8 N-m, 0.9 kgf-m. 78 in-lb
Install the starter motor lead to the starter motor. On the 2009 and newer models the lead wire should be positioned so that it points up 20° or so from straight back. Tighten the terminal nut to specification with a 10 mm socket. Secure the wires with the wire clamp.
Starter Motor Terminal Nut: 4.9 N-m, 0.5 kgf-m, 43 in-lb
Install the O-ring to the back of the case duct. apply a light coat of grease to the O-ring. Install the case duct dowel pin/s and case duct to the crankcase. Install the four case duct mounting bolts and wire clamp. Tighten the case duct bolts to specification with a 10 mm socket.
Case Duct Bolts: 8.8 N-m, 0.9 kgf-m, 78 in-lb
Move the rubber cap over the terminal, and secure the wires coming around the front of the engine with the clamp.
Install the CVT air intake duct joint.
The joint groove must fit around the projections.
Install the CVT air intake and tighten the clamps securely.
Install the front fender. See the Front Fender topic for more information.
Install the right inner side covers. See the Inner Covers topic for more information.